Frozen Costume Number 1!

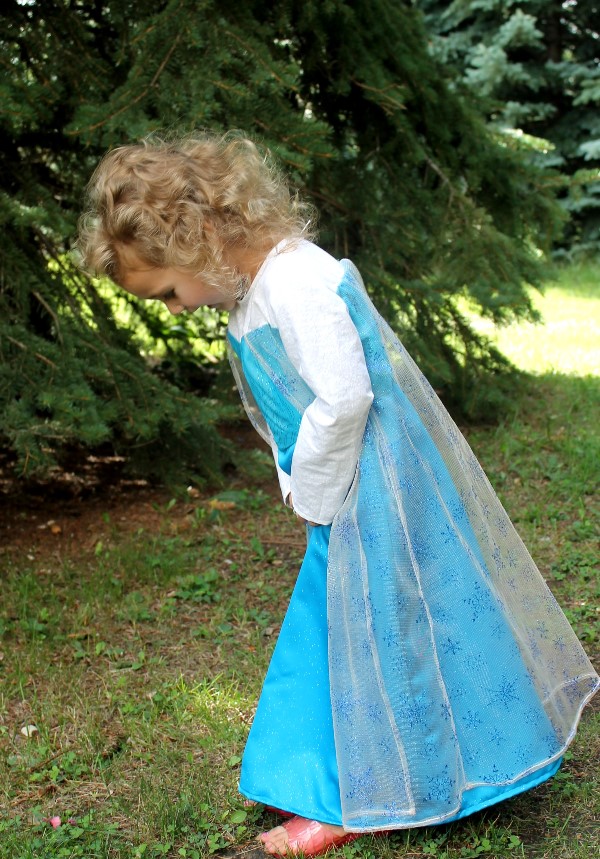
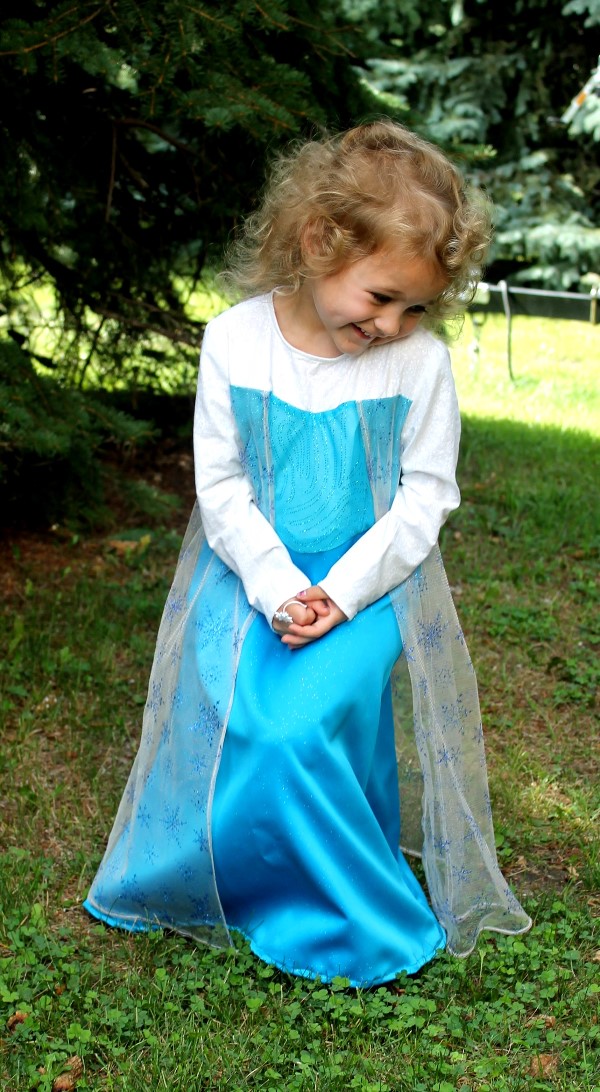
Finally I finished with the Elsa costume for Piper. She asked me to make her one several months ago and after a shopping trip with Addy and Kendall (my Tampa experts on all things Frozen) for fabric and advice then another few trips with Piper, we finally had all the necessary fabric.  

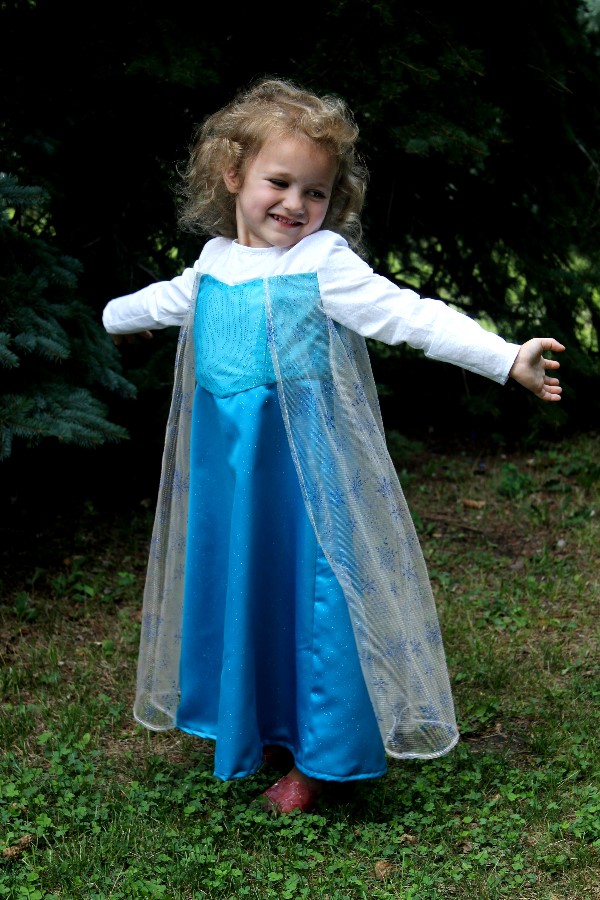
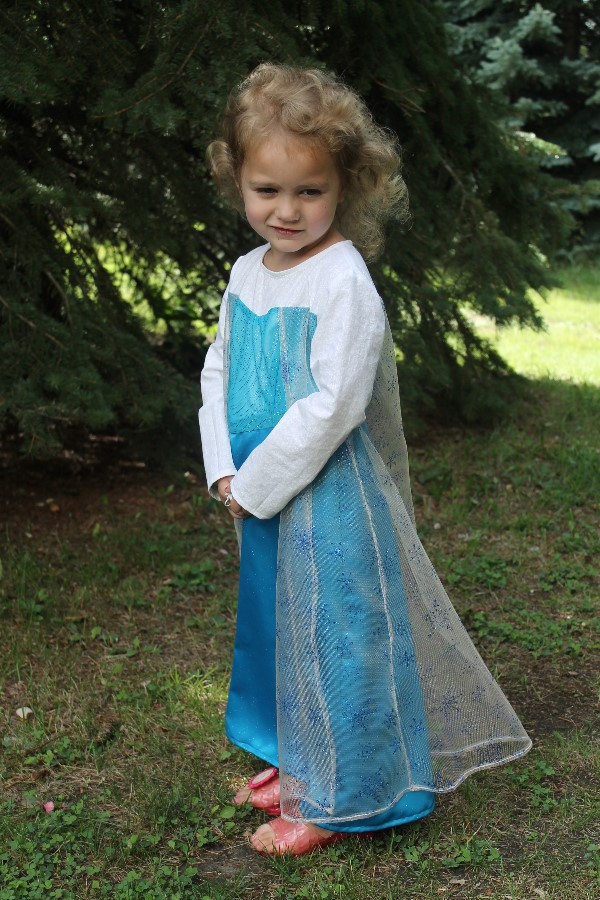
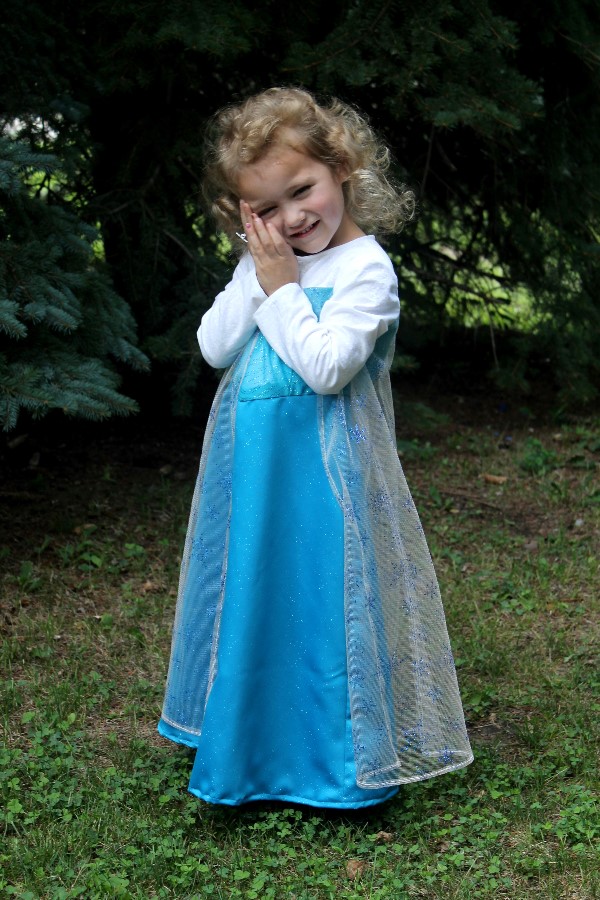
And here is Piper’s “Elsa” costume.

Elsa

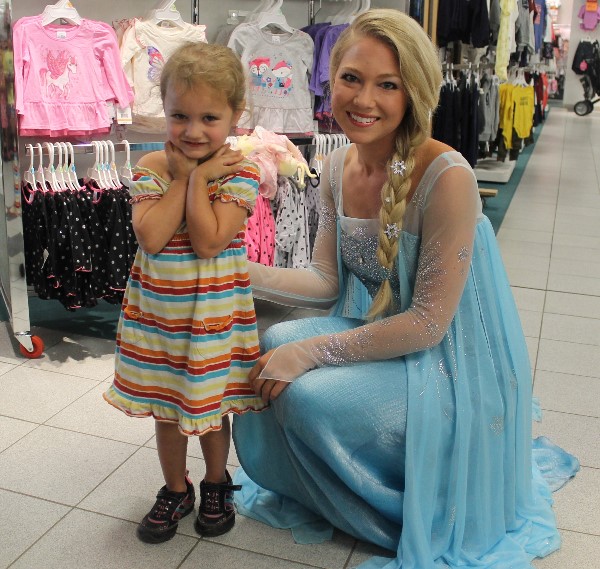
We had planned on putting snowflakes in her braided hair just like Elsa had the day that we visited her in the mall.  
pattern
Elsa has snowflakes in her hair!

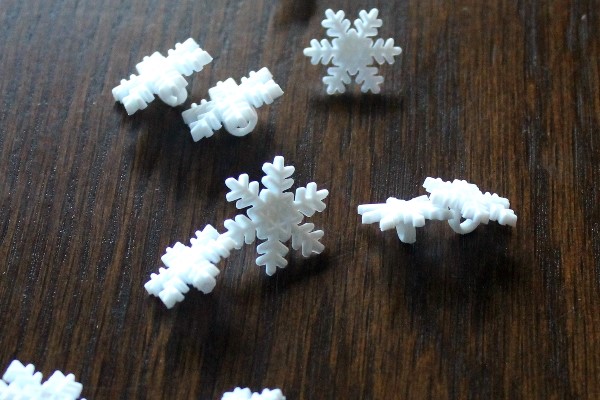
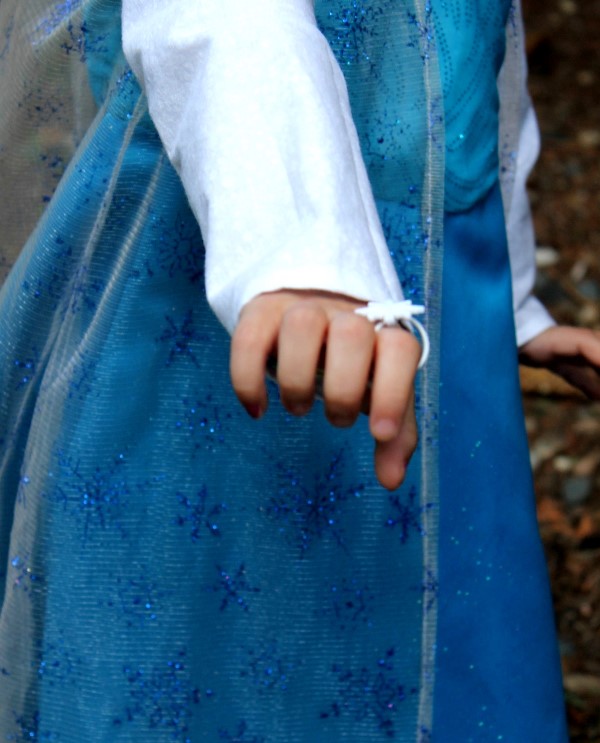
And found these snowflake buttons that we attached to elastic thread to put in Piper’s braid.

Snowflake buttons

But while Piper gets up almost every morning pretending to be Elsa, the day I planned her “photo shoot” she decided that she was Belle.  

And Belle has long flowing brown hair with NO snowflakes.  So this is the closest I could get with the snowflake button.

Elsa

She also wanted to wear her Barbie heels.  Hey, she’s three.  Compromises must be made. 
Elsa

Elsa

ElsaElsaAnd here’s the pattern I used…

Pattern
This pattern was approved by Addy and Kendall.

There are several patterns for Frozen costumes now plus princess fabric displays at Jo-annes and Hancock Fabrics.  Fabric.com also has posted their version of the Frozen costumes–including Olaf.   In addition there are hundreds of ideas on Pinterest and if you don’t want to make your own costume, you can check out Etsy.

Addy, Kendall and I bought most of the fabric at Jo-annes.  Piper and I picked up the cape material on clearance at Hancock Fabric.  I think the buttons were from Jo-annes, too.  Then I decided the fabric that we picked for the sleeves and yoke was too itchy and replaced it with some cotton fabric with snowflakes at Hancock Fabrics.  Fortunately the Christmas fabric was already out and on sale.

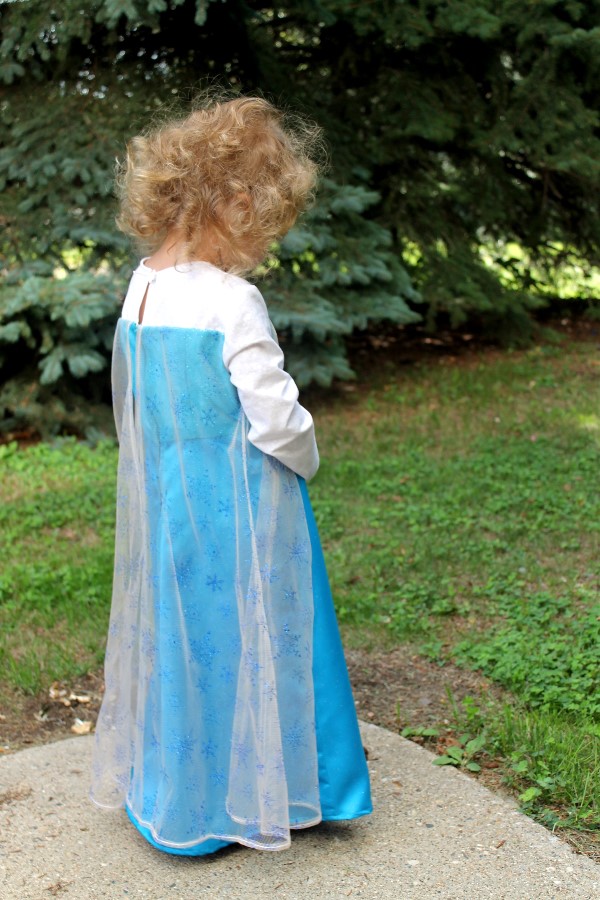
One last look at the back, the cape goes all the way around.  Just like Elsa!

Frozen Costume Number 1!

Just one more Elsa and an Anna costume to do before Halloween!  


A Quilt for Tyson


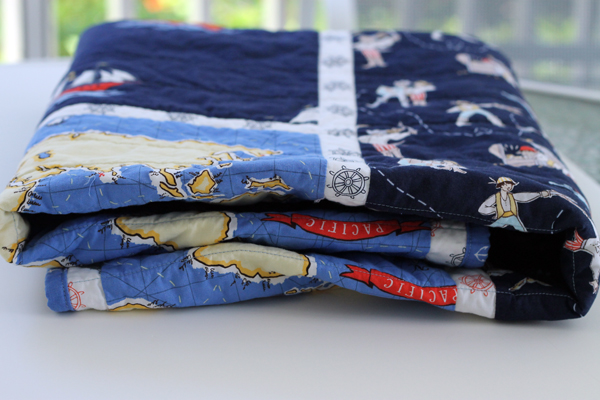
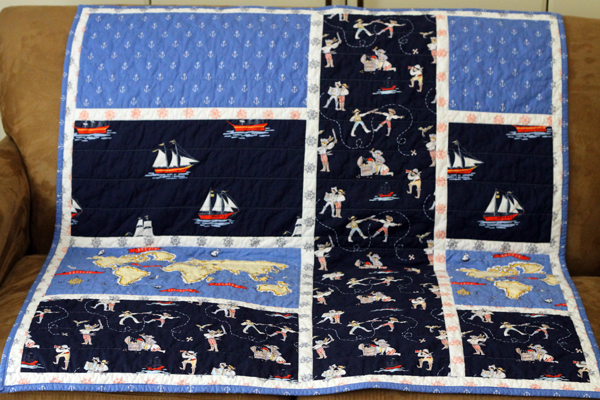
A Quilt for Tyson with Michael Miller "Out to Sea" fabricI finally got a chance to finish Tyson’s quilt–and he’s not even walking yet!  Just kidding.  Tyson Hugo Green was born in May and I didn’t decide to make him a quilt until right after his birth.  I had several projects to complete before I could get to putting those little nautical pieces together. Plus I knew that he was coming to visit in November so I could possibly give the quilt to him then. But I’m really happy that it’s finished and it’s on it’s way to Tyson!
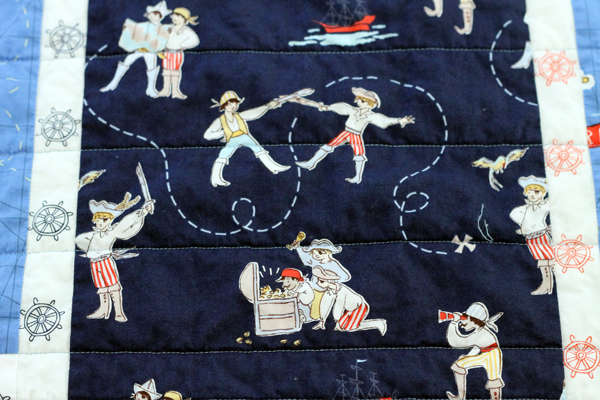
I decided to make a quilt for Tyson after I saw this adorable pirate fabric online and thought nothing could be better for a newborn swashbuckler living in Seattle.  And his parents just happen to have been married at the Seattle Aquarium.  (Not only did we get the full run of the aquarium, they had an ice cream bar rather than a wedding cake–yum! Riley said “best wedding ever”)

A Quilt for Tyson with Michael Miller "Out to Sea" fabric

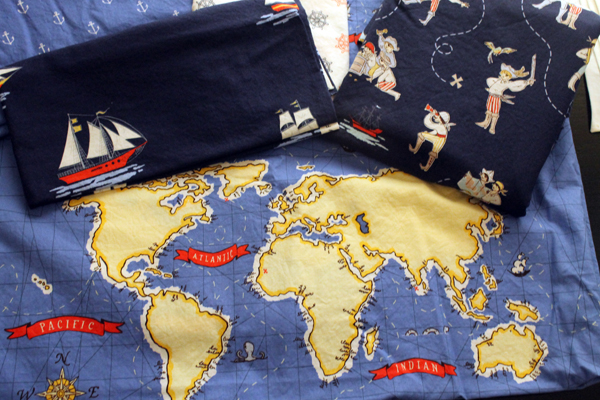
I ordered the material from fabric.com and it’s all from Michael Miller “Out to Sea” line.  I started out loving the pirate fabric. 

A quilt for Tyson with Michael Miller "Out to Sea" fabric
How cute are these little guys?


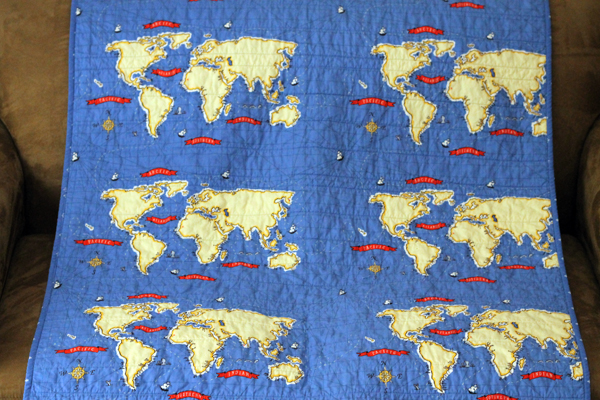
The map was supposed to just be for the quilt backing but when it arrived it was my favorite. 

A quilt for Tyson with Michael Miller "Out to Sea" fabric
I love all the little whimsical details on the map.

I wanted to make it in the same style as I did for the Quilt for Willow that I featured back in May.  It requires some “fussy cutting” so I had to change around all my calculations just to put a piece of the map on the front of the quilt.  So worth it.  I should have ordered more of the map fabric but how did I know that I was going to like it so much?  I had to shrink the size of the quilt a bit so it’s 39″ x 43″, which is still an okay size for a baby quilt. 

So here’s the finished project:

A Quilt for Tyson with Michael Miller "Out to Sea" fabric
The front
A Quilt for Tyson with Michael Miller "Out to Sea" fabric
and the back.

The map fabric has longitudinal and latitudinal lines.  I’m a beginner quilter so this was a challenge to get the backing on straight.  All the quilting advice I read is to use a busy pattern on the back with NO OBVIOUS PATTERN so it won’t show any stitching mistakes.  While it’s not perfect, it’s not too bad.  Perfectly imperfect.

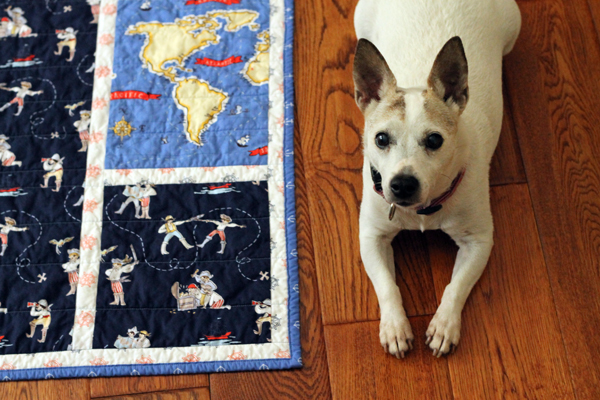
I put the quilt on the floor to get one more pic and Maggie decided that she needed in on the action.

A Quilt for Tyson with Michael Miller "Out to Sea" fabric
Maggie’s such a little ham.

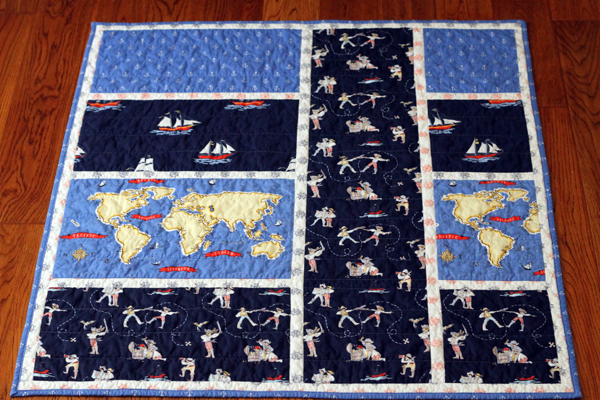
One final picture…

A Quilt for Tyson with Michael Miller "Out to Sea" fabricThe quilt is on it’s merry way to Seattle.
Adventures in the Kitchen with Michelle, Roly Poly Zucchinis

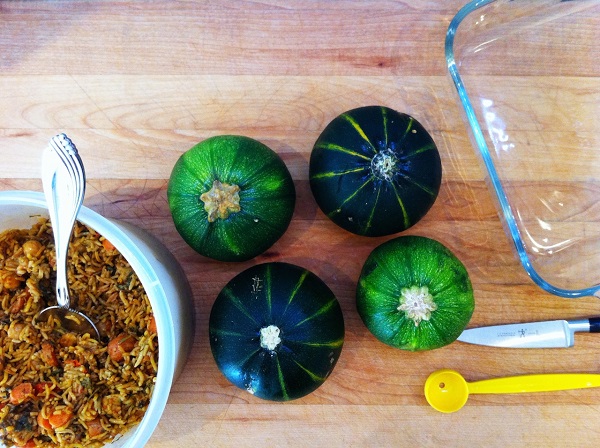
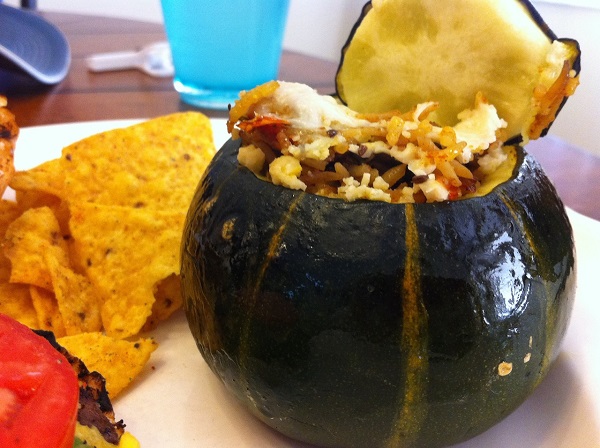
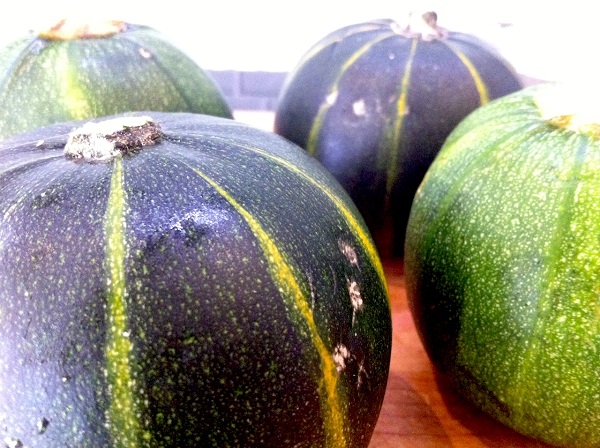
It’s summer and that means a couple of things. One of which is that the Farmers Market is filled with summer veggies,…and school’s out*. I confess to being a sucker for odd veggies – golden beets, giant lemons, and these ‘roly-poly zucchini’s’. A little bit bigger than a baseball, they were just so cute, I had to have them! But what do you do with them? It seems that many people slice them like eggplants and fry them. No, frying, thank you. Next is stuffing. Oh, yes I can do that! I love stuffed peppers, and these would work sort of the same way. Better yet, I had some leftover rice dish from a day or two ago that was awesome (http://www.pbs.org/food/kitchen-vignettes/tunisian-spinach-rice). You could use whatever you have, leftover fried rice from Chinese take-out, a rice pilaf from a couple of days ago, maybe a stuffing tidbit you could add some more diced and sautéed veggies to to make it go further. Mac n’ Cheese, ramen noodles,….Any way you do it, they’re fun and a cutesy single–serving veggie goodness bomb!
 
Adventures in the Kitchen with Michelle, Roly Poly Zucchinis


Roly Poly Zucchini’s (aka – Stuffed Zombie Heads*) 


Step 1:

 Roly Poly Zucchinis
Get those little zukes out and wash ‘em up. Preheat that oven to 350deg.
 

Step 2:

Adventures in the Kitchen with Michelle, Roly Poly Zucchinis

Decide what you’re going to fill them with. Get an 8”x 8” dish and put a little olive oil in the bottom. Find your mellon baller (or a round spoon) and a paring knife.
 

Step 3:

Adventures in the Kitchen with Michelle, Roly Poly Zucchinis
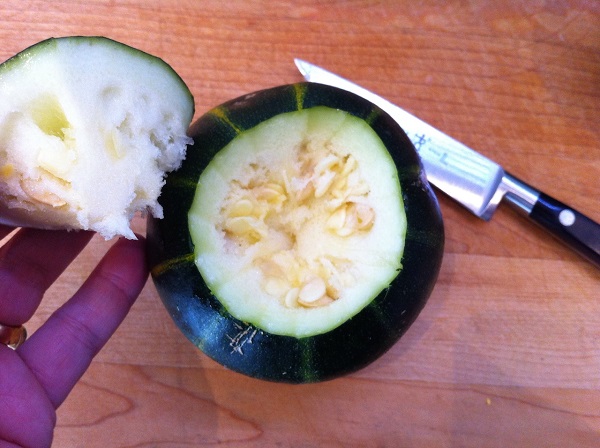
Cut off the tops as if you were carving a pumpkin – they are cousins you know. Using the melon baller, scoop out the seedy innards ,…eewwwww! But leave the flesh – it’s yummy.
 
*This is about the part where my son, who’s been off from school and spending his rain-days binge watching The Walking Dead, comes in and says “Hey, they look like little zombie heads…” – “…braaaaains….crrr..crrrr!” So we all had a good laugh and, yup, it looked like a shrunken zombie head when I was done – LOL
 

Step 4:

Adventures in the Kitchen with Michelle, Roly Poly Zucchinis

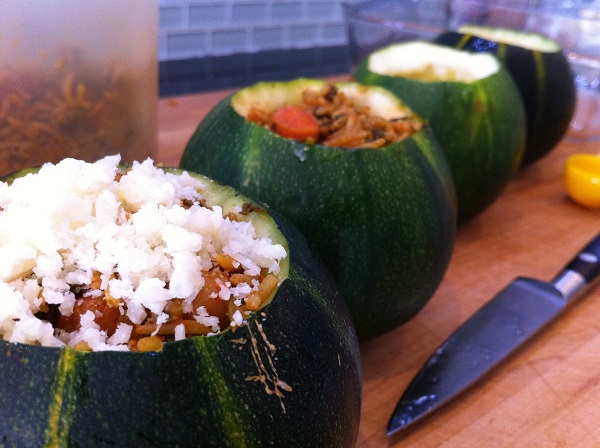
Fill them with you delicious mix and top off with a little parm cheese, just to be showy! If you aren’t feeling all vegetarian, those Chicken Meatballs from Murrays are a perfect fit too. Find them in the fresh Organic chicken section – perfect if you’re feeling both healthy and lazy (no, that’s not an odd combo here). Pre-made and delicious for the lazy me, lower fat, GMO free Chicken for Ms.WannaBeHealthy.
 

Step 5:

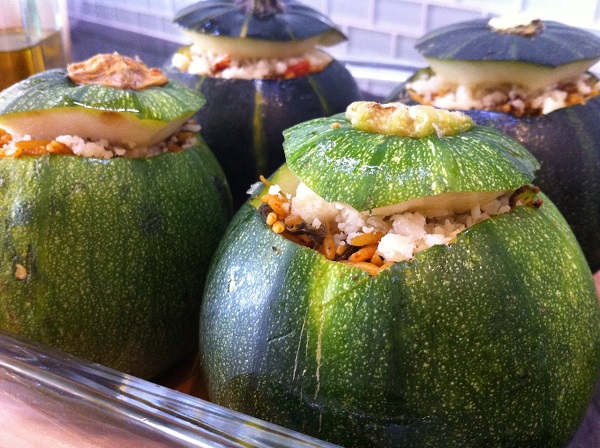
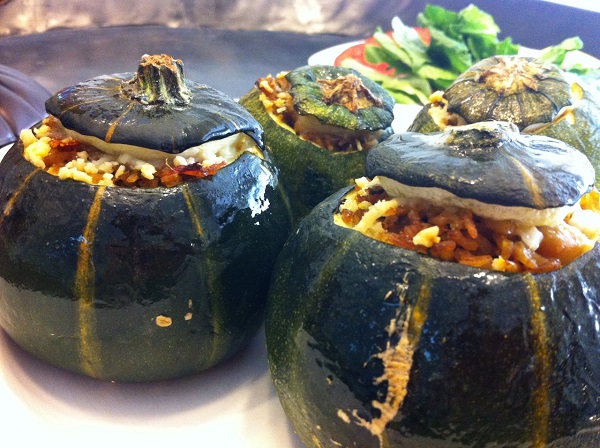
Adventures in the Kitchen with Michelle, Roly Poly ZucchinisSet them in the baking dish. You can put their lids back on (cause they’re cute), but put a bit of oil on them to keep the cheese from sticking.
 

Step 6:

Adventures in the Kitchen with Michelle, Roly Poly Zucchinis
 
Get those bad boys into the hot box for about 30 –45 min., depending on what you filled them with. These zukes have a slightly tougher skin so they stand up to being filled, but not like a hard squash so you can eat the whole thing.
 

Finale:

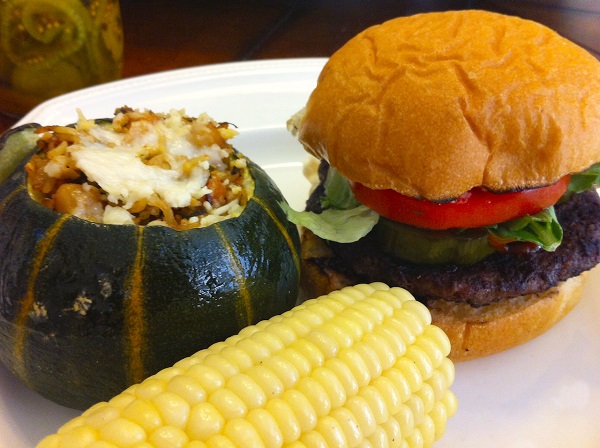
Everybody got a ‘serving’ (zombie head! – LOL) and it made a vegetarian side dish for some summer burgers that was fun for all. Even my meatarians were impressed !
 
Roly Poly Zucchinis
Yum!
   
 
Michelle Beal