VitaCost Dark Choco Almond Drop Cookies
Step 1:
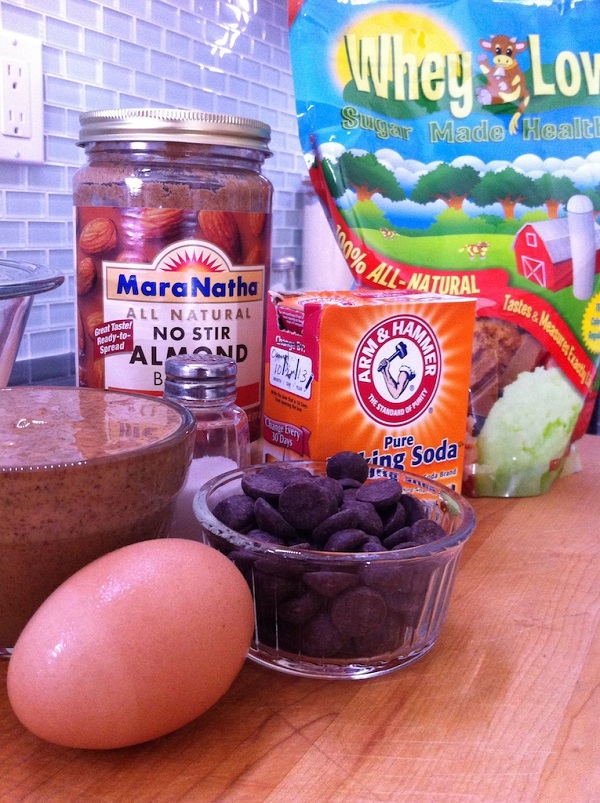
Step 2:
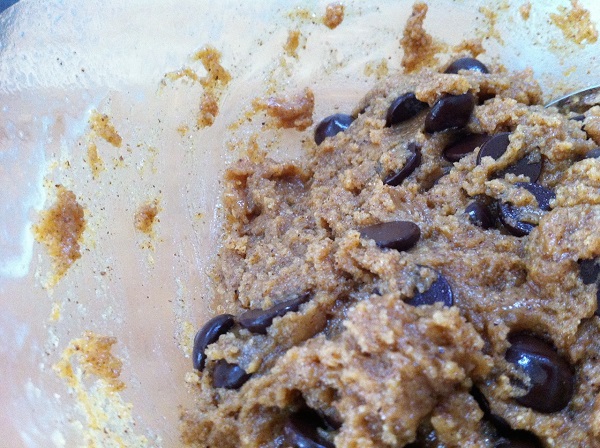
Step 3:

Do it Yourself Projects


I was planning on posting about some options for the DIY Easy Tote bag from last week but it was pandemonium around here. That’s a kind way of saying that three energetic grandkids were here for three crazy busy days.
So, instead, I’ll tell you about the Frozen costumes that I’m working on.
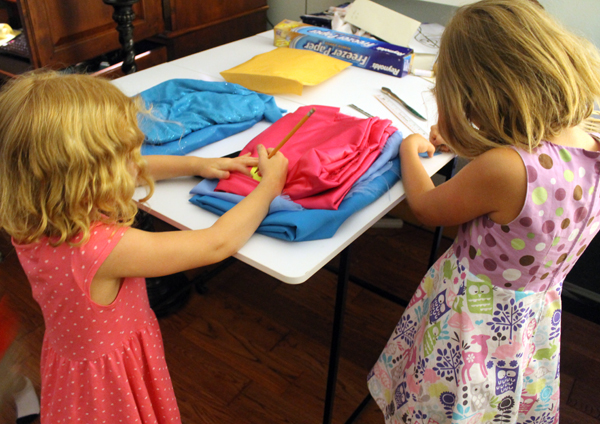
This all started when Piper skyped me from ND to ask me to make her an Elsa dress. Not a problem. So I told Addy and Kendall that I’d make them dresses, too. They were all very excited! Everyone wanted to be Elsa, of course. And I want to add that these three girls are all fashionistas. They are not going to wear anything that doesn’t fit exactly right, rubs in the wrong way, or is the slightest bit off in style or color!
I had the pattern for the Frozen costumes but wasn’t too sure of the size for Piper. So, rather than just making the dress out of all that shiny material and finding out that it doesn’t fit, I made a test dress in the 2-3 size for her and was planning on sending it off to ND for Piper to try on.
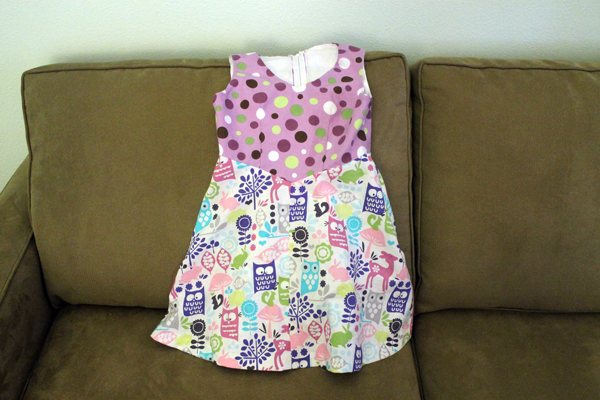
When I finished it, I thought this really looks big. So, since Kendall was here, I tried it on her. She’s a size 5. And she said, “Grandma, this is way too big, I’d have to wear a shirt under this.” And she was right, the armholes were very large.
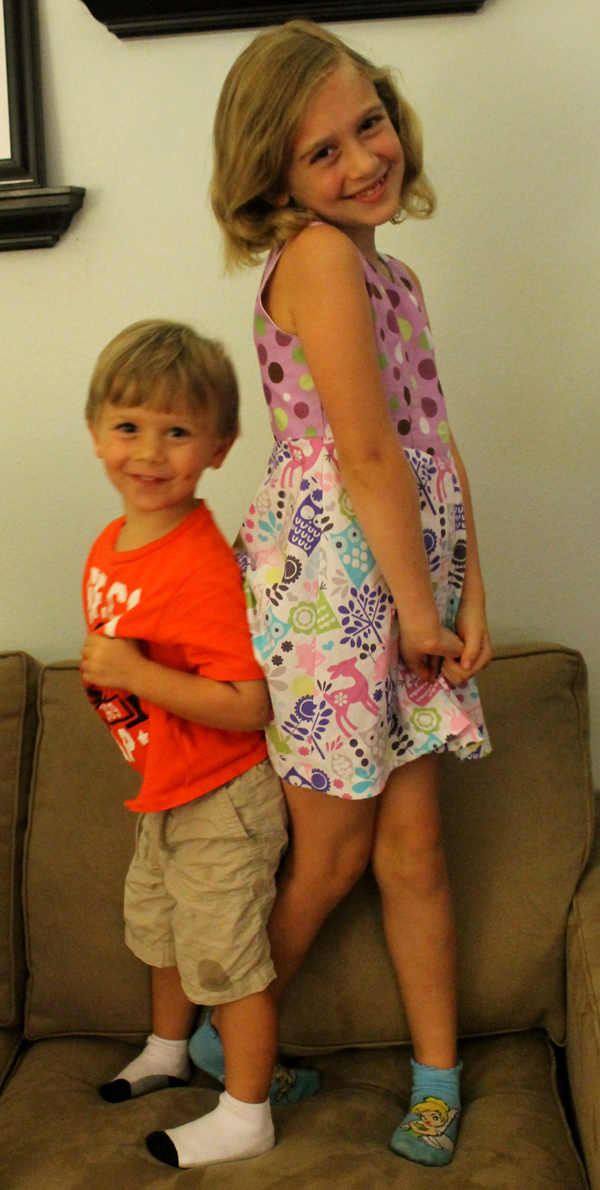
So I tried it on Addy, a size 7, and it just fit. A little short in the length but perfect around the chest and armholes.
And where’s Kendall?
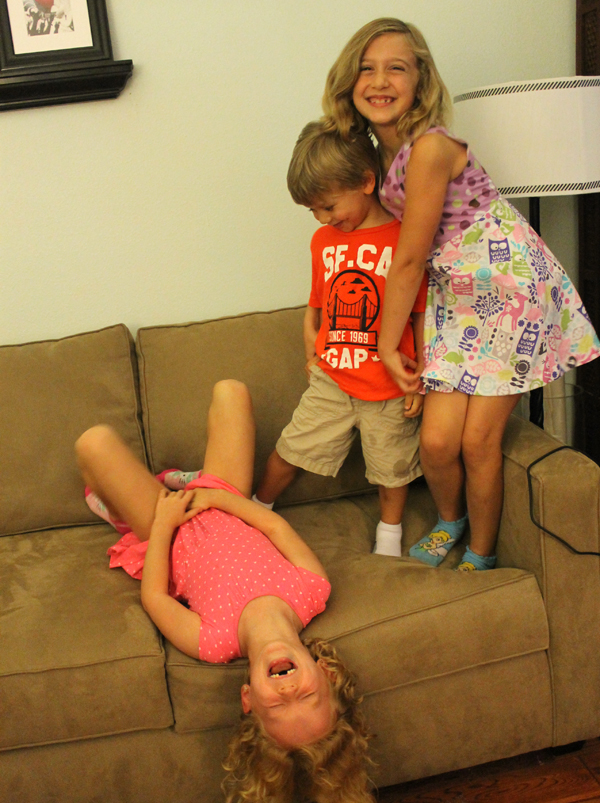


And that’s why I didn’t get the tutorial for the tote options finished!
We did accomplish something. Kendall now wants to be Anna! Yeah! Two Elsa’s and an Anna. Couldn’t convince Jack to be Olaf, though!
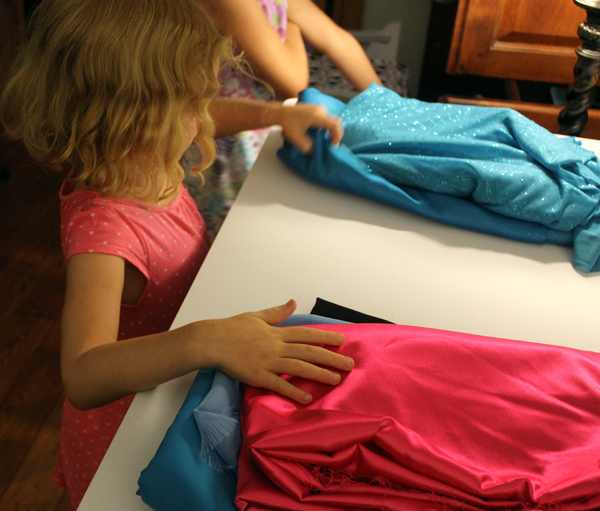
And we went to the fabric store and these two fashionistas picked out the perfect shiny material for two Elsa’s and an Anna. And I was told exactly how each cape had to be attached and that the dresses had to go ALL THE WAY TO THE FLOOR, and they had to have long sleeves. Glad I got straightened out on all that before I made those dresses! Now I just have to figure out how to make the dress small enough for Piper!
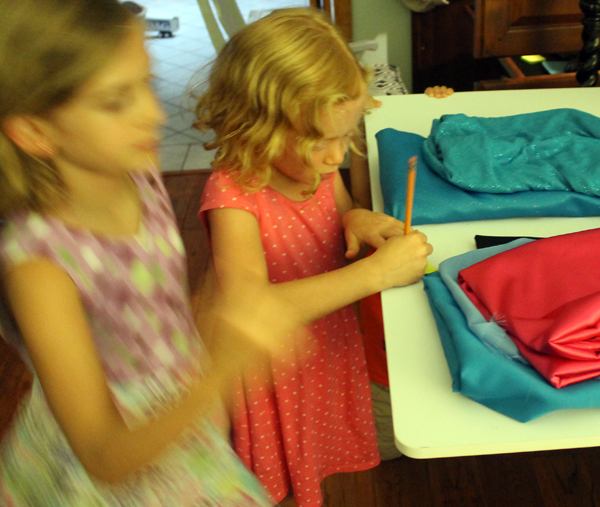
I’ll be back next Thursday with the update for the tote!
Jes asked me to make a tote. She had bought one that she absolutely loved and it was worn out. Could I make one just like it?
Of course!
Based on the tote she sent home with me, I made a denim one just for practice. And when Jes came to visit, she wanted that one. I offered to use a different fabric, put pockets, appliques, etc. on it. Nope. She just wanted a plain old denim tote. And she immediately started using it.

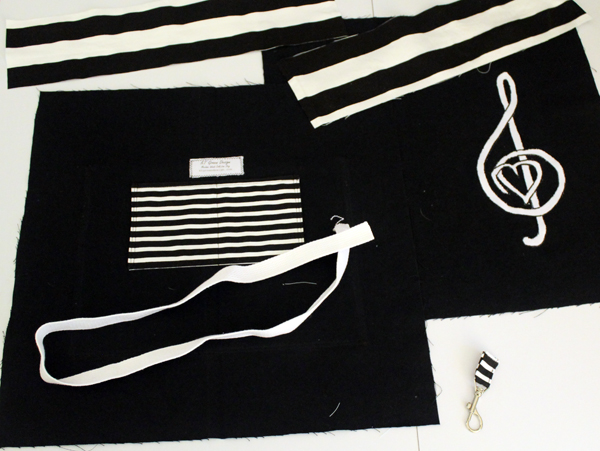
So I decided if it was that great, I probably needed one, too. I could carry my music and stuff in it to the acoustic meetup. And then I had to overthink it. And I started putting appliques and pockets and….. And it’s just supposed to be an easy-peasy tote! So after I finished my complicated one, I made this one.

And it took less than an hour and very little fabric.
And then I made Maggie model for me…

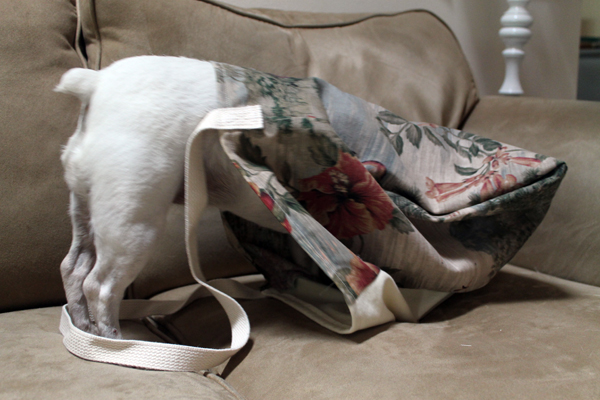
Okay, one more pic then I’ll show you how easy this tote really is!
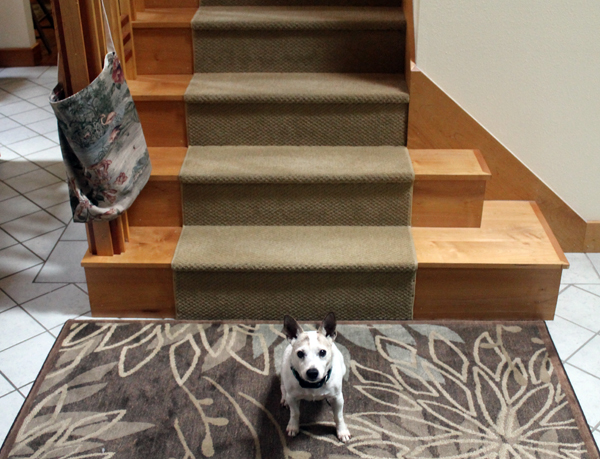
You need two 19″ squares of sturdy fabric for the tote–like denim or canvas. Plus 36″ of cotton webbing for the strap.
I was trying to use up some old fabric so pieced together the back to get the 19″ square.

Put the rights sides together and sew the sides and bottom with 1/2″ seam allowance. I did a zigzag stitch along the edges, too, since I don’t have a serger.
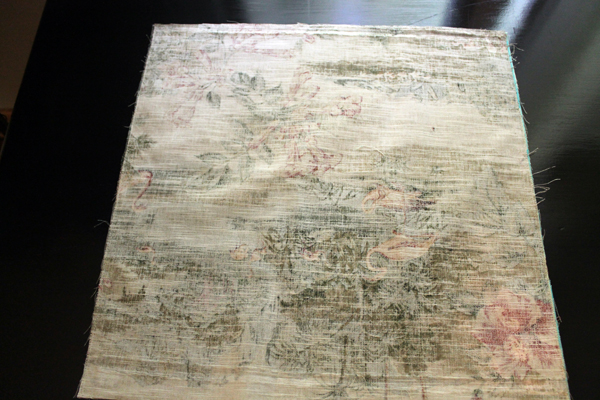
Next is the pleated bottom. Fold the fabric in on both sides at the bottom 2 1/2″.
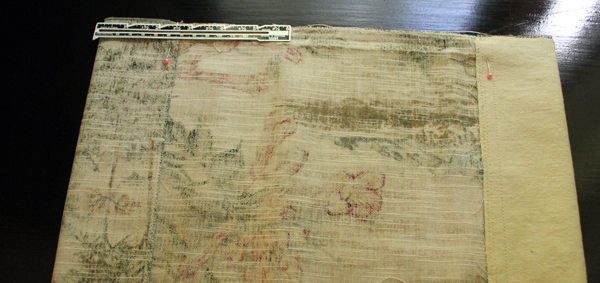 Then stitch across the bottom with a 1/2″ seam allowance. I stitched twice just in case I decide to carry a watermelon home in that bag. If that fell through, that would be a disaster!
Turn the top edge under 1/2″ then another 1/2″ and stitch 3/8″ from the top along the edge.
For the handle, turn the cotton webbing under 1/2″ on both ends. Stitch. (I also zigzag stitched it.) Put the bottom of the webbing on either side seam at 1 1/2″ from the top . Stitch a box, then an X in the middle of the box. Or you could do the X first, or some variation. That will make the handles a bit more sturdy if you decide to carry a watermelon.
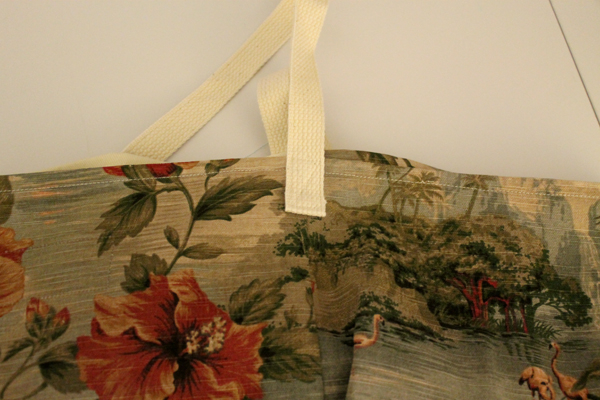 Easy Peasy Done! Seriously, less than an hour. And quite cute and useful. I could even carry Maggie in it! (All I need is a biscuit!)
And next week I’ll show you how to change up that basic pattern with French seams, facing, pockets, appliques….. it just goes on and on and on.
