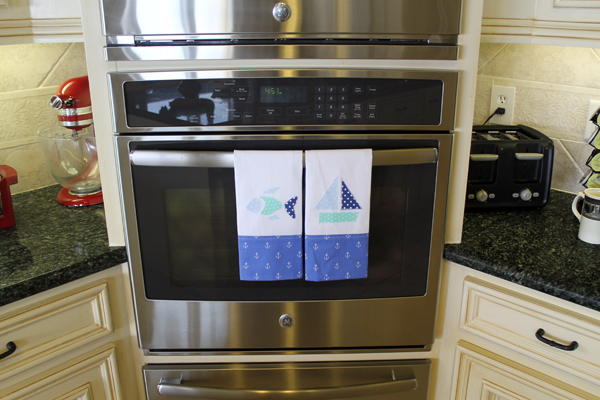
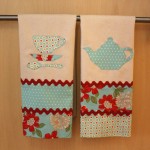
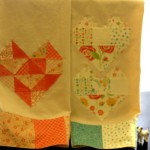
One last tea towel posting and then I’ll move onto another sewing project. This time I made tea towels for my friend that lives on Lake Conroe so I went with a nautical theme.
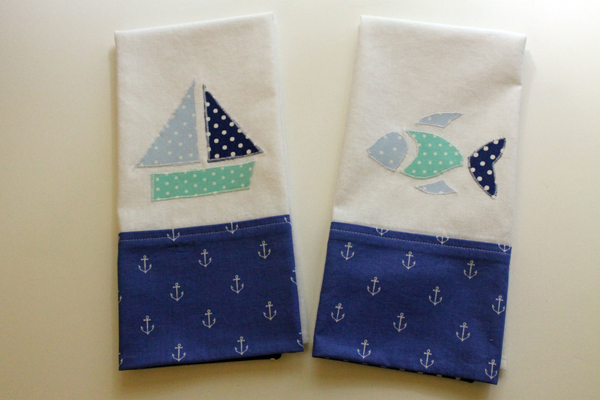
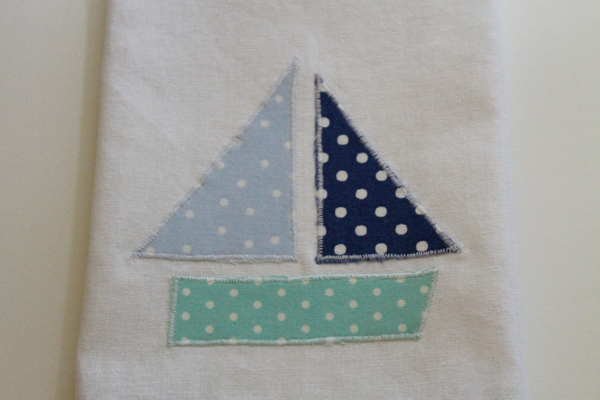
And just want to say that there are NO sailboats on Lake Conroe. But sail boats are a lot cuter than pontoon or fishing boats.
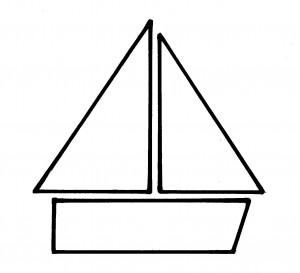
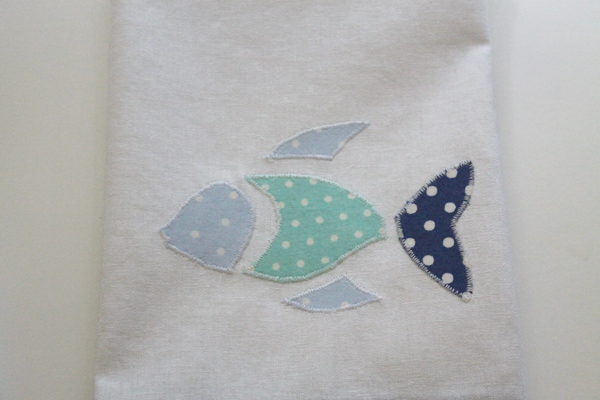
I pulled the fish from sweetclipart.com. I couldn’t find a sailboat that I liked, so I just drew my own. Pretty easy with a ruler and a piece of paper. If you want to use my rendering, just click on the sailboat and print or save to your computer.
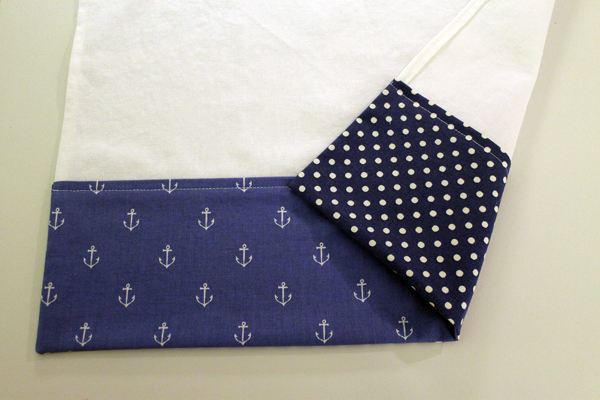
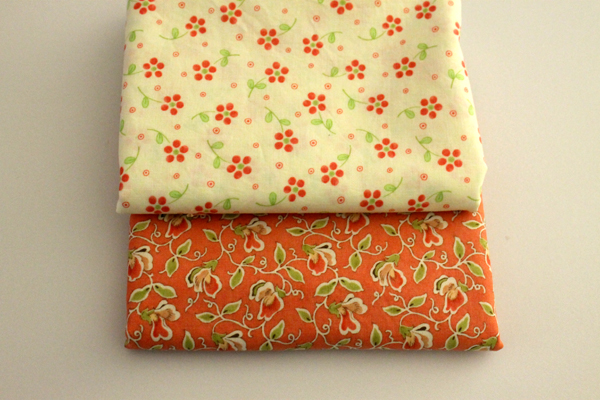
I had purchased the Michael Miller nautical fabric to use in a boy baby quilt I am making. See those anchors in the upper left hand corner?

I did a quick calculation of how much I needed for the quilt and decided I could spare 5″ of it. I had some polka dot fabric in the same color that I had stashed away and used it for the back of the color band.
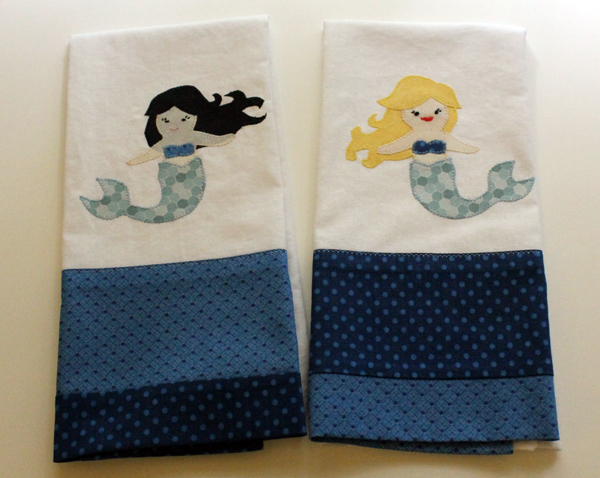
So here’s basically the same instructions that I used for the mermaid and flower tea towels from the last two weeks. Only difference is the appliques and the size of the color band.
After washing and drying all the fabrics, I cut a 17″ x 20″ piece from Kaufman Essex Wide Linen then hemmed three sides (two long and one short) using the tutorial for clever corners from Sew4Home.com. The towel is then 16″ x 19 1/2″ with one raw short edge.
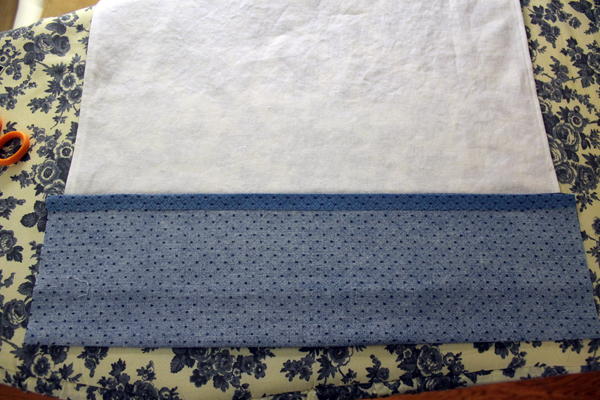
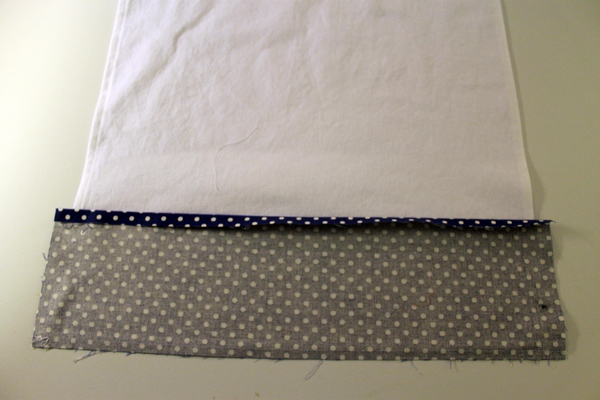
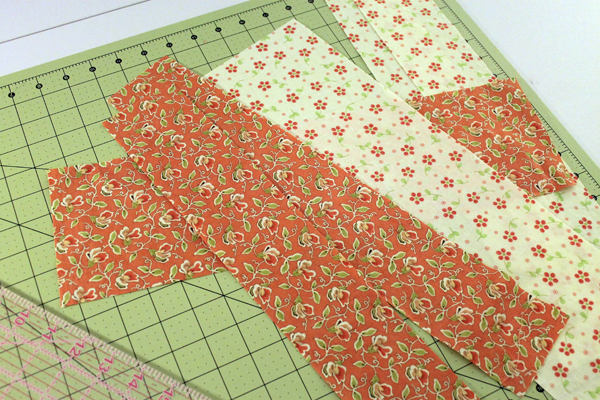
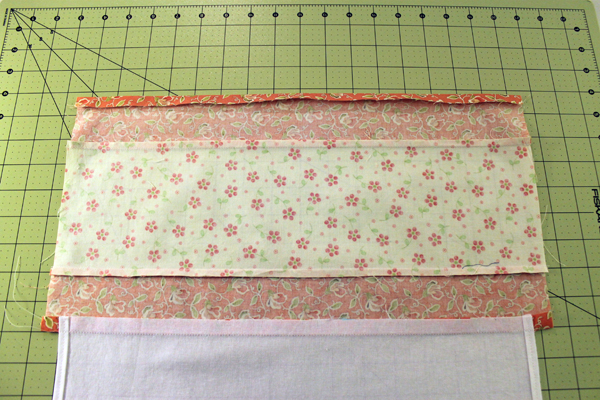
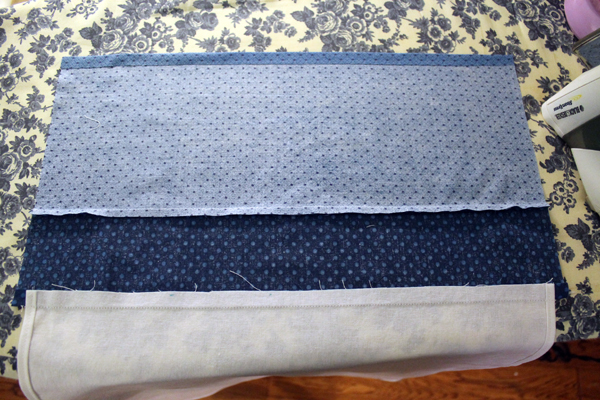
The color band is made from two 5″ x 17″ coordinating fabrics.
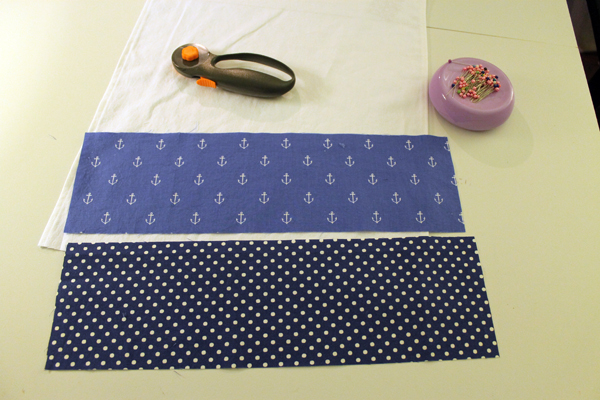
The anchors are an obvious one way print, so make sure when you attach the color band to the tea towel, they are going in the right direction! Then I stitched the two fabrics together with a 1/4″ seam.
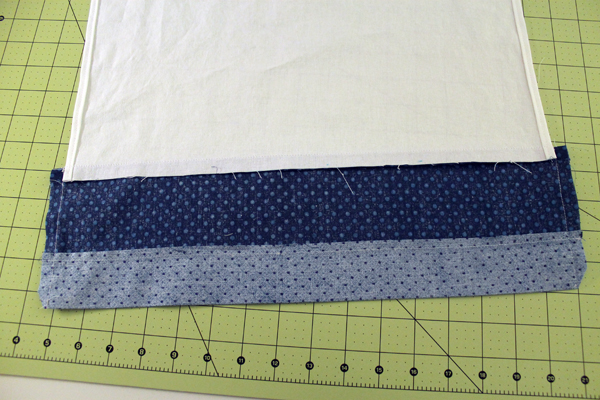
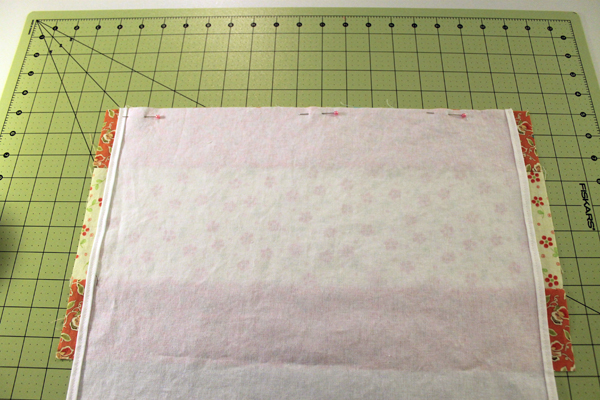
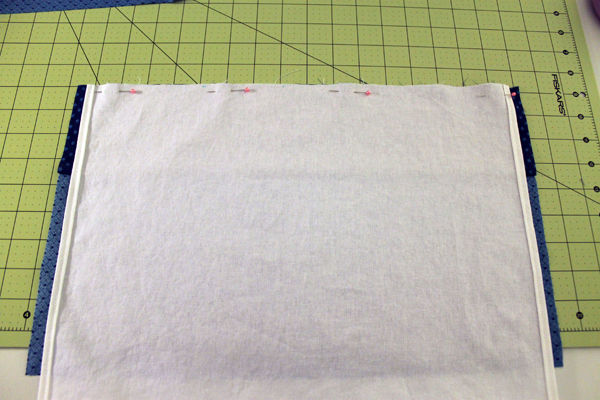
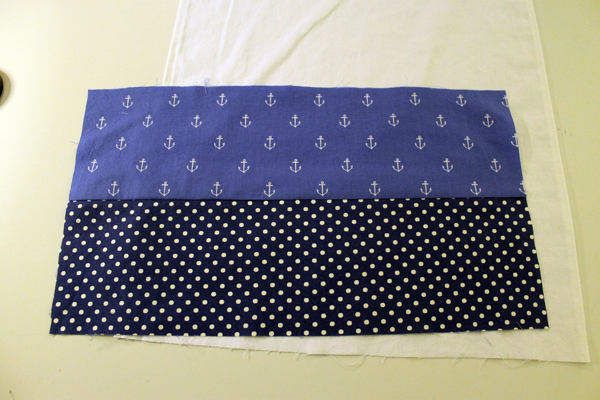 Center the tea towel fabric on the color band–there should be 1/2″ on each side. The right side of the anchor fabric goes against the right side of the tea towel. Stitch together with a 1/2″ seam.
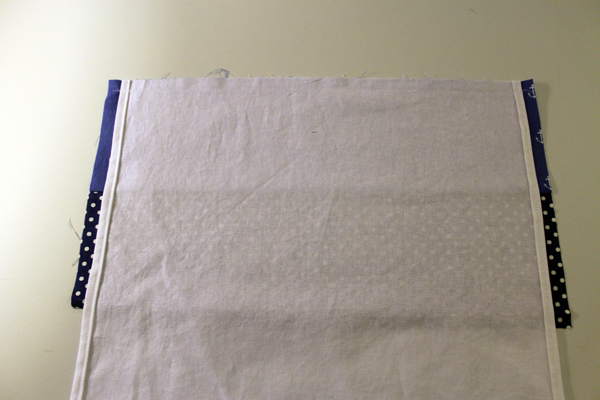
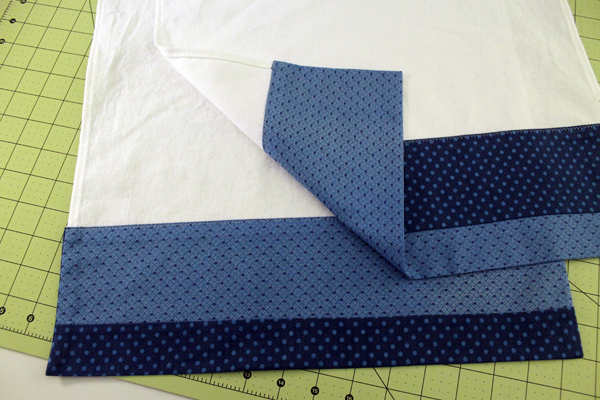
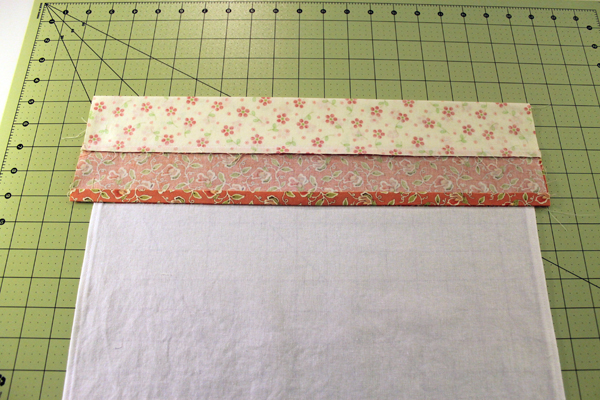
Turn under and press the raw edge 1/2″. Bring the right sides of the color band together and stitch 1/2″ seams on the sides.
Clip corners and turn right side out. Stitch along the top, making sure you catch the top of the back piece.
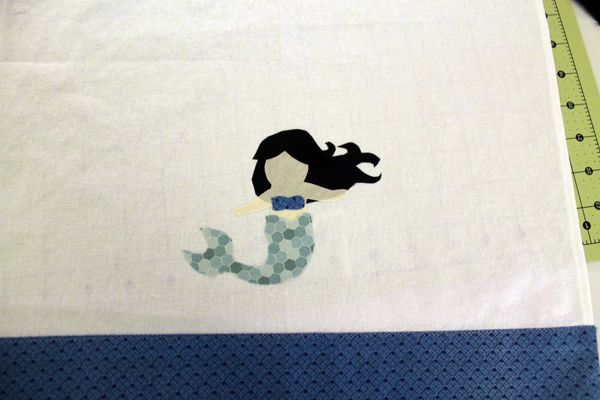
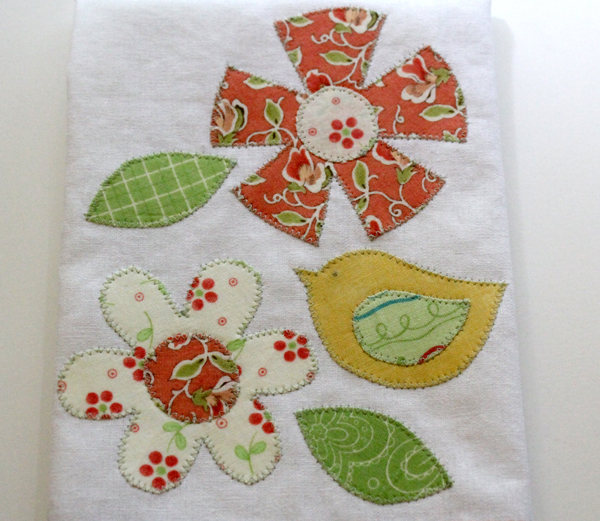
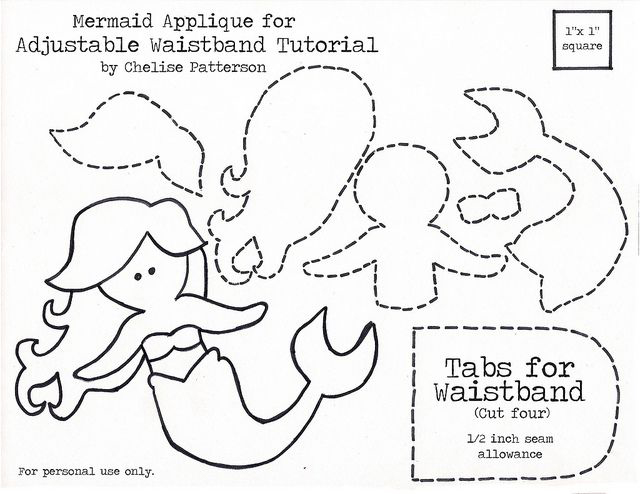
Now make your appliques using Heat n’ Bond Lite. Press onto the tea towel, stitch into place with a satin stitch.
Easy Peasy!
And here they are at the Lake House!
Next week, I promise, no tea towels!
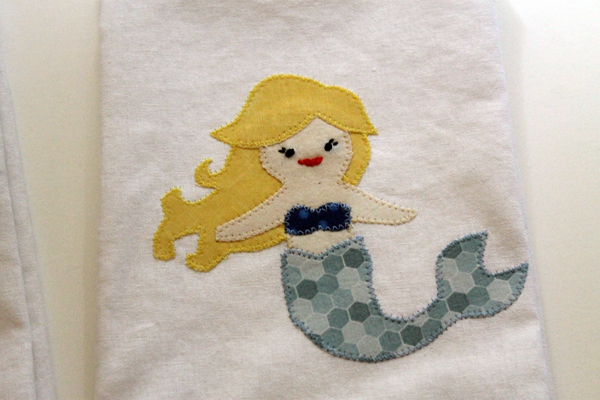
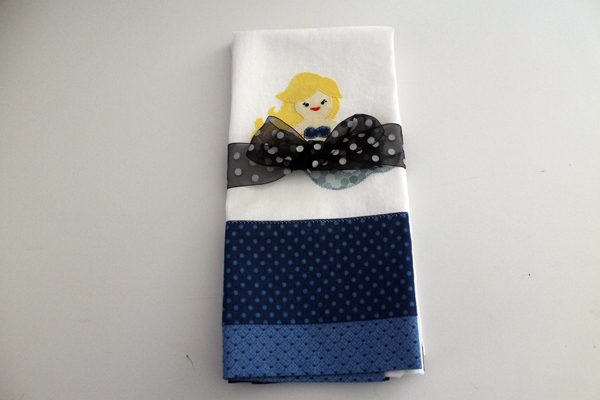
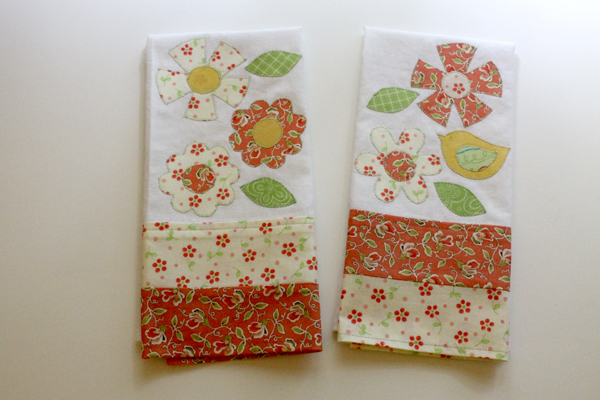
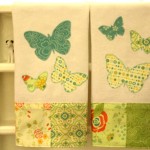
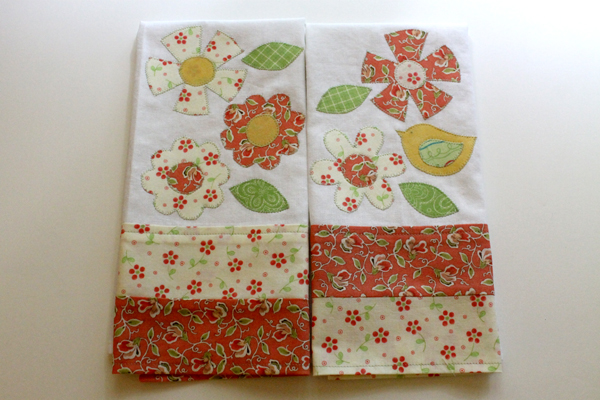 Okay, you are thinking that I’m totally obsessing over tea towels now! But I wanted to bring a small hostess gift to my friends in Texas and these fit easily in my bag. And they are totally adorable.
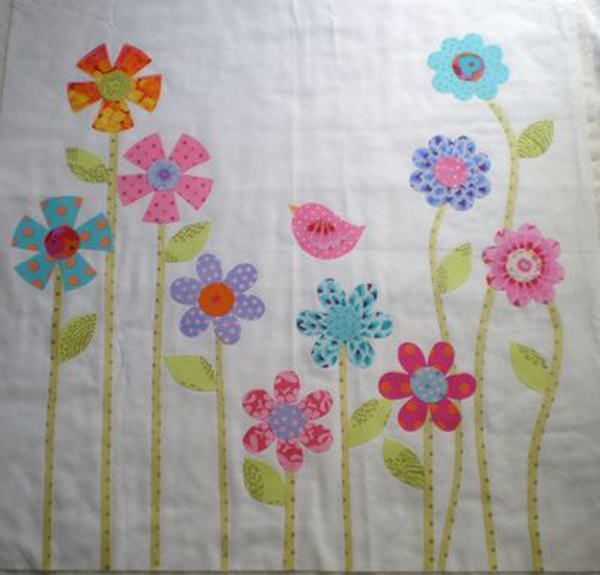
 Sew the long side of the 3″ bands to both long sides of the 5″ band with a 1/4″ seam.
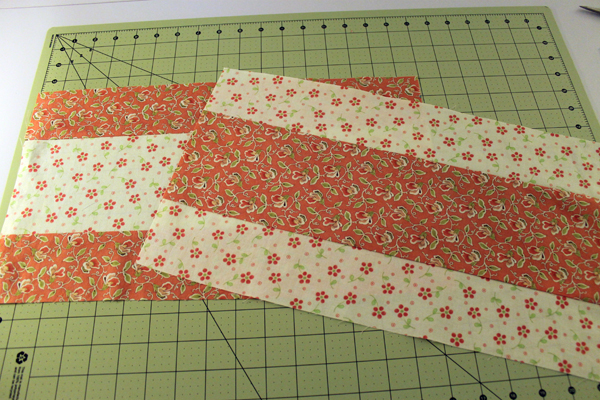
 Stitch side edges of the color border with a 1/2″ seam allowance. Clip the corners and turn right side out. I used a coordinating thread to stitch close to the edge around all four sides of the color band.
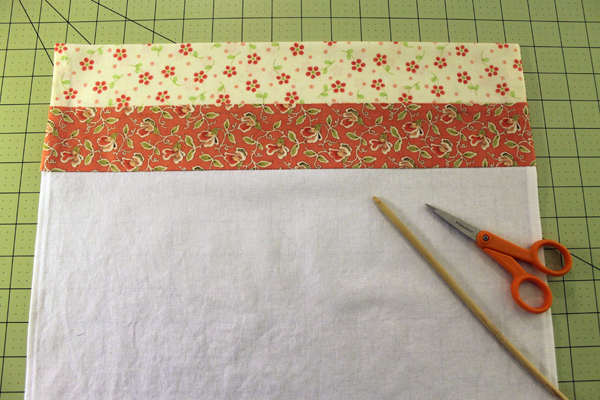
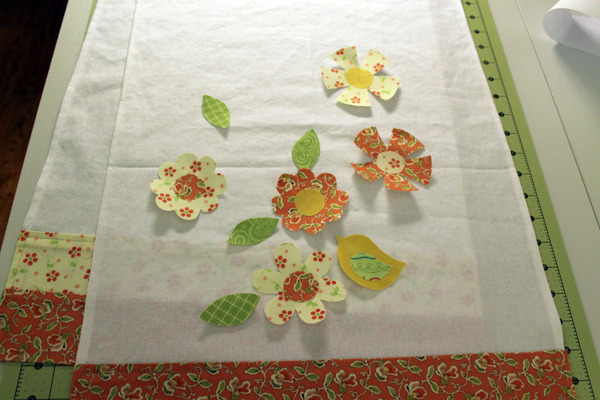 Placed them on the tea towel and pressed.
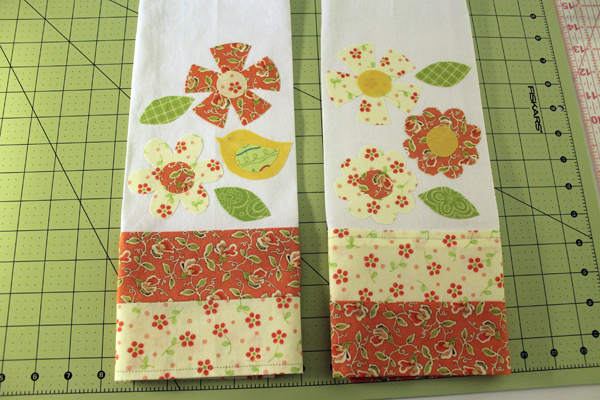 Did a little zig-zag stitch around all the edges.
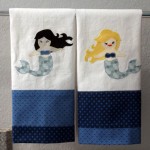
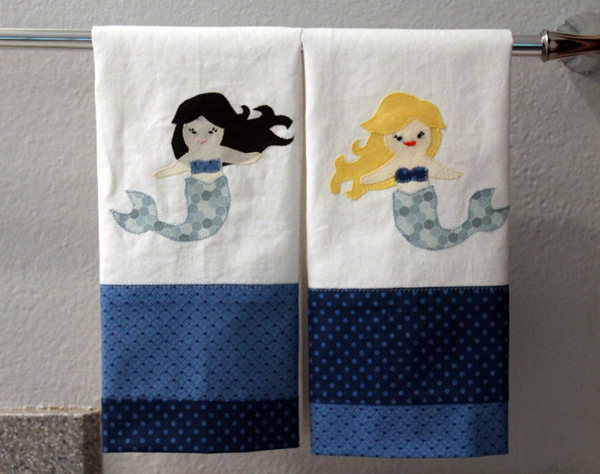
 The second problem I had was creating the face. I tried using fabric paint pens–I am definitely not a painter. Then I did some embroidery. Still strange looking but I went with it.
 Here’s the sewing instructions:
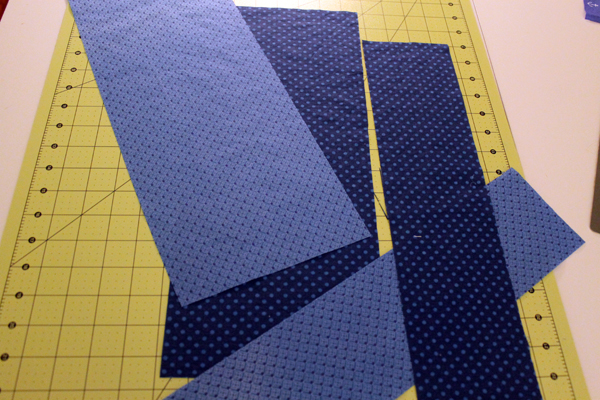 Sew the 4″ strip to the 7″ strip with a 1/4″ seam. Your color band should now be 10 1/2″ wide.
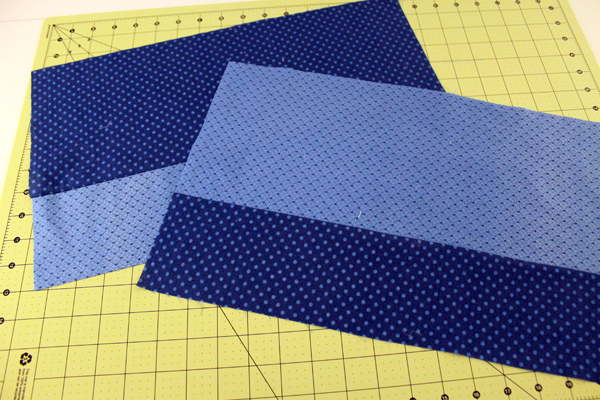
 Fold the color band up to meet the towel seam, right sides together. The pressed edge of the color band should be on the seam.