DIY Apron with Moda Fabrics

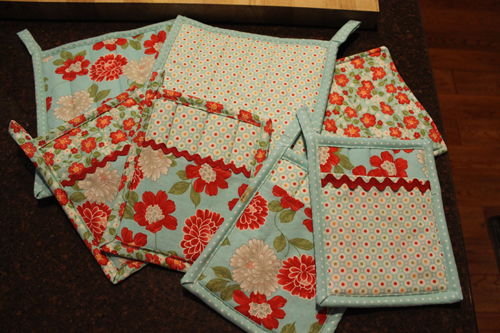
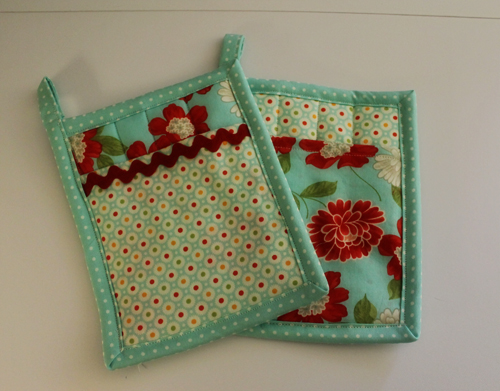
I’ve been kind of obsessed with perking up my kitchen with Moda Fabrics.  I started with tea towels, moved onto pot holders, and now I’ve made an apron–and more potholders, because four potholders just aren’t enough.
DIY Apron with Moda Fabrics
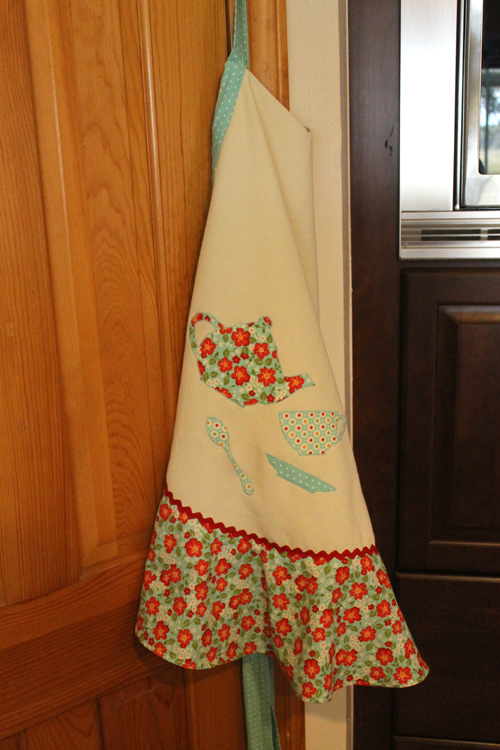
My new apron!
DIY Apron with Moda Fabrics
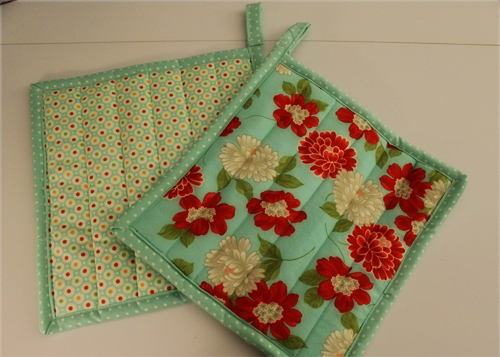
And more potholders. Now my kitchen is a much happier place with all these bright colors!

It’s so easy to mix and match patterns in the Moda Fabric line.  I had originally purchased three different prints but when I started cutting out the apron I realized that I didn’t have quite enough fabric for the flounce.  So off to my little quilt shop in Crystal River where I picked up a fourth print that also featured aqua and red.  Love it.

I’ve already featured this apron pattern in a previous post.  I made it for a “photoshot” and it was adorable with yo-yos.  Too cute.

DIY Apron

This time I decided to make it for me!  And follow along with the “tea time” theme.

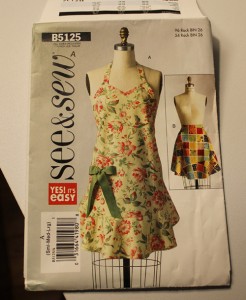
So here’s the pattern:

DIY Apron

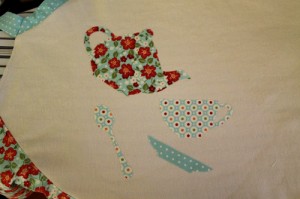
I used the graphics from sew4home that I referenced when I made the tea towels.  I just made them a bit larger with Photoshop.  Using Heat ‘n Bond lite, I cut the graphics out then placed them on the apron in a haphazard pattern.  Because I’m a haphazard cook, I thought that was appropriate.  And I put some rick rack on the flounce just because I recently fell in love with rick rack.
DIY Apron with Moda Fabrics
Place appliques, press, then satin stitch.

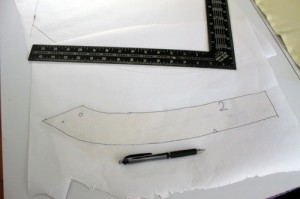
Thought I’d also share a little tip that I came across on pinterest or a different blog–I really should keep track but this one I just posted in my brain. (I do try to credit the original poster on pinterest) Patterns usually come in several sizes now.  The apron pattern was a s-m-l.  You just have to cut along the correct pattern lines.  Since I don’t want to waste the other sizes–hey I might need them if I lose weight or, more likely, gain!  It’s quite tedious to try to cut the fabric along the correct lines.  So anyhow, I found this tip to trace the size that you need onto freezer paper.  Now why didn’t I think of that!  I just happened to have freezer paper that I bought for another tip that I never used.  (Forgot what it was, something about sewing with minky fabrics)
DIY Apron with Moda Fabrics
Trace the pattern onto Freezer paper. Make sure you also note all the markings. Like “place this side on fold”, which I didn’t do and pinned the wrong side on the fold. Drat!

Anyhow, this was SO much easier.  Patterns are rather delicate and after using them a few times they turn into shreds.

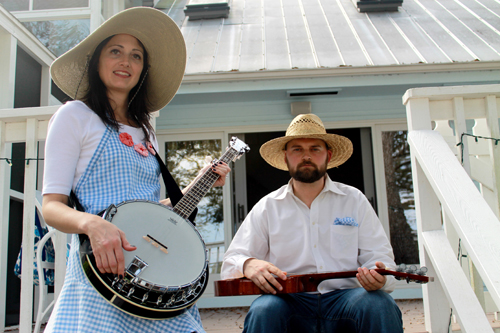
Here’s my adorable new apron. Now maybe this will inspire me to cook more.  (not likely)
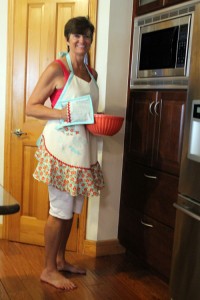
DIY Apron with Moda Fabrics
Look at me pretending to cook!  And wow is my hair short!

DIY Gators

Here in Homosassa we love our gators. UF Gators, deep fried gator, even gators in captivity.  If you ask the Florida grandkids what a gator says, they’ll yell.  “Go Gators!”

(I really don’t like seeing them in my canal, though, since Maggie would be a wee snack.)

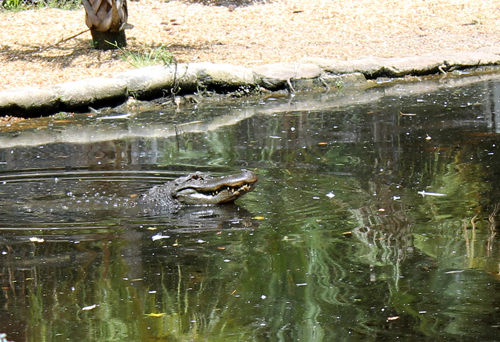
DIY Gator, Alligator at Homosassa Springs Wildlife Park
Alligator at Homosassa Springs Wildlife Park.  Safely confined.

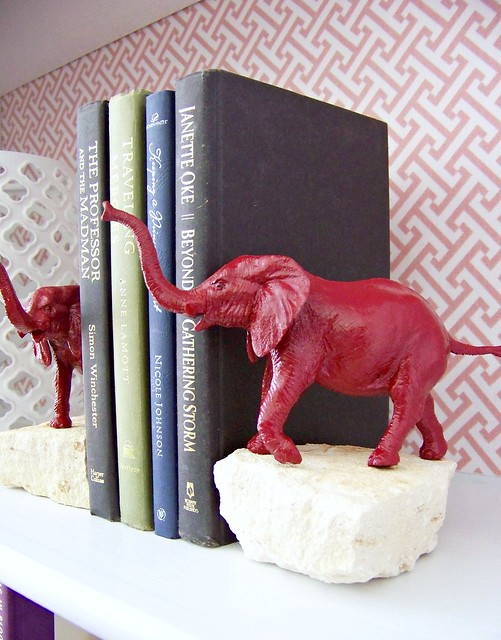
When we had our welcome hour during Jes and Andrew’s wedding festivities, I thought we needed a few gators on the buffet table.  I was inspired by those DIYers that have transformed little plastic toy animals into shiny gold trophies and  clever book ends.

100_7069

We were looking for gifts for small children at the wedding–that also had to be cheap so we went to Michaels.  Found all these fun wooden animals for about a buck each.  The alligators were a little larger so were about $2 but I had coupons.  (Does anyone go to Michaels or Hobby Lobby without coupons?)

We left the smaller creatures unpainted because we were concerned about our wee wedding guests chewing on them and eating paint.  We’d much rather them getting sick from eating vast quantities of wedding cake.

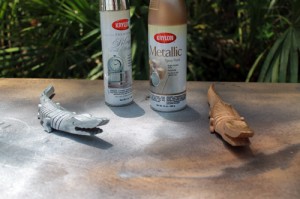
But I wanted my alligators to be shiny and bright so they had to get some spray paint.  Which I just happened to have in my garage.

DIY Gators
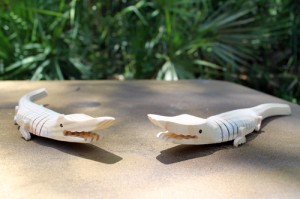
Naked gators
DIY Gators
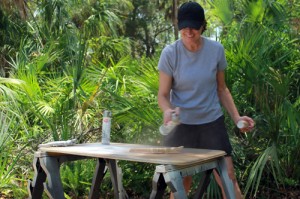
Here I am in my spray booth.
DIY Gators
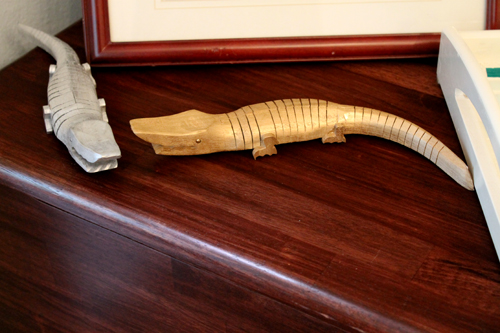
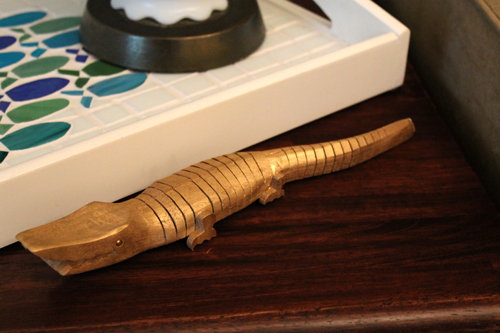
Shiny gators

After the wedding festivities, my glimmering gators retired to my dining room.

DIY Gators

DIY Gators
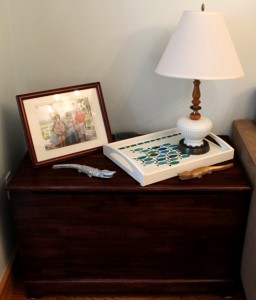
Gators brighten up the summer décor.
DIY Gators
Too cute!

Cheap, Easy, Fun!  My kind of DIY!

DIY Potholders

Here’s the potholders I made to go with the tea towels from last week:

DIY Potholders
Matching Tea towels and potholders

As usual, I perused Pinterest before designing my new potholders.  I followed the directions from sew4home.com’s Quilted Hot Pads.  I also used their tutorial to make the faux mitered corners on the potholders.   These instructions are very clear—although I did make a few changes.

First, the instructions say to use a “walking foot”.  I don’t have one.  Many of my sewing projects suggest using a walking foot so I finally stopped at our local quilt store, which also happens to be a Bernina dealer,  to ask them about the walking foot.  It’s $199.  Wow.  Just to sew potholders!  The woman that works there told me I should ask for it as a gift.  Like for Christmas.  And all I could think was if I was going to ask for a $199 gift, it would be a new camera lens.  (Or maybe a down payment for one.)  Anyhow, I still don’t have a walking foot but it would make sewing through several layers much easier .

The instructions say to use a single layer of insul-brite but I used a double layer just to make sure no one gets their hands burnt on Cookie Day, the most happiest day of the year. 

One of the steps on the instructions is to cut a 2” strip for the binding that is the width of fabric which is usually 45”.  That would be perfect for a 10” square potholder with a 5” loop on it.  But my fabric was 42”—must have shrunk.  So I had to piece my binding together.  That’s really easy and here’s a picture of a nice and neat way to do it….

DIY Potholders
Should have pressed this before I took a picture!

Another change was that I made my binding strip 2 ½” rather than 2″ because I doubled the insul-brite layers.

How cute are these potholders?

DIY Potholders
Pretty on both sides!

But I thought they were a little large so I made some smaller ones with a pocket in them.   

You will still follow the above sew4home’s instructions but you will need the following:

8” x 6 ½” Pot Holder with a pocket:

1          7” x 6 ½” piece for pocket

2          8” x 6 ½” pieces for front and back

2          8” x 6 ½” pieces of insul-brite

33” length of 2 ½” fabric. 

Turn under ½” on top of pocket, turn under another ½” on pocket.  Stitch

I had a 6 ½” piece of rick rack left so I sewed that on one of the pockets.

Make “quilt sandwich” w/o pocket.

Quilt.

Place pocket on front and stitch around the edges.  Sew on binding.  I made a 4” loop for this potholder rather than 5”. 

Easy Peasy! 

DIY Potholders

 Hmmm, think I might need a matching apron!  Next Week!