DIY Pillow Case for Small Pillow

 Last week I made an adorable pillow case with a tutorial from A Spoonful of Sugar.
Adorable Pillow Case with Timeless Treasures fabric and Kaufman Essex Linen
DIY Adorable Pillow Case

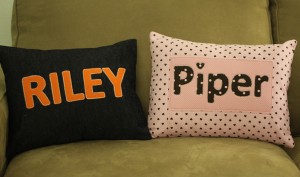
This week I’ve changed it up a bit.  I’ve been making a series of “Name” pillowcases for our grandkids.  Last year I made them for Riley, Piper and Jack.
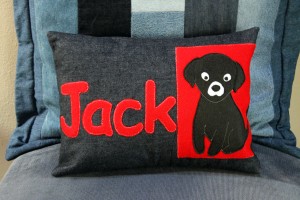
Name Pillow for Jack

Riley and Piper Name Pillows

I decided to adapt the pillow created by A Spoonful of Sugar to the 12″ x 16″ size for two of our granddaughters.  I also wanted the seams to be “clean”.  I don’t have a serger so even though I zigzag the raw edges, the seams still look raggedy and get worse with each washing.   

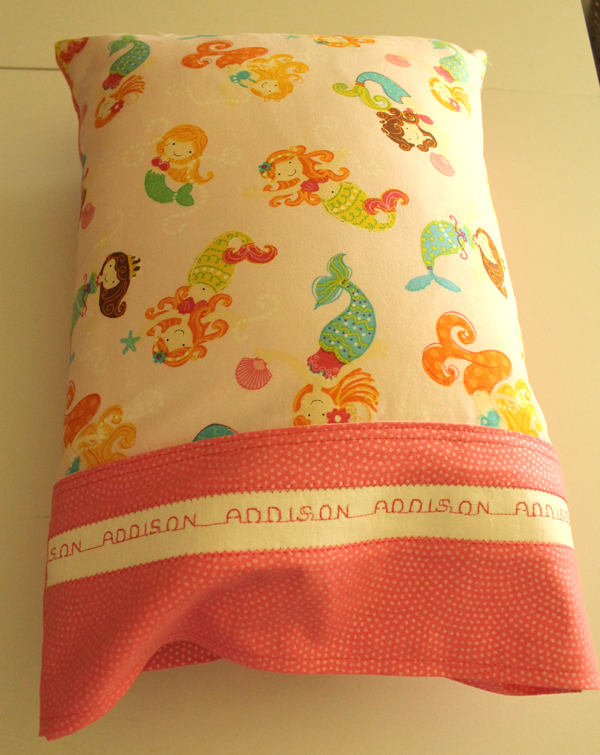
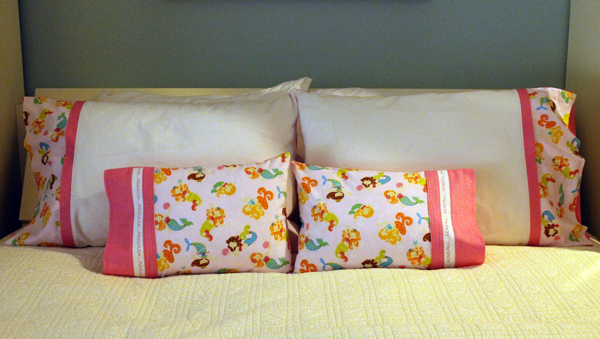
This is what I made:
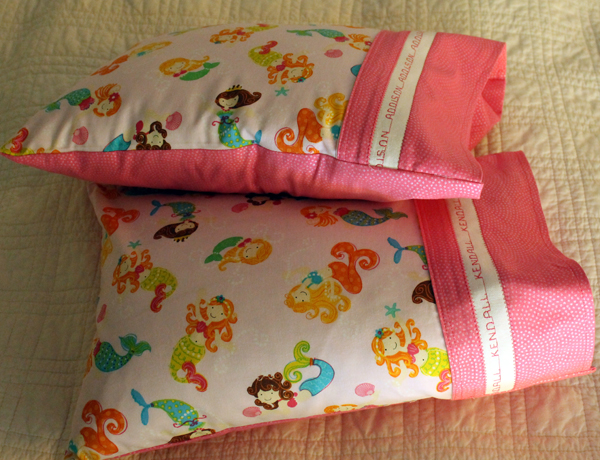
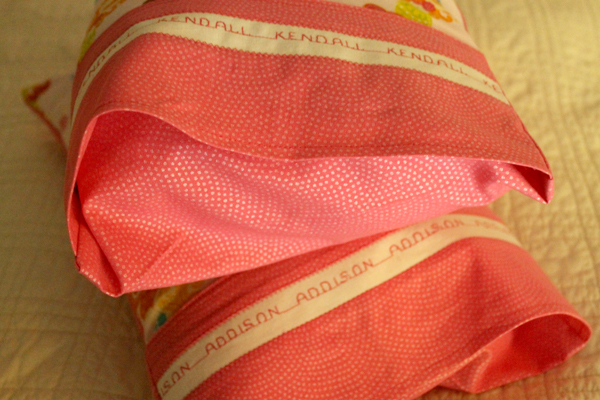
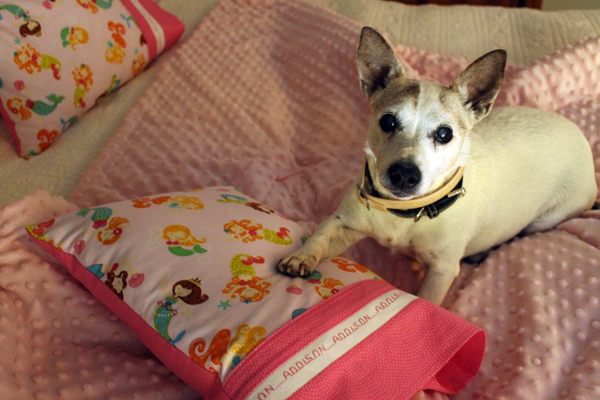
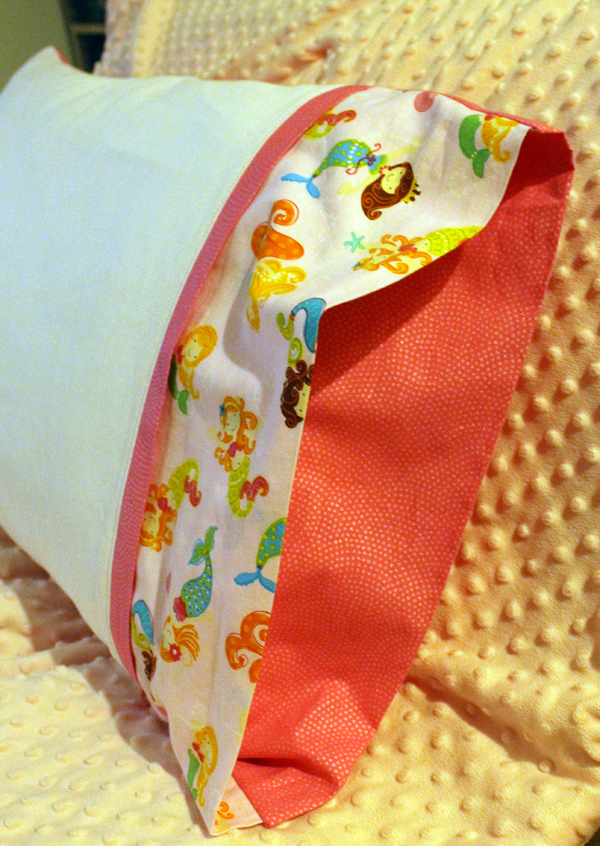
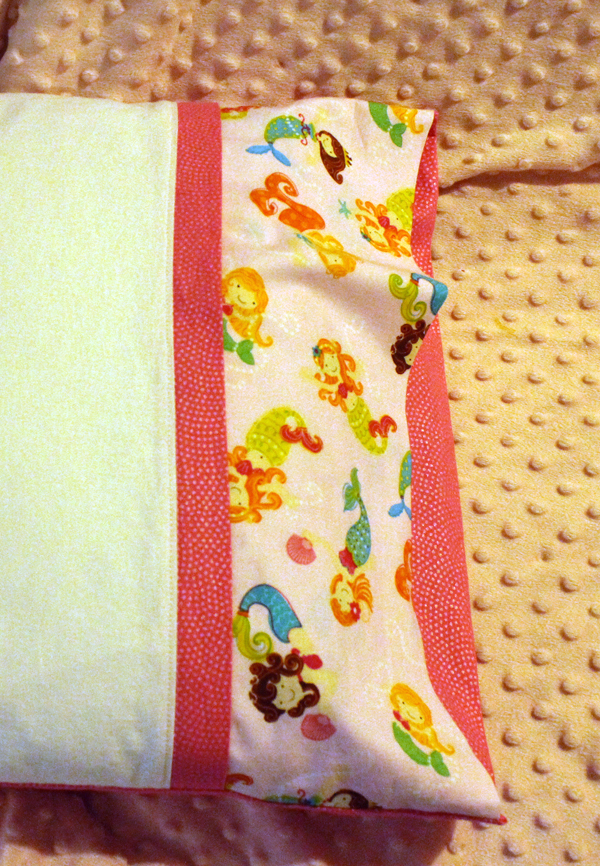
Pillowcase with finished seams for 12" x 16" pillow forms, Adorable Pillow Case with Timeless Treasures fabric and Kaufman Essex Linen
Name Pillows for Addison and Kendall

And this is how I did it! 

Directions for a pillowcase for a 12” x 16” pillow with finished seams.  

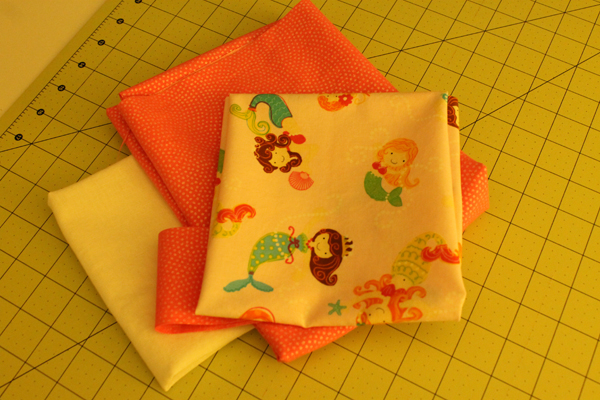
I used three different fabrics.  The mermaid and pink dotted are from Timeless Treasures and the white name piece is Kaufman Essex Linen Blend.   

CUT

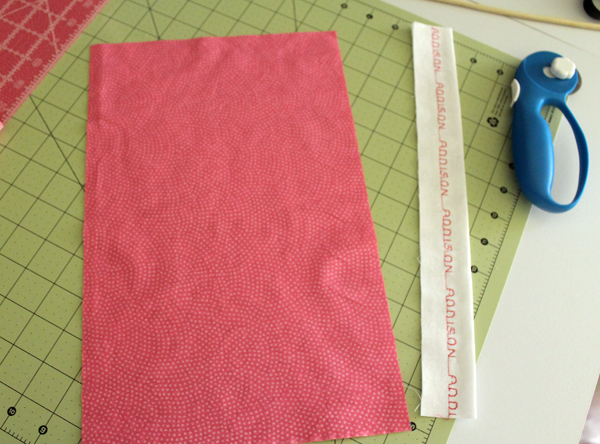
Name Piece: one 3″ x 13 ½” white fabric 

Cuff: one 8 ½” x 13 ½” pink dot fabric 

Front:  one 13 ½” x 14 ½” mermaid fabric

Back:  one 13 ½” x 23 ½” pink dot fabric 

NAME PIECE 

Fold strip of white fabric in half lengthwise and press.
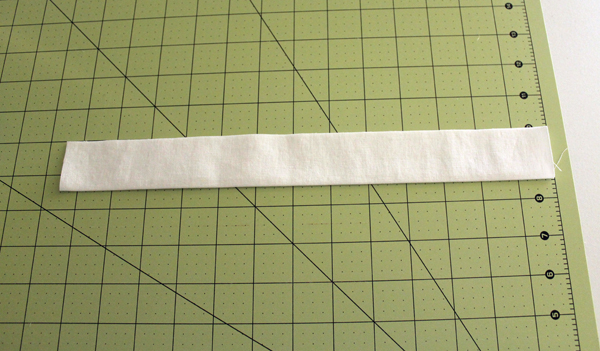
name strip for DIY Pillow Case for Small Pillow

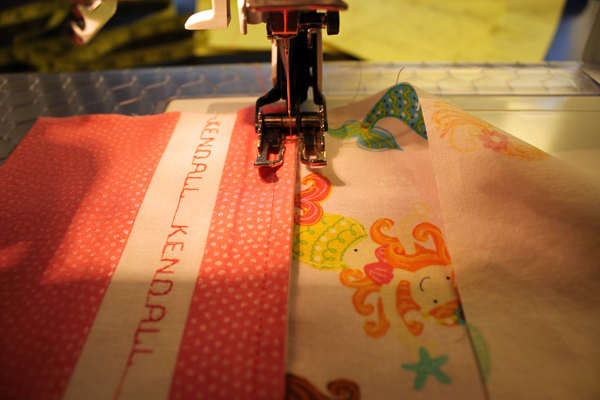
I had planned to hand embroider the name but it’s not one of my better skills so I went with the letters on my sewing machine.  I put the fold of the strip against the 5/8″ seam mark. Every model will be different.
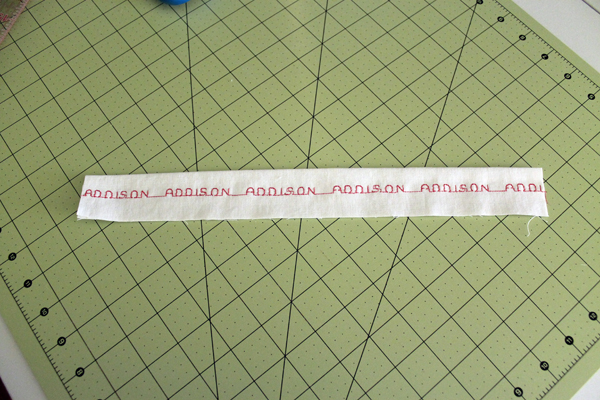
Name piece for DIY Pillow Case for Small Pillow

CUFF

Cuff and name piece fabric for DIY Pillow Case for Small Pillow

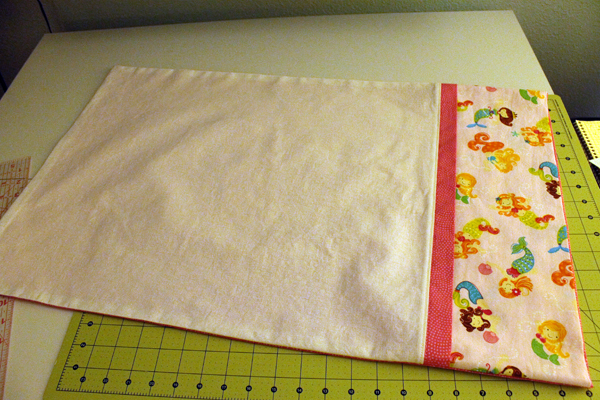
With right sides together, take the pink cuff fabric and stitch it to the name piece on the top and bottom using a ¼” seam.
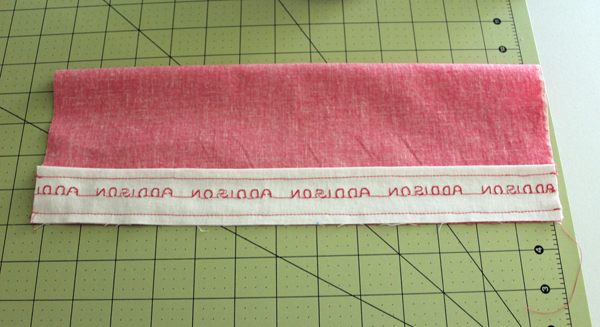
Cuff attached to name piece

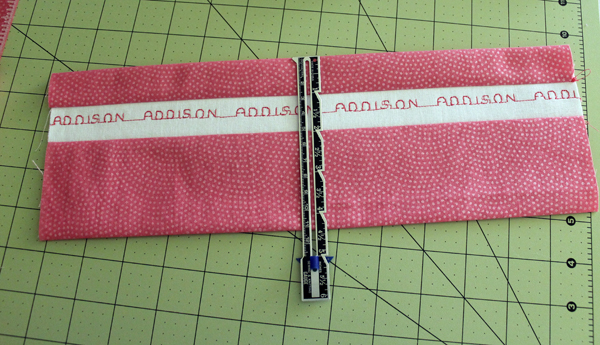
Turn right side out. Press so there is one inch of pink above name. The cuff should be 4 ½”.

Cuff should be 4 1/2"

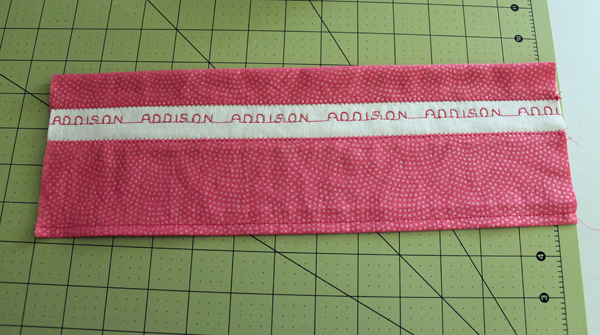
Embellish with zigzag stitching and top stitch bottom edge.  

Embellish

FRONT

Take front piece of mermaid fabric. Hem one 13 ½” end by pressing under ½” then another ½” and then stitch.

Hem one end of mermaid fabric

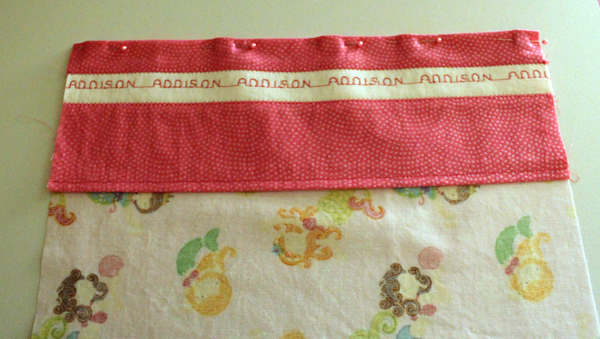
Put wrong side of cuff against wrong side of hemmed edge of front.

Attach cuff to front

pin cuff and front

Stitch together with ¼” seam.

Turn to the right side.

Turn to right side and press

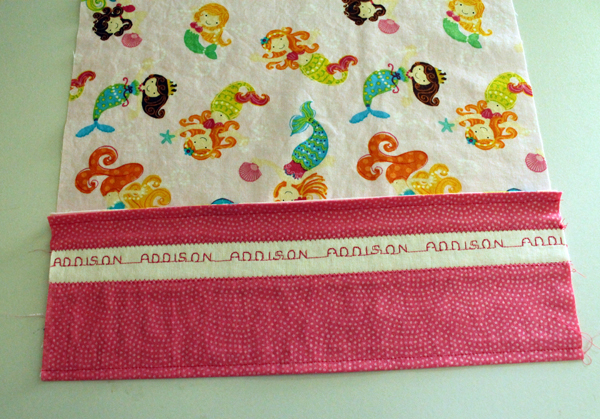
 Press. Top Stitch.

Topstitch

BACK

Hem one 13 ½” end by pressing under ½” then another ½” and then stitch. 

Attach back to front by putting wrong side of front to wrong side of back.  The front piece short end will be lined up with the back piece unhemmed short end.
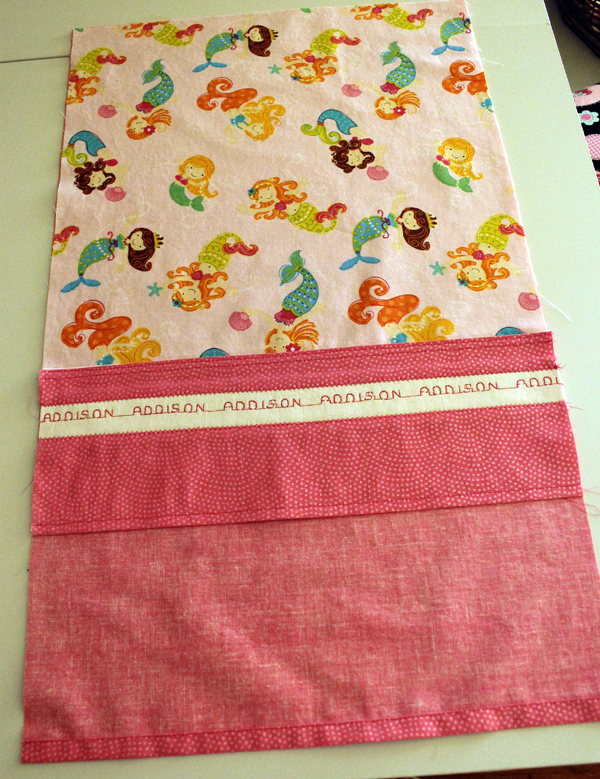
Front and Back
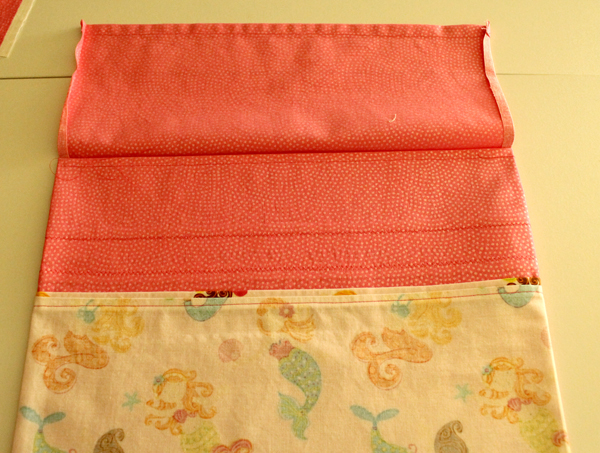
I’m calling the extra section that extends out the “flap”.

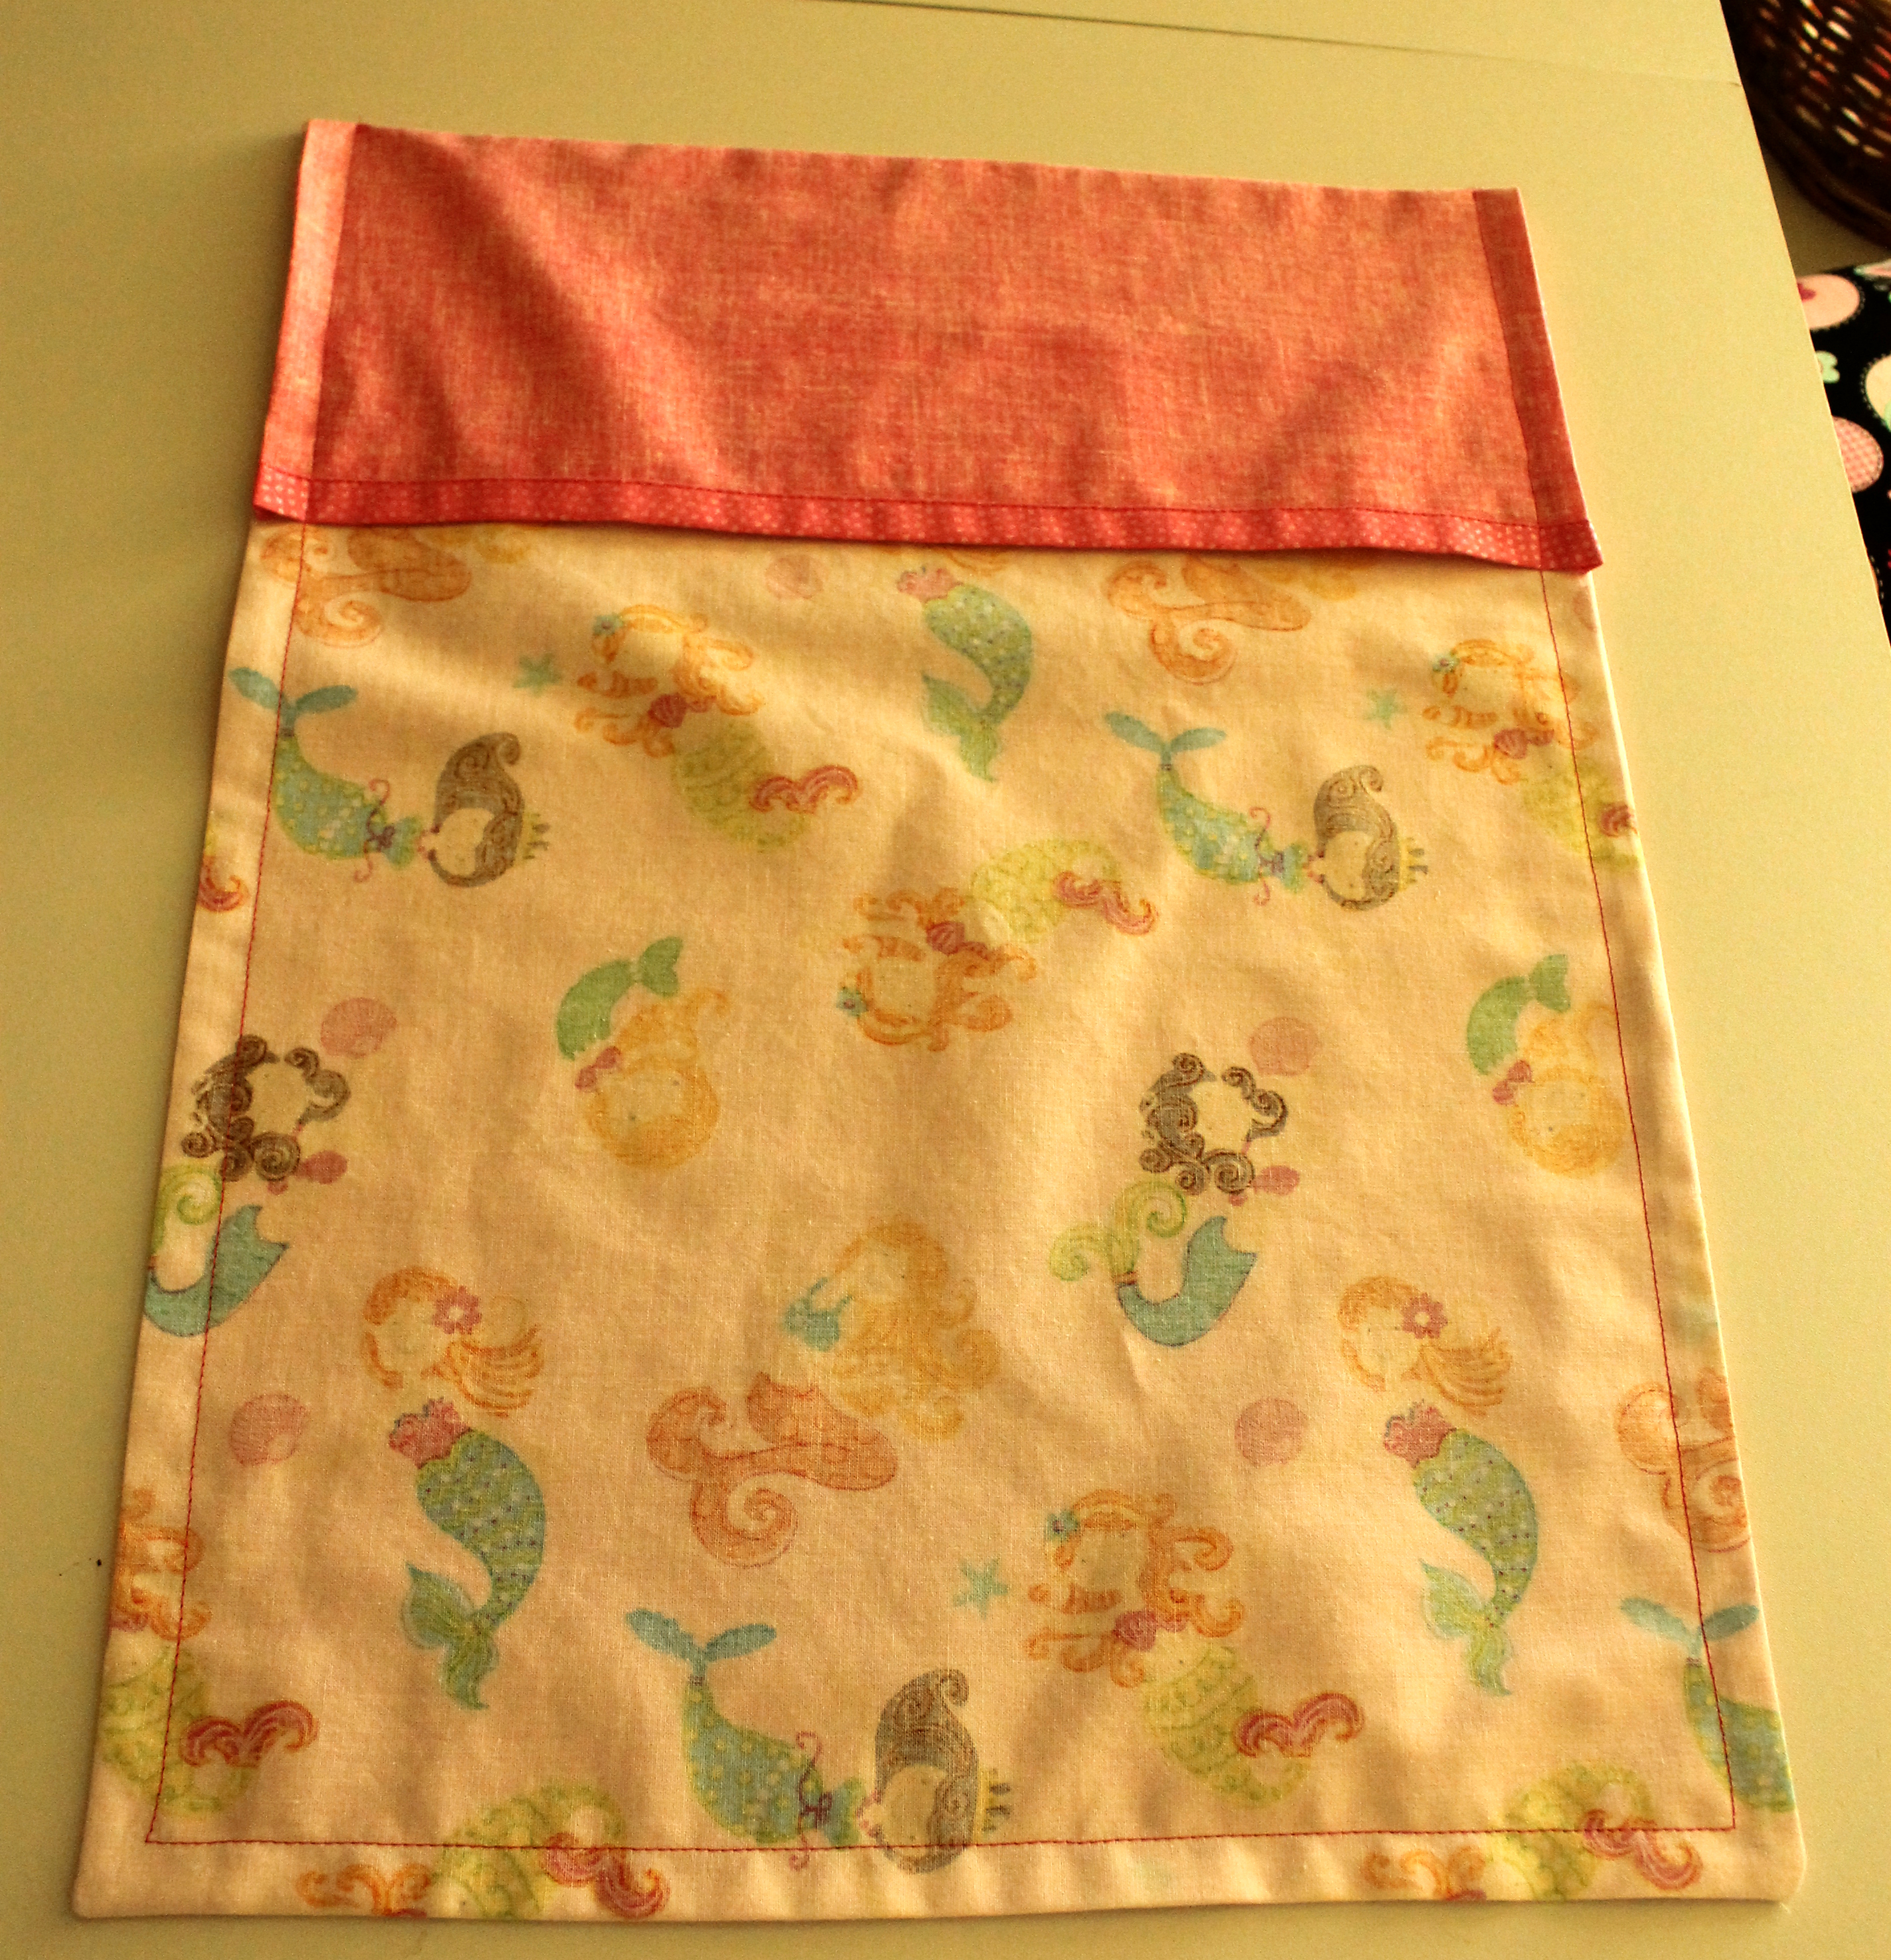
 Stitch ¼” around two sides and bottom.

Clip corners

Turn wrong side out.  Now the fabric is right sides together.

turn wrong sides out

 Poke the corners out and press.

Press under ¼” on sides of the flap.

Press sides of flap

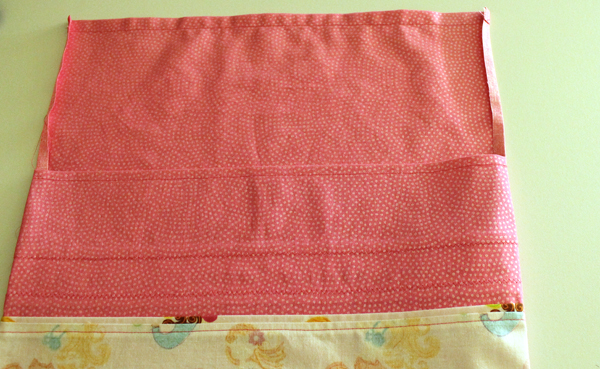
 Fold the flap over the cuff. 

Stitch ½” on the two sides and bottom.  Leave the top end open.

Stitch together

DO NOT TRIM CORNERS!

Turn right side out. Press.
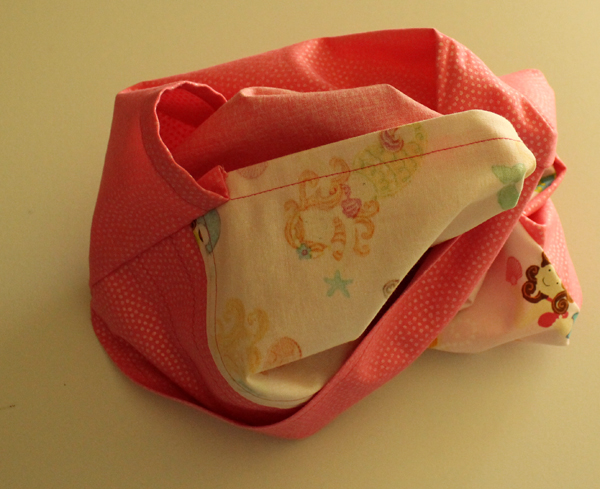
DIY Pillow Case for Small Pillow
Clean Finished Seams!


Adorable Pillow Case with Timeless Treasures fabric and Kaufman Essex Linen
Finished!

Stick the pillow form inside.

Adorable Pillow Case with Timeless Treasures fabric and Kaufman Essex Linen

Adorable Pillow Case with Timeless Treasures fabric and Kaufman Essex Linen
The flap will cover the open end of the pillow.

DIY Pillow Case for Small Pillow, Adorable Pillow Case with Timeless Treasures fabric and Kaufman Essex Linen

And the gratuitous Maggie shot…

Adorable Pillow Case with Timeless Treasures fabric and Kaufman Essex Linen
Is that my name?

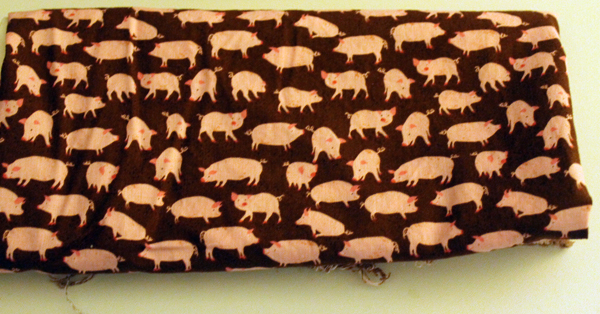
Three more pillows to make.  Hmmmm, Adley is only 6 months old, wonder if she’d mind a cute pillow with pink pigs?

pigs


DIY Adorable Pillow Case

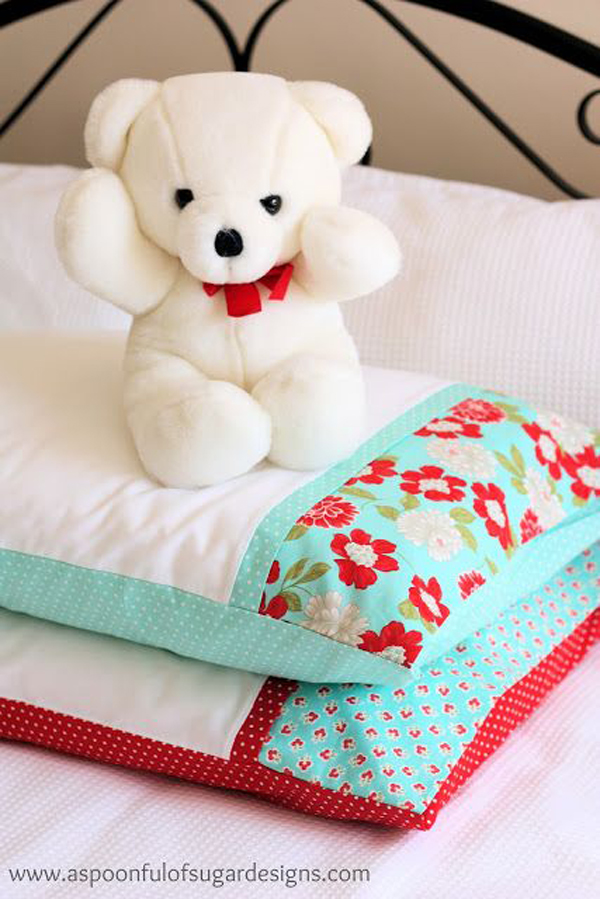
 Is this cute or what?  That little teddy sitting on those adorable pillow cases. 

DIY Adorable Pillow Case

I’ve had this idea pinned for quite some time.  Besides loving that fabric, I like that the cuff of the pillow case wraps the pillow.  Looks so “custom”. 

I wanted to make the pillow case to fit 12″ x 16″ pillow forms.  I’ve made three “name” pillows for Riley, Piper and Jack and still need to make some for Addison, Kendall, Courtney, Justin and Adley.  (Whoops, looks like I need to get another pillow form.) I thought this version might be a fun idea.

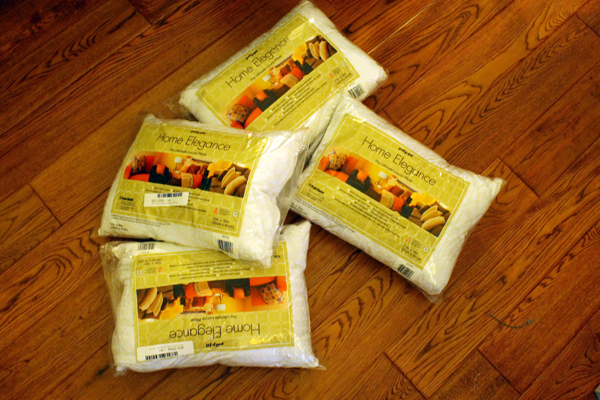
Pillow forms

The instructions are fairly simple from www.aspoonfulofsugar.com but I couldn’t get my head wrapped around changing the size from a full-size bed pillow to the 12″ x 16″ size.  I can usually draw and figure out the dimensions but after spending way too long trying to calculate the exact measurements, I decided to just make the full-size pillow so I could understand the directions from A Spoonful of Sugar.  

I had this fabric:

Pillow fabric
The mermaids and polka dot fabrics are from Timeless Treasures. The white fabric is Kaufman Essex linen blend.

This was a really quick project.  I had already cut the fabric out on Tuesday and when I got home after volunteering at the animal shelter, it took me about 1/2 hour to sew it all together.  Seriously.  It took longer to take the pictures!  And a whole lot more time to put all of these words here.

pillow caseSo here’s the finished full-size pillow:
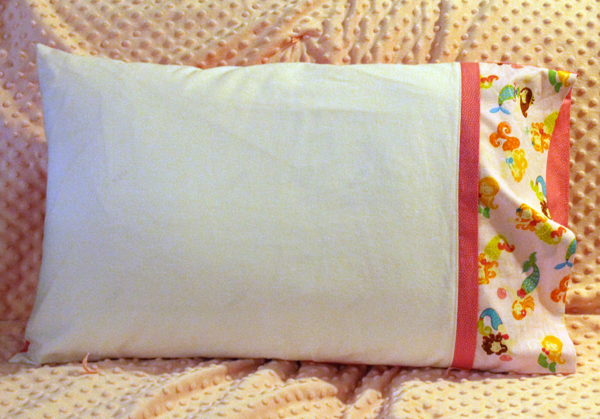
DIY Adorable Pillow Case, Timeless treasures fabric, Kaufman Essex linen fabricI need to make at least one more.  Maybe two.  I have three granddaughters that are just at the right age to LOVE mermaids.  And if they have a slumber party at my place they will all want their own mermaid pillow!
DIY Adorable Pillow Case, Timeless treasures fabric, Kaufman Essex linen fabric

DIY Adorable Pillow Case, Timeless treasures fabric, Kaufman Essex linen fabric
Here’s the pillow cuff that covers the pillow form.

I followed the instructions from A Spoonful of Sugar  It’s quite easy.  The only question I had was about the seam allowance.  The tutorial doesn’t mention what it should be so I went with 1/2″.  Seams are supposed to be finished with an overlock stitch on a serger but I don’t have one of those so just zig-zagged all the raw edges.  I hate unfinished seams so I plan to try to make the next version with something like a french seam.

And the ultimate goal is to get the pattern re-sized for the smaller version and put some names on them.  So much to do, so little time!

Works in Progress, January

Terry and I have moved a lot over the years.  Every time we make a move, we get rid of all the extra crap in the cupboards, closets, and all the other storage spots.  But we’ve had this house for 11 1/2 years and things have accumulated.  Way too much “stuff”.  it’s time to get rid of some things. 

(Otherwise I can’t buy new)

I’ve been clearing out junk from all the nooks and crannies that I cram things into. With no basement or attic storage I have become very creative!  (Okay, I do have an attic but things tend to melt up there and the steps leading there are very wookity.) 

So I haven’t been sewing much lately and I have no project for today. 

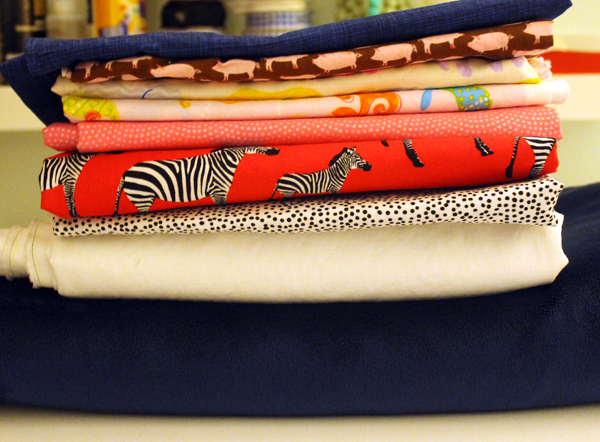
I did get a bunch of fabric, though.  Fabric.com gave me a 20% off coupon for my birthday so I waited until some of the stuff I need (want) was on sale at 15% off and ordered a bunch.

Here it is…

fabricsOther than the top and bottom blue fabrics which are going into a quilt, I don’t have any real plans for the rest.
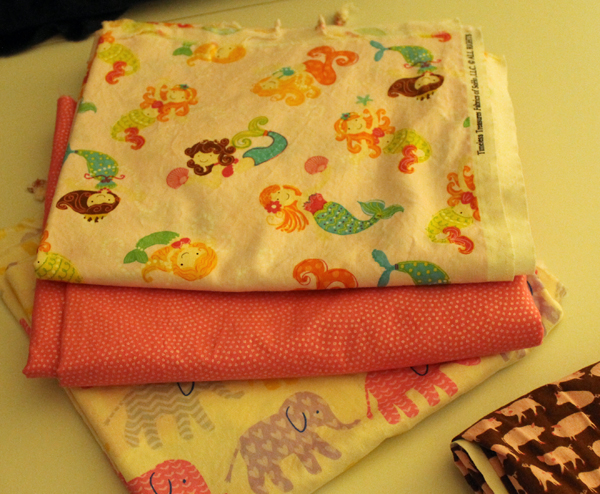
Since her room is pink and brown, I thought I might make something for Piper out of this piece but then decided she might not like those pigs.  I can just hear her saying “Pigs are for boys”.

pigs
But it’s adorable!

This will probably turn into something for a couple of the granddaughters.  Pillow cases?

girl fabric
Love those elephants!

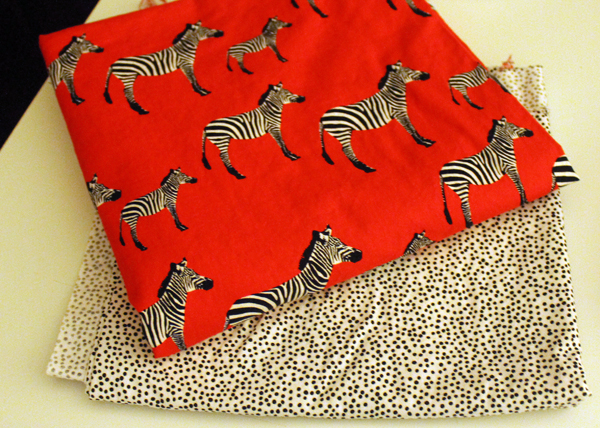
And I had to have these zebras.  Pillow? Tote?

zebra
The dotted fabric may or may not go with the zebras. I do have some black and white stripe tucked away.

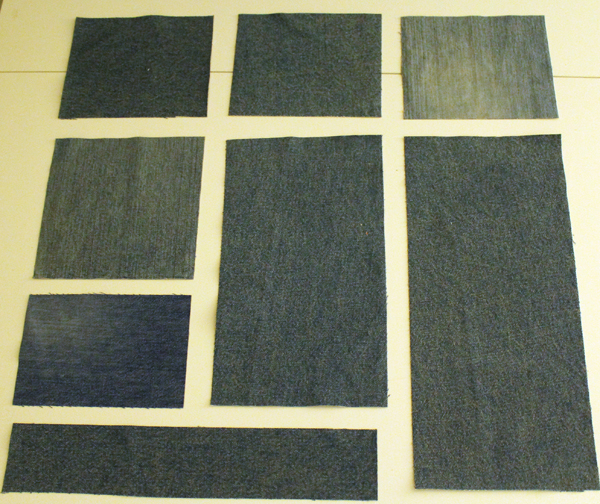
The one project I am actively working on is a denim quilt for Riley. I’ve been saving old denim plus Lauri gave me a bunch of Riley’s old jeans.  I’ve “pinned” several denim ideas but decided that I didn’t like any of them.  I finally designed this block which I’m happy with.

Denim Block

There will be 1″ black sashing between all of the pieces and it will end up being a 20″ block.  The entire quilt will be three of the 20″ blocks across and four 20″ blocks down.  The back will be navy blue minky and the binding will be a navy blue cross hatch. 

Well, that’s my plan today.  Could change.  And could take a very long time to finish because it’s not as easy to cut the denim up into the correct sized pieces as I thought it would be. 

And I still have a lot of cupboards to go through!