My sewing machine went to shop for its yearly checkup and it was gone for 9 days! I was suffering from serious withdrawal the first few days. It’s back! And I’ve been sewing!
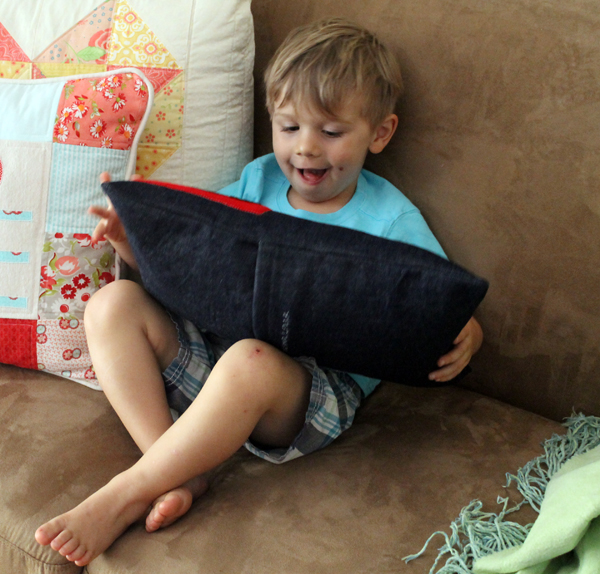
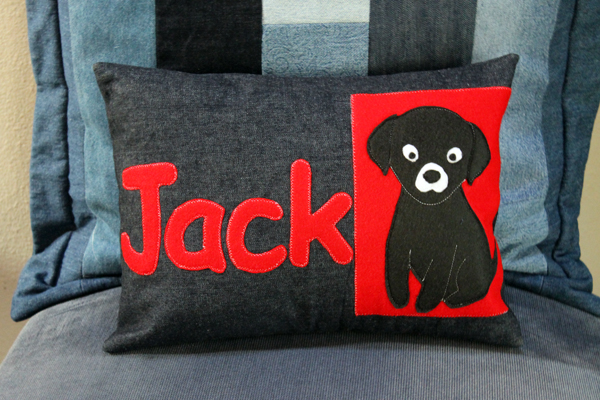
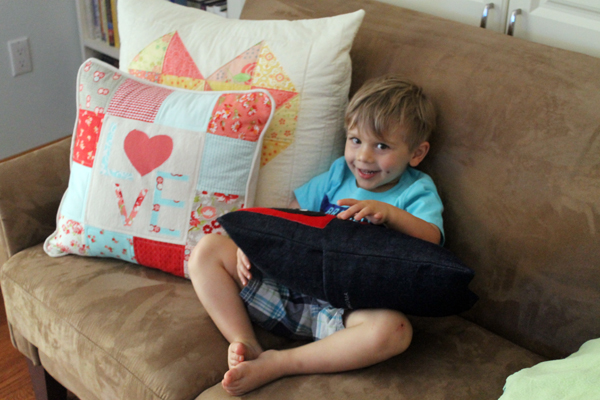
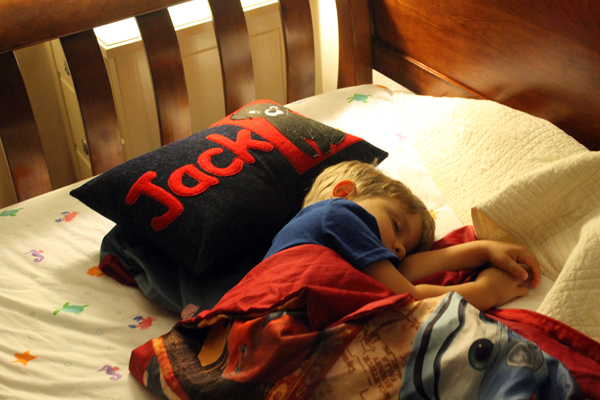
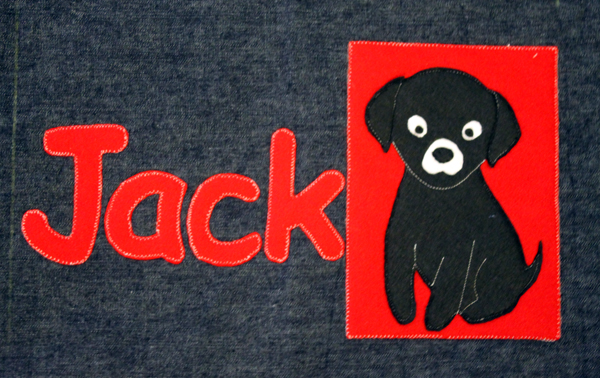
Jack, our 3-year-old grandson, was coming to visit us last weekend so my first project on my clean machine was making him a “name pillow. “ Jack is 3-years-old and loves puppies. He has two shi tzus and one is completely black named Annie.
How cute is this?
Almost as cute as Jack!
I made this pillow just like I made Riley’s name pillow.
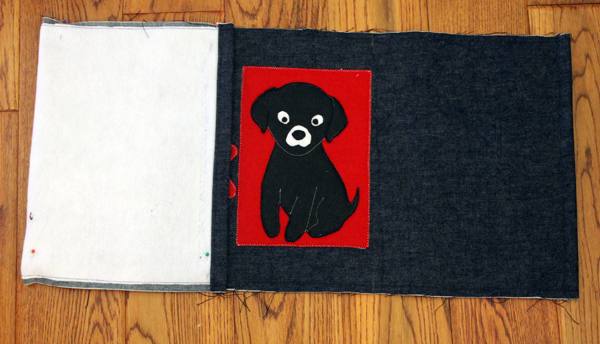
The pillow is envelope-style and it’s sized for a 12” x 16” pillow form that I picked up at Jo-anns–on sale, of course. I used denim, fleece, three different colors of felt and heat ‘n bond lite for the appliques.
And here’s some directions….
Cut the denim and fleece 13” x 38”. Pin fleece to wrong side of denim and stitch together with 3/8 seam”.
Trim the fleece.
Finish short ends by pressing under ½” then turning under another ¾” and stitching.
Fold the denim in half so short edges meet. Press. This will be the center of the pillow.
Drew a line 8” from the center on both sides and drew a line with a water soluble dressmaker pencil.
I used the font Comic Sans and made the name in Illustrator. This could also be created in Word.
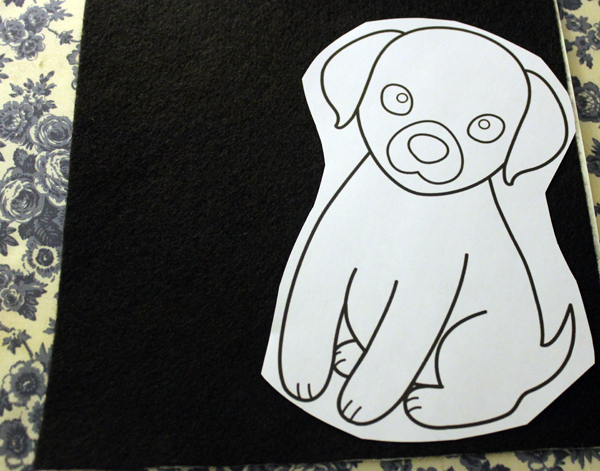
The graphic for the puppy is from sweetclipart.com. I think it looks a bit like a Shi Tzu. No?
I downloaded it then printed it out to the size I wanted, adhered the felt to the heat ‘n bond lite, then cut the pieces from the puppy pattern.
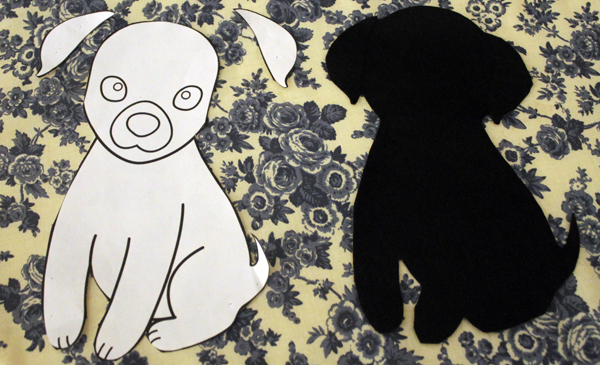
 I doubled up the felt on the ears so they’d be raised a little plus outlined where the legs and face should be.
Then adhered everything to a piece of red felt.
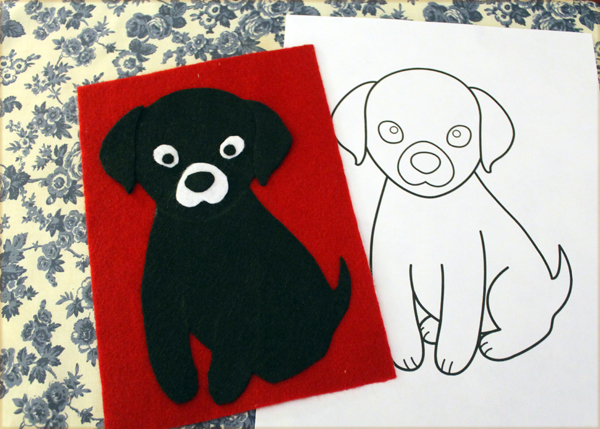
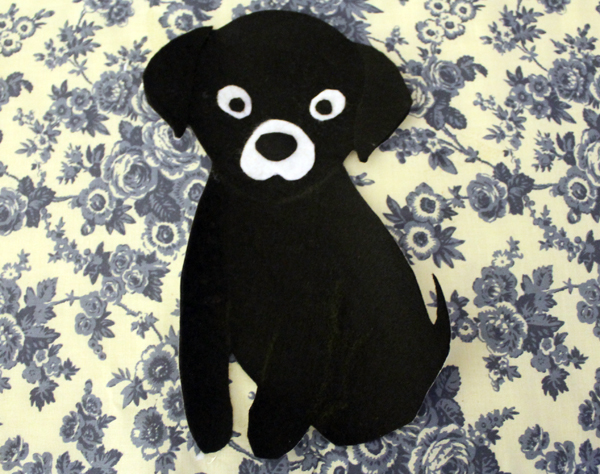
Next I machine stitched the marked outlines, outside edge of puppy, and all the other little parts. Felt is easy to work with because it won’t unravel so I didn’t bother using a satin stitch on the edges. Centered the puppy and name on the front of the pillow between the two marks I made earlier. Pressed them in place then stitched around all the outside edges.
Now just finish the pillow! Turn one side in on the mark….
Then the other side in on the mark. And stitch 1/2″ from the top edge and the bottom edge.
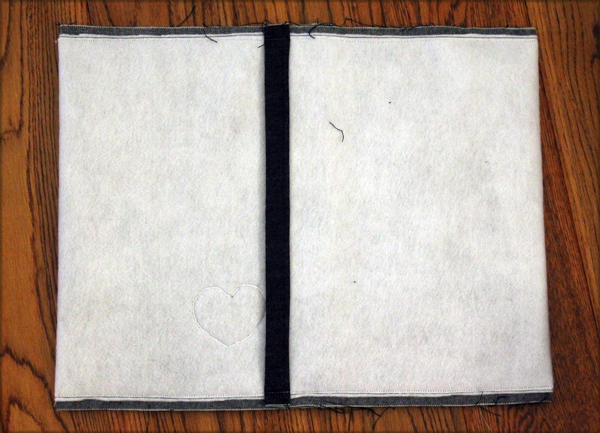
Clip the corners, turn right side out. Poke those corners out so they’re nice and pointy.
Easy Peasy!