
A few weeks ago I put the instructions up for what I considered the easiest tote ever.
With the intention of adding some instructions the following week for that tote with options.
But it took me a little longer to get it finished and write up the instructions. So finally….
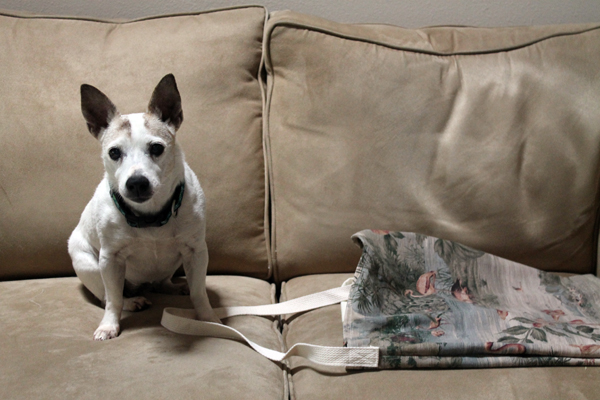
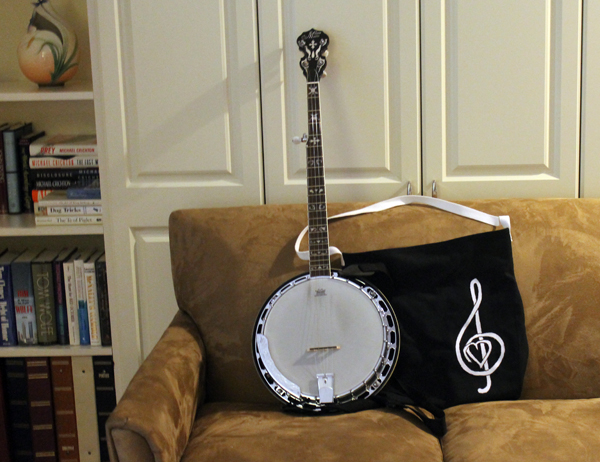
There are phone pockets on the inside, a key clasp, a large pocket on the outside and an applique. I considered a water bottle pocket on one of the outside seams but didn’t know what size it should be. I’m giving up plastic bottles which is another story that you’ll probably hear about someday. So I decided against the water bottle pocket.
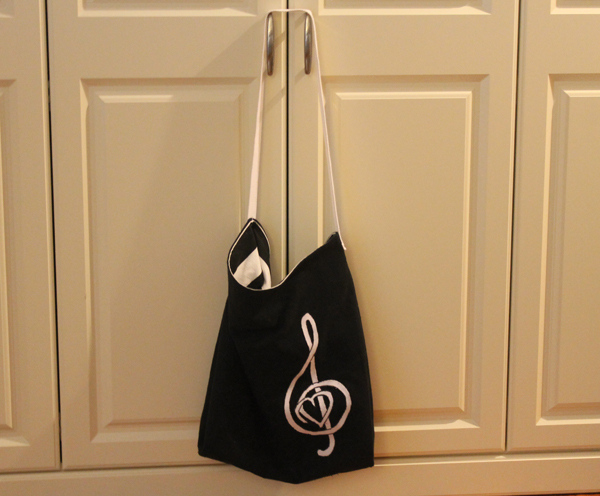
And here it is all finished.
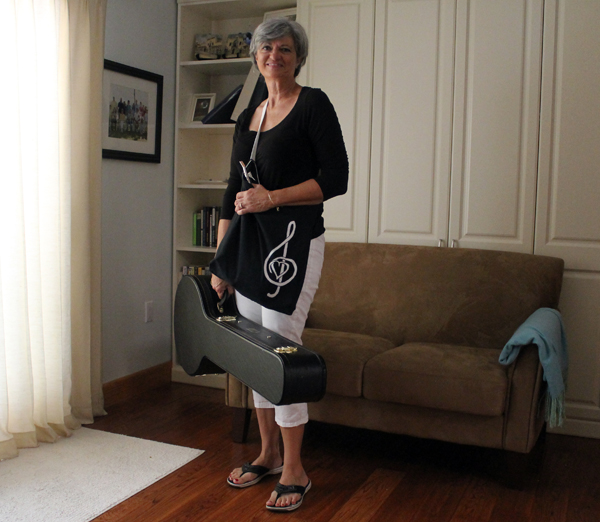
 I wanted something big enough to hold my portable music stand when I need to take it with me. Plus the bag needed to fit around my body since carrying that banjo and case, plus opening doors, takes both hands. (My happy banjo and case weigh 18 pounds–yes, I’m getting a workout every time I go out!) Then I added the treble clef applique just because.
Here I am ready to go to the Accoustic Meetup (By the way, anyone in the area that plays an acoustic instrument is welcome to join us at the library in Crystal River. Doesn’t matter what level you are–they let me join! There are people that have been playing forever and people like me that have just started.)
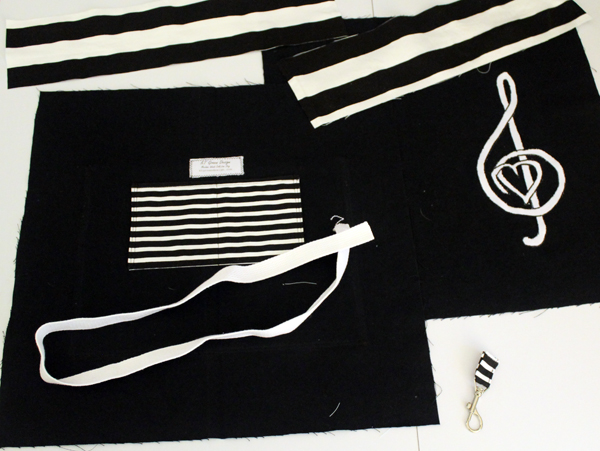
And here are some instructions.
You need two 19″ squares. I used black denim.
Applique
The applique goes on the front. I copied this picture from Pinterest, made it a little larger, then traced it onto the paper side of freezer paper.

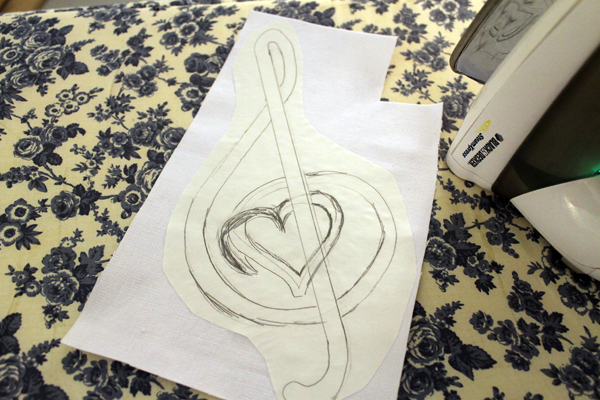 I used a piece of white denim just large enough for the applique and pressed Heat n’ Bond Lite on the back. Follow the instructions!
Then I put the freezer paper on the top of the white denim and pressed. The waxy size of the freezer paper acts like a temporary adhesive. Then I cut out the applique, peeled off the wax paper and the paper side of the Heat n’ Bond Lite and pressed the applique on the right side of one of those 19″ denim pieces. A little off center but not too close to the edge. I then did a satin stitch around the edges. I wasn’t very pleased with the satin stitch this time. The pattern was just too intricate. I would probably do a straight stitch if I do this applique again.
Phone Pocket
Next I made the phone pocket on the wrong side of the other piece of black denim. (I also added my name tag here, just in case I trip over my banjo case, crack my head, and forget who I am.)
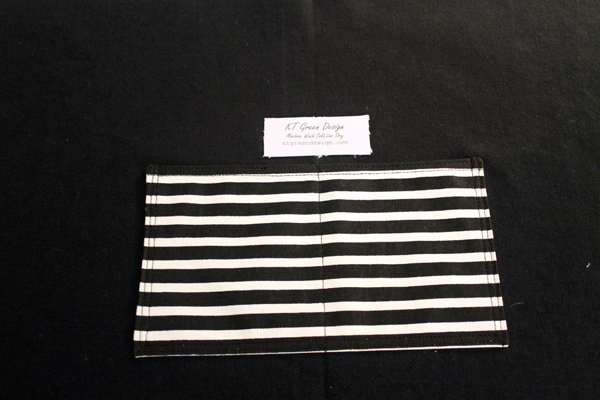
Pocket will be 8 1/2” x 5”
Cut fabric 9” x 10”. I used left-over black and white Premier Prints fabric.
Fold the 10” sides up, wrong sides together and stitch ¼” seams on three sides, leaving an opening for turning on the long side. Turn right side out. Trim corners, press. Press ¼” under on both sides of the opening. Top stitch close to top edge, making sure you catch in the opening, then ¼” away from top edge.
To mark the center–
Fold the pocket in half and press
Fold the 19” square of the main body of the bag and press
On the wrong side of the fabric, place the folded center of the pocket on the folded center of the bag, 6” from the top edge.
Stitch close to edge along both sides and the bottom. Stitch 1/4” inch away from edge. Stitch down center of pocket to make two pockets.
Outside Pocket
I added an outside pocket on the same denim piece that has the phone pocket. This will hold my sheet music and maybe my iPad. I put the folder in there just so you could see the pocket. Black on Black. Not very visible. The outside pocket also covers up the stitching for the phone pocket. Clever, huh?
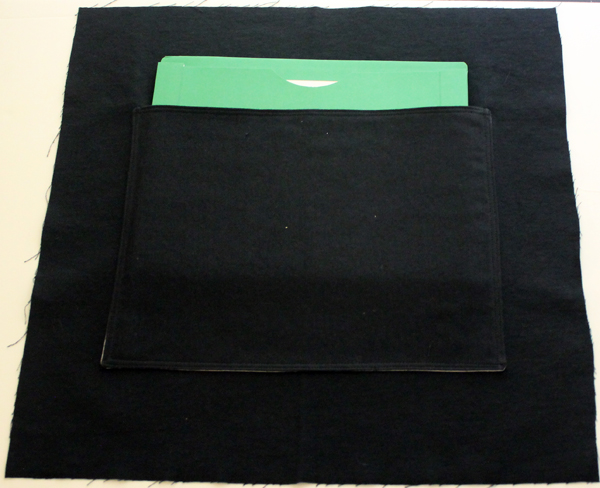
This pocket will be 13″ wide x 10″ high.
Cut 2 pieces of fabric, 14” x 11” I used black denim on the outside and some black and white Premier Print fabric for the lining. (Trying to use up pieces from old projects)
Put right sides together and stitch 1/2″ on all sides, leaving a small section open for turning. Turn right side out. Trim corners, press. Press 1/2” under on both sides of the opening. Top stitch close to top edge, making sure you catch in the opening, then ¼” away from top edge.
To mark the center–
Fold the pocket in half and press
There should already be a pressed fold mark on the tote. Now remember, this pocket goes on the right side of the 19″ piece of denim. And make sure you put it the same direction as the inside pocket.
Place the top of the pocket 5 1/2″ from the top edge. Center the pocket on the 19″ piece of denim. Top stitch the sides and the bottom then stitch again 1/4″ away from sides and bottom.
Main Body of Tote
Now you are ready to put the bag together.
I don’t like unfinished edges–even in this easy tote. So I’m taking a few extra minutes and making French seams.
Pin the two 19″ square black denim pieces together along the sides and bottom with WRONG SIDES TOGETHER. (And make sure the pockets and applique are going in the same direction)

Stitch 1/4″ seams on the sides and bottom. Now turn it inside out. Which is now right sides in. So confusing.
So now your RIGHTS SIDES ARE TOGETHER. Stitch 1/2″ from all sides. Turn right side out. You have just eliminated all of those unraveling seams. Yippee!
Next is the pleated bottom. Fold the fabric in on both sides at the bottom 2 1/2″. Then stitch across the bottom with a 1/2″ seam allowance. I stitched twice just for added durability.

Facing
This step is totally unnecessary. You can just turn under 1/2″ then another 1/2″ on the top and have a nice finished edge. But I made facing.
I used some more of that black and white Premier Prints fabric.
Cut two 5″ x 19″ pieces.
On bottom of both pieces, Turn up ¼” hem, then another ¼” for a ½” hem
And we are making French seam, again. Put wrong sides together. Sew ¼” on two sides.
Turn “wrong” side out (so the new seams are on the inside) The right side will be on the inside
Sew ½” seams on the 2 sides.
Put bag right side against facing right side. Match side seams. Sew ½” along top seams.
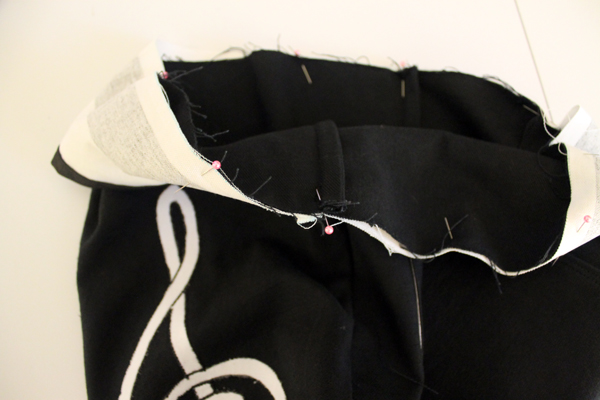
Turn facing to inside. Top stitch close to edge and 3/8” from edge.
Strap for Keys
I hate having my keys schlepping around in the bottom of my bag so I made a strap.
Cut 2 ¼” x 3 ½” fabric
Turn ¼ under on both short ends. Stitch.
Turn ¼” under on long ends. Stitch.
Fold long sides together. Stitch all 3 sides and top stitch the fold close to edge.
Put strap through circle and fold. Stitch.
Place strap 3” below top centered on one of the side seams. Stitch.
Stitch along the side seam from the top to the bottom of the facing on both sides. This will help keep the facing down. Your machine might not go through all those layers. Mine didn’t. Gotta acccept the machines limitations.
Handle Strap
Cut 35 ½” cotton webbing for the strap. Turn under ½” on each end. Pin each end to the side seam on the outside of the bag. The bottom edge of the strap will be 1 ½” from the top edge. Stitch a box then an X in the box on both sides.
And that’s it! Lots of instructions. Hope they are clear, which brings me to another subject. If you have actually read this, this far….
I’m considering not writing up these tutorials. They take a LONG time and I’m always afraid that I’ve missed a step or wrote the wrong measurement. Even after making the project three time and re-reading the instructions a dozen times. I think I’d rather be sewing, playing my banjo or sleeping.
There are all kinds of blogs out there that do a whole lot better on the directions than I do. I’ll still show you my finished projects, plus use those blogs tutorials and credit them. I’ll be happy to give you measurements and sizes and advice, just email me or comment and I’ll send them to you.
Thanks for reading!
Kathy