
 If you’ve been checking out my sewing projects over the past few years, you know that I design some of my own but sometimes–why reinvent the wheel? There are several DIY blogs that have great patterns and tutorials. Purl Bee, Sewmamasew and PositivelySplendid just to give you a start.
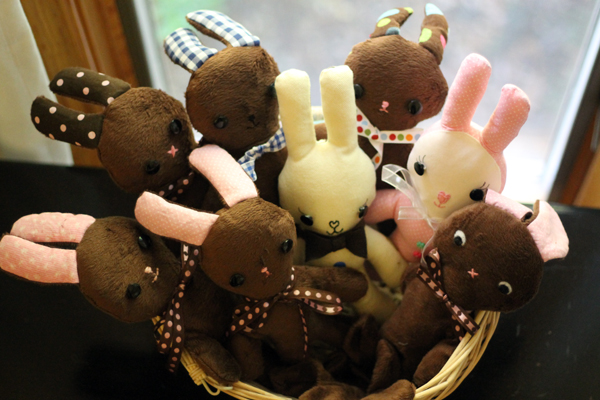
But the one I turn to most has to be Sew4Home. Sometimes I start out with their pattern and morph it into my own. That’s where I got the idea for all those wascally wabbits I made earlier this year.
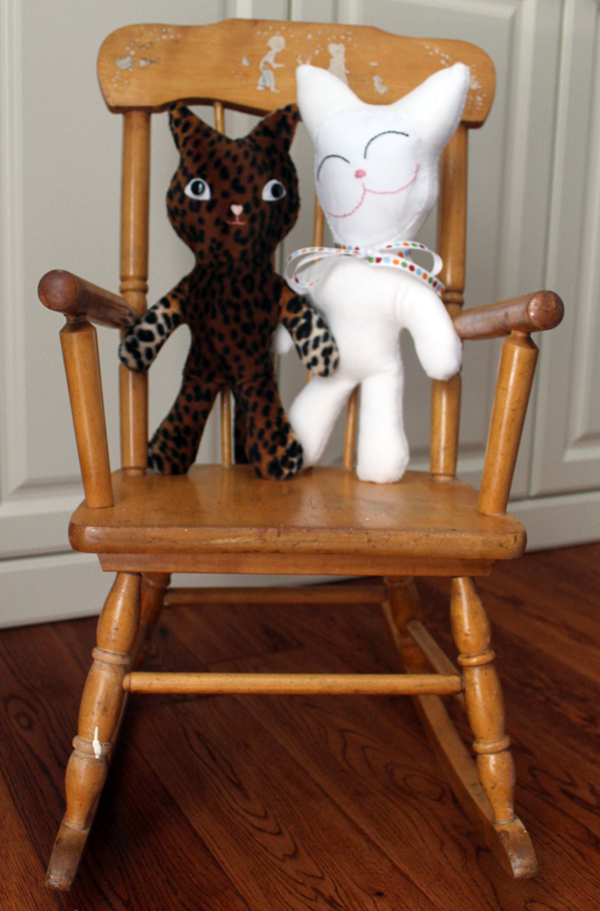
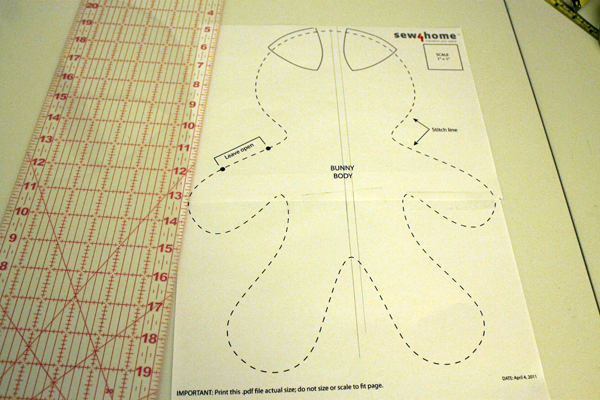
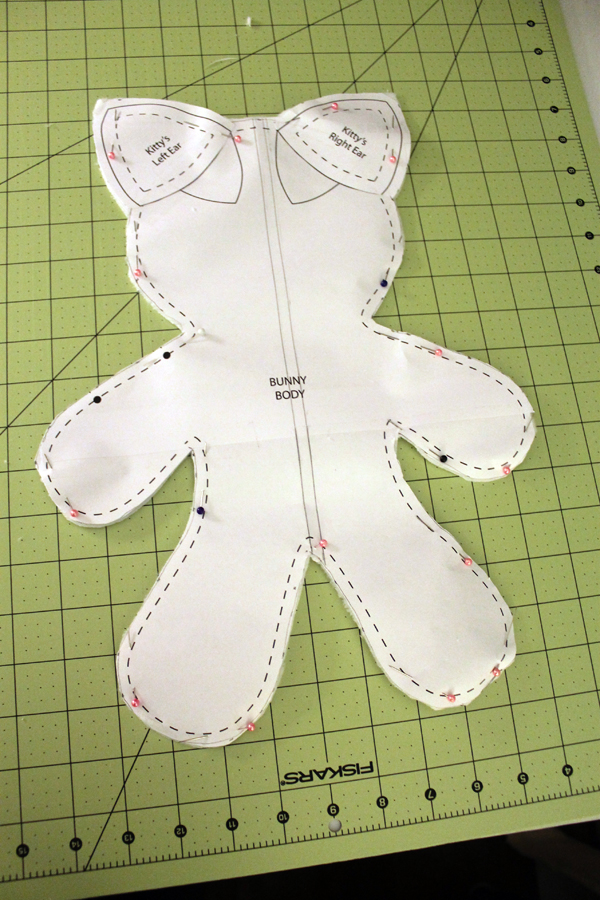
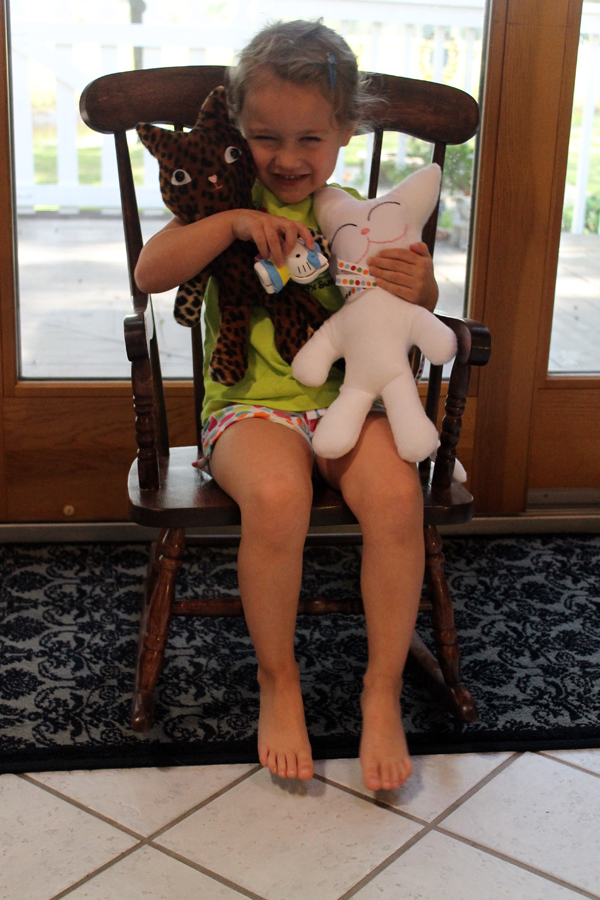
This week I wanted to make kitties for Pippety Piper since that’s her all time favorite animal and I turned to sew4home again for their kitty pattern. I followed their tutorial but I wanted my kitties to be bigger. I downloaded their pattern and enlarged it through Photoshop. Since it didn’t fit on one 8 1/2 x 11″ page, I cut it in half through Photoshop, printed, then taped the pattern together.
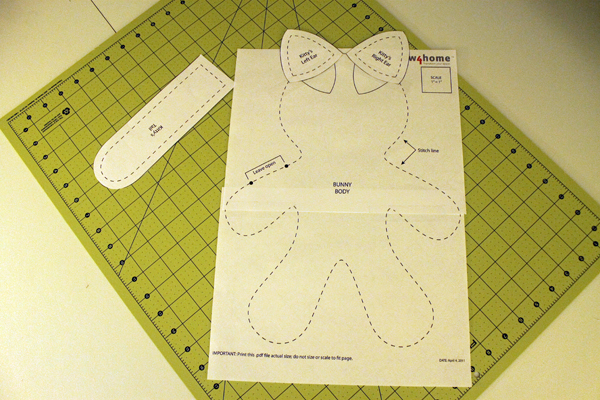
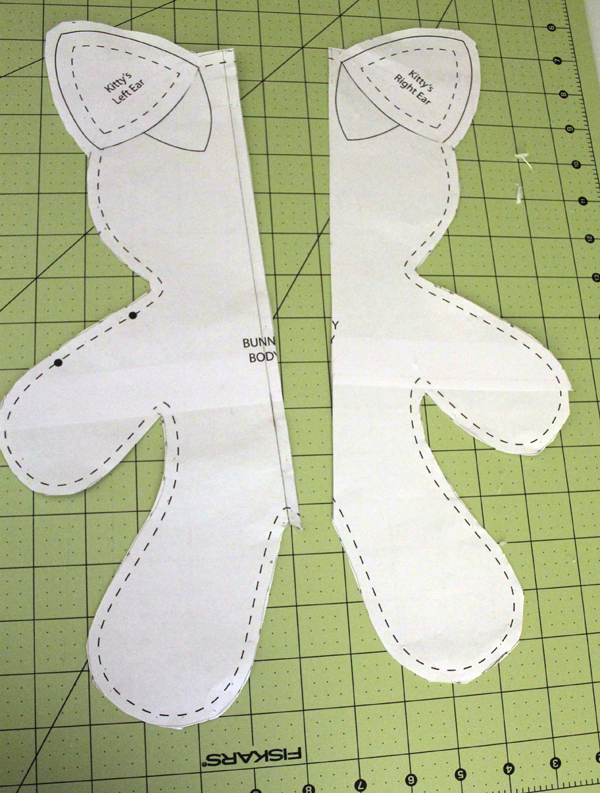
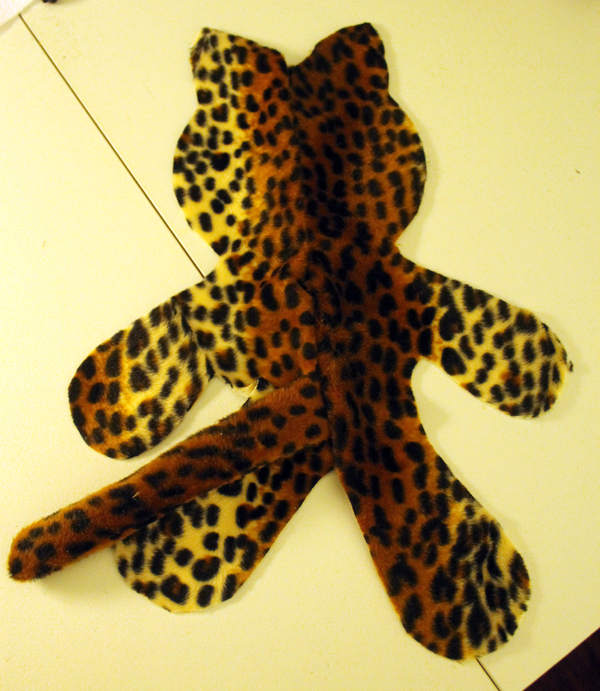
I also like to eliminate as much handsewing as possible so I cut the back of the kitty pattern in half and added a 1/4″ inseam so I could insert and machine stitch the tail. I taped the ears on to the pattern so I wouldn’t have to use separate fabric plus I used faux fur instead of double-sided minky.
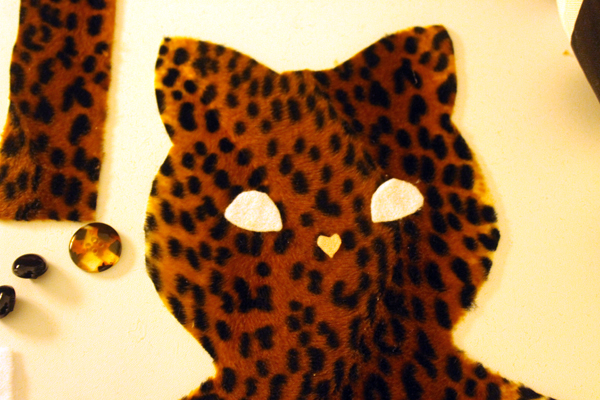
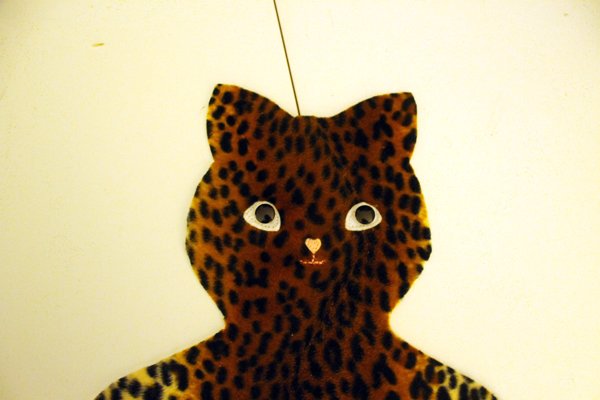
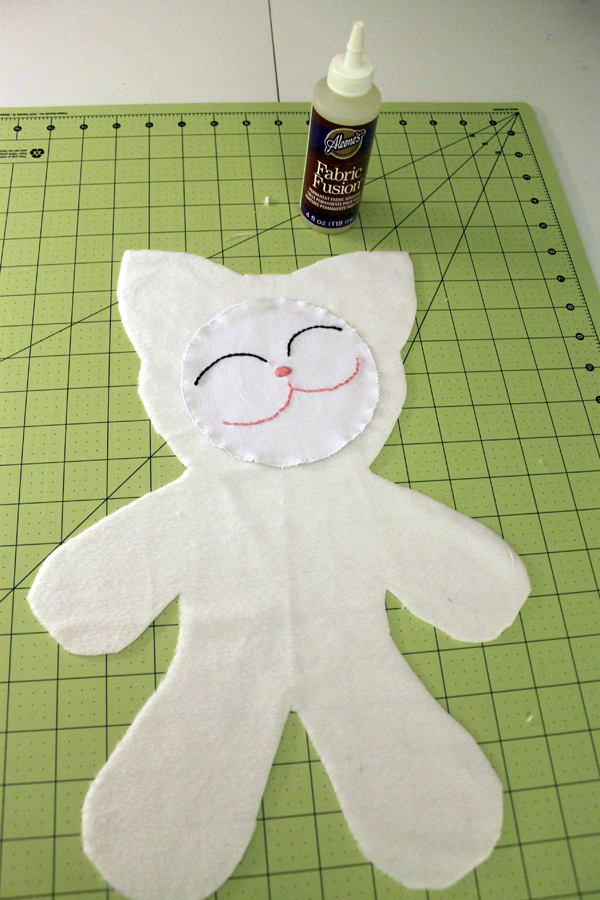
I always make the faces first. Because if the face is ugly, why bother finishing it? I used fabric glue to attach the features. After the glue dried, I stitched around each eye and the nose and did some embroidery for the mouth and added buttons.
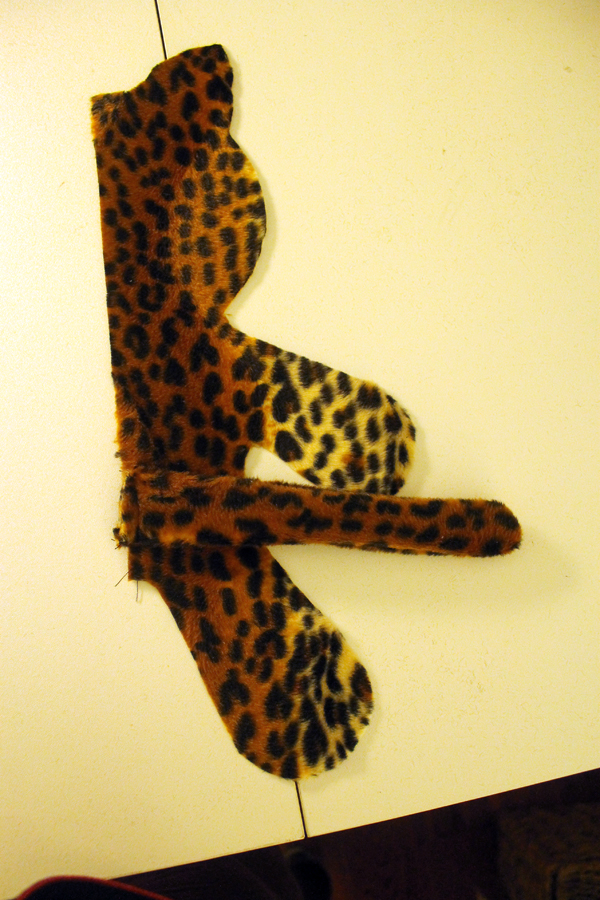
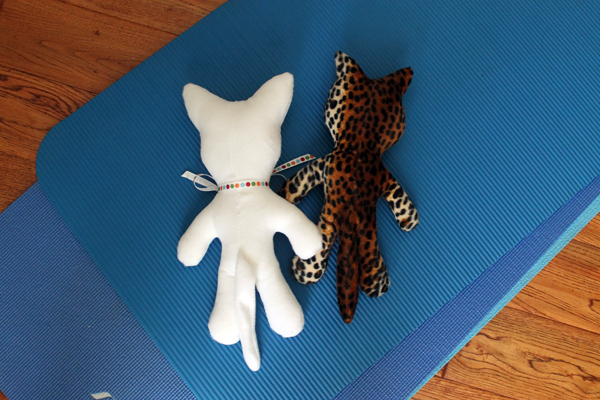
 Next I sewed the tail together and attached it to the back. About 1/2″ from the bottom.
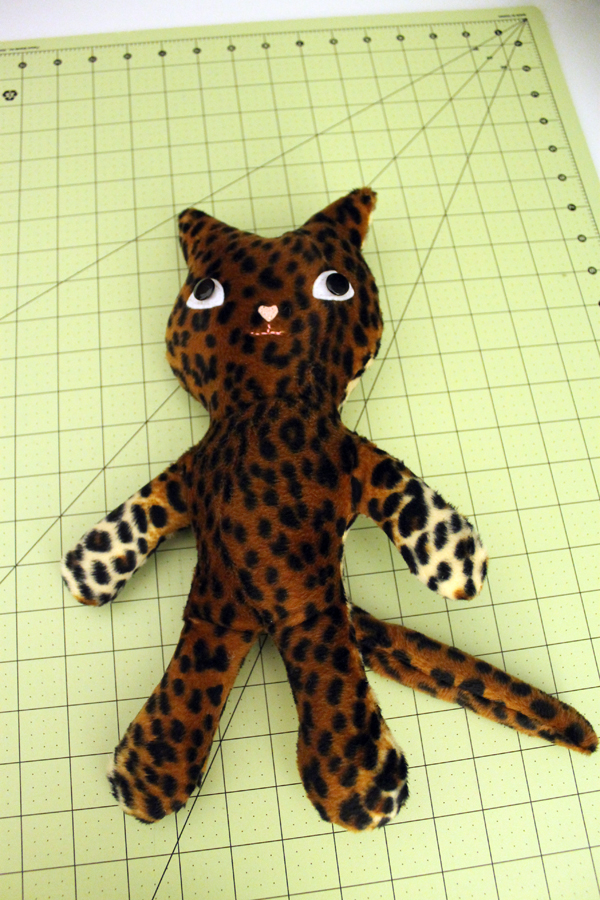
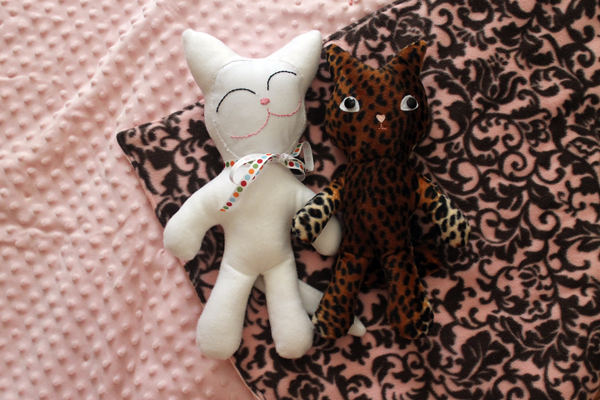
I thought Thomas’s ears were a too small so I made the next kitty’s ears a little bigger and moved them down the sides a tad. Plus, I changed up the face.
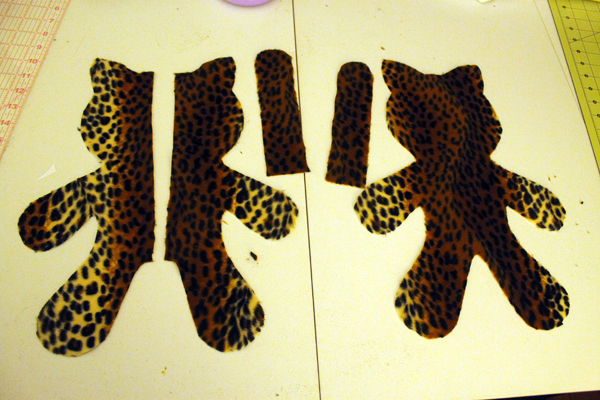
A couple of hints for you. Faux fur is slippery. Use a lot of pins.
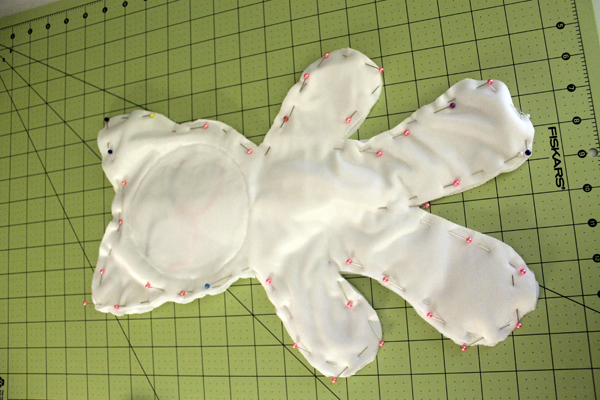
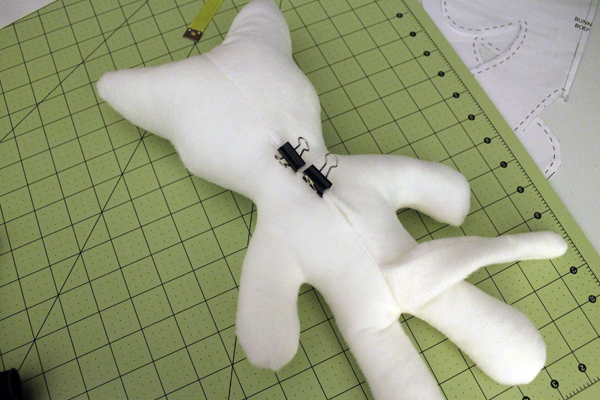
I used binder clips to hold the opening together for handstitching. And always use the very best premium fiberfill for the stuffing. It’s worth it.
I plan to make some more kitties and change them up a little. I’ll give you an update!