As you’re well aware by now, I’m really into putting things in jars. Fruit in jars, vegetables, sweets, sours, shrubs to drink and yogurt to eat. No fan of the preserving arts would be worth their salt, unless they could do a pickle. Well, I can (no pun intended,…ok, maybe a little one)! I confess though, they’re simple refrigerator pickles. But why do pickles have to be so difficult – they don’t. My little cooler gems are great! There’s no giant jar hiding in my tub or closet with a brick on it’s lid, fermenting for months while I await it’s birth. Ugh – who wants to do that? Ok, maybe some people, but I repeat myself “I am not a patient woman.” My Bread & Butter pickles were quite good – now lets move on to a Dill Pickle.
As usual, my culinary adventures begin with some beleaguered edible at a store just begging not to be sent off to The Pig Farm for composted consumption. A bag of mini-cukes labeled ‘One Sweet Cucumber’. How could I resist – well, turns out I can’t. I brought the little yummies home and went looking for a recipe. I have plenty of ideas in my Ball Preserving Book, but this is an adventure. I pulled out Grandmas card file and came across one, yes only ONE pickle recipe…
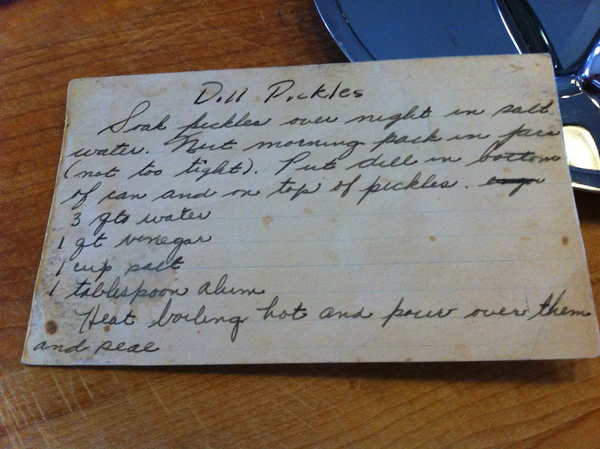
this is why I’ve begun to write down my favorite recipes. Notice that there’s very little actual instruction here – and we’re all supposed to know what alum is, right? How many cucumbers, how much dill? So, I call my Mom and she says, “Ugh, don’t use that! Her dill pickles were awful!” OMG! The queen of Christmas tea rings couldn’t make pickles? Seriously?! Why bother to write it down then?!! OK, now what – the Net. YouTube is littered with Rednecks on a pickle preserving mission. “You git you some ‘cumbers, in a jaaar, a big ole wad a deeel (translation: Dill), and some peppercorns. Boil up some whaaate vinegar and water, pour it over dem cumbers…that’s it – a pickle. ” Really? Then why are there fermenting jars, and pickling spices, and everything else for the craft?! (but not an ounce of Alum in sight mind you) Digging a bit deeper, I discovered that you’re allowed to do your own thing in pickle world. So, I took some ideas from my Bread & Butter recipe that I like to use and mixed up my own blend of spices (yes, including Dill) and set to work. Here’s how it goes:
Definitely Different Dills or ‘Bite-Me’ Pickles (they be spicy!)
Step 1:
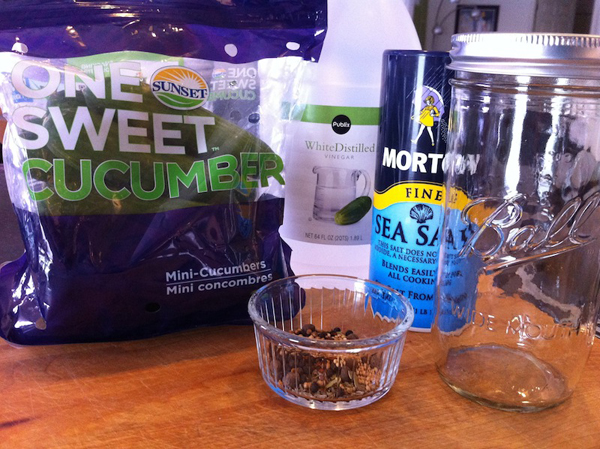
Git you a bag o’….oops! YouTube strikes again. OK, get some cute little cukes. The grocery store ones are available year round and have somewhat thin skins.
Some water (4 cups) and some vinegar (2 cups). I used white this time because somewhere I read the cider turns the pickles an odd color. I think they must have lied because I think the taste of cider vinegar is yummy. I’ll do that next time.
Salt; yes I used sea Salt (gasp!) not pickling salt. Why? Because that’s what I used last time and that’s what I had – period. (2-3 Tbl)
Jars, you’ll need jars too. Once again those tall thin Ball jars come to my rescue. Only 2 this time, thank you
Spices: No, not yet – that’s Step 3! .. Moving on…
Step 2:
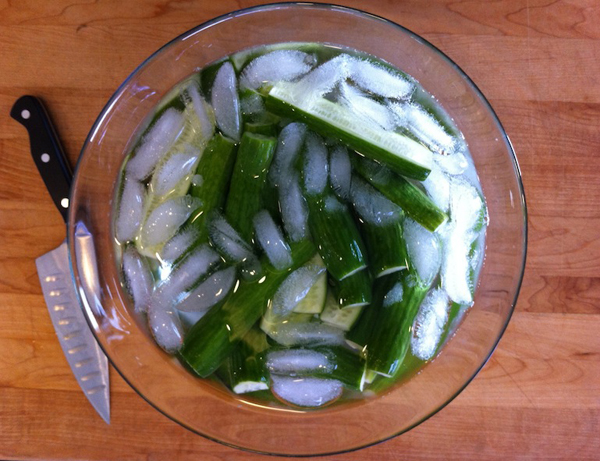
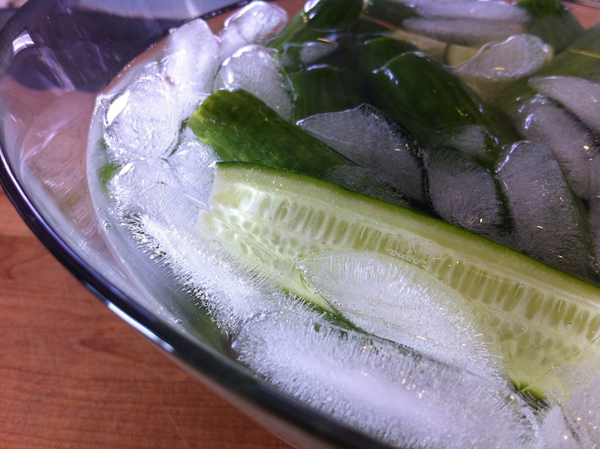
Slice up those cukes and float them in some ice water with the sea salt. And yes, you are allowed to add onions if you like, I just didn’t. You can add extra salt if you like too, they won’t mind. Leave them there for a few hours…don’t you have some errands to run or something? You can’t make pickles all day!
Step 3:
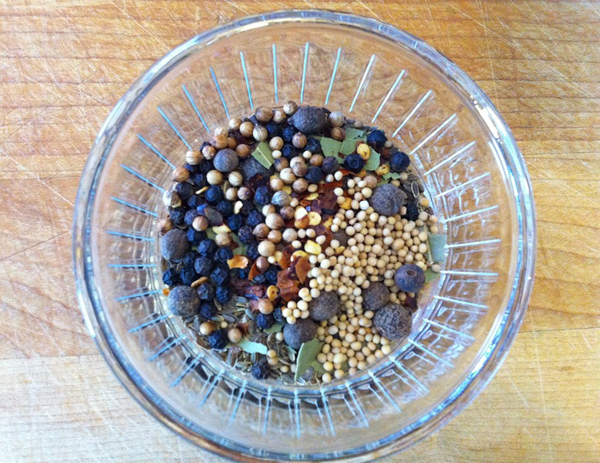
Spices:
This is up for grabs. You can buy some pre-made or mix n’ match your own. I have a habit for going online and finding some fancy spice blend that’s out of my price range and looking over the ingredient list for ideas (shhhh!). Yes, in my world, $8.00 is too much for a tiny jar of stuff I already have here.
Here’s my little ‘Bite-Me–Mix’;
3 tsp. Dill seed
1 Tbl Dill dried* (*better with a big clump of fresh in each jar…but I was out)
10 Allspice berries (5 for each jar – see how that works)
1 Bay leaf, broken up
1/2 tsp Peppercorns
1/4 tsp Red Pepper flakes
1/4 tsp Coriander seed
1/4 tsp Mustard seed
2 cloves Garlic (1 for each jar)
1 – 2 Tbl Honey (to help back off the Bite)
Step 4:
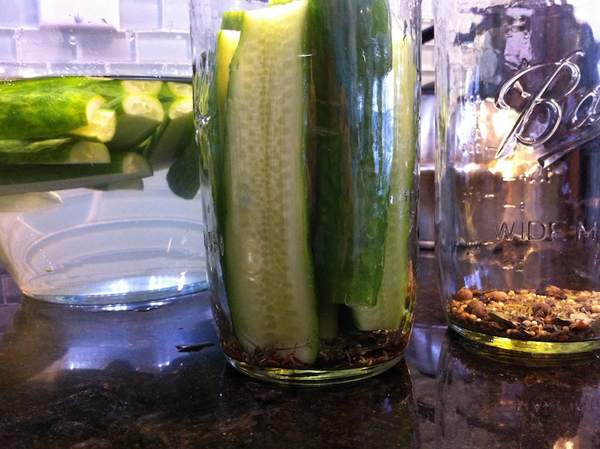
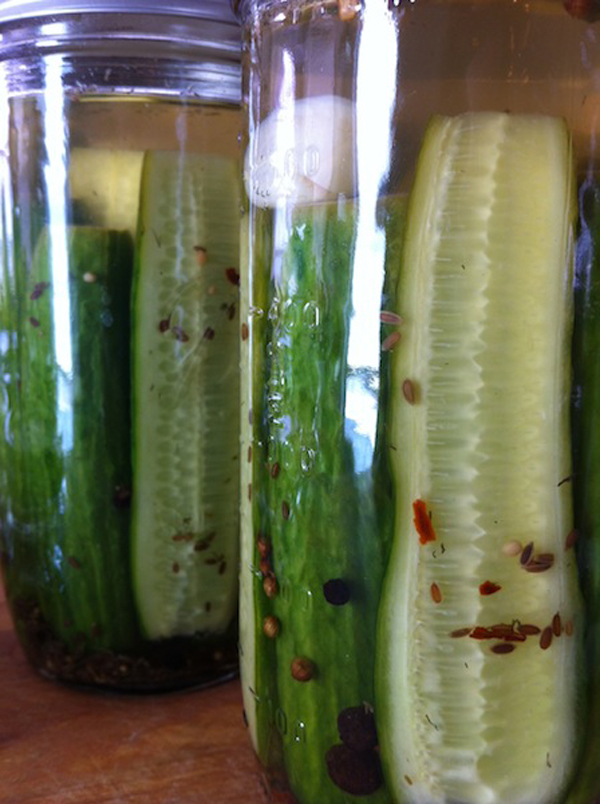
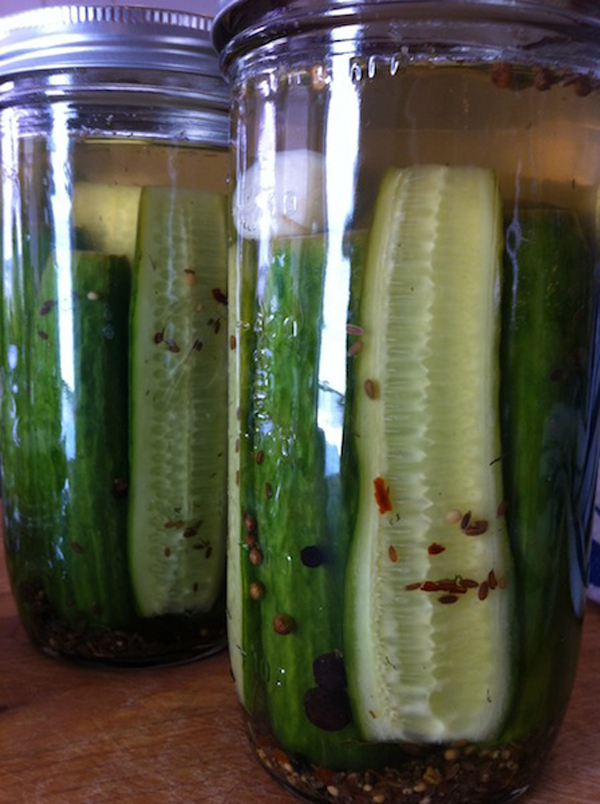
OK, you’re back..now the ice is melted and those briny cucumbers need to become pickles. Split up the spices between the jars and squeeze in the crunchy spears. Don’t read that old recipe card – pack ’em in tight! Oh, there’s left overs? Well, that’s ok – cut them up smaller and add a bit of mayo and some dill…presto cucumber salad!
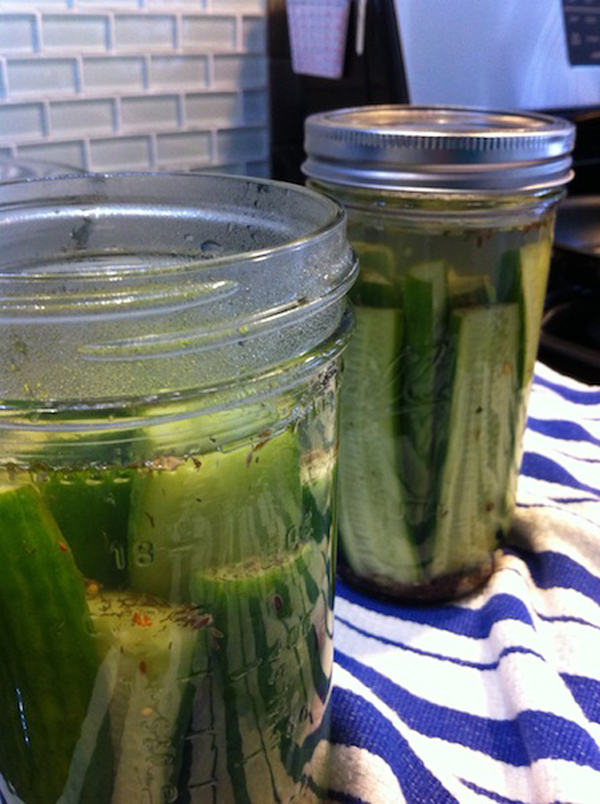
Meanwhile, in a small pot, bring the water, vinegar and tiny bit of honey to a boil. Then pour over the packed cukes, top each jar with a generous garlic clove and lid up.
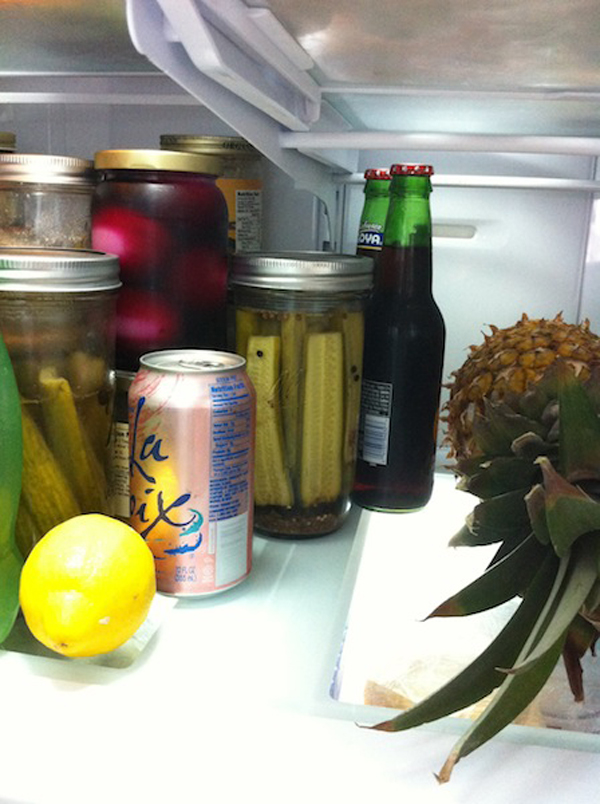
Finale: You just made a pickle…yes, you – and it was is easy! Now, here’s the hard part..you have to wait. I know, I couldn’t either. After a few days, I opened them and was all, “No! This is just a vegetable in a weak-ass dressing!” Lucky for me, my sister had paid a visit and given them the same taste test. She told me that they were in fact good, but I just had to wait – “pickles have to take like a week “, she said (or a month – who knows they never last). Alright, I’ll wait. Another week went by and my Mom stopped over (yes the one who hated Grandma’s pickles), she said they needed more dill. I think I found my Official Pickle Tester. When I tried them, and I can’t believe I’m saying this – my sister was right! They were way better. A mean garlic and spicy bite too I might add. Even that long in brine, they were still crunchy. That’s what the ice water soak does for them, I’m told. See – I listen sometimes.
Hmmm, not a perfect pickle, but it’s a start. That second jar is still in the back of the fridge. I think I’ll wait until next week and crack it open. Some cheeseburgers in paradise may be in order with a ‘big kosher pickle and a cold draft beer….’ … Or just one of my pickles.
Michelle at Badzoot.com