I am not a fan of beer. This is not a revelation to people who know me. Not to say that I won’t drink one, I do, but it’s not my first choice. I’m a gin n’ tonic girl who’s had to give up the tonic (cause I think it’s eaten a hole in my stomach…but good news, I’ll never get malaria!).
These days I’ve been more into vodka mixed with, well, most anything. This isn’t a big deal if I’m at home or at a restaurant or an afternoon/evening at Perfect (always the best bar – and there’s always a driver…or a sofa). There are time’s, however, when a bottled drink is choice. Something I like even less than beer are the ‘malt-beverage drinks’ that are out. That’s everything other than beer. Now that Zima’s off the market, I’m out of luck. Now I have a choice of expensive, overly sweet and super high calorie bottled ‘lady drinks’ (ugh), or a manly ‘hard lemonades’ which I’m sure has the same level of acid content as my car’s battery. I’d bother to try them all, but just reading the labels I can narrow it down to maybe 2 or 3 versions on the shelf that seem even moderately appetizing. How ‘bout a bottled Sangria? Sounds good, since it probably contains some actual fruit juice and wine, right? Not! It’s tasty, but I’m not sure what’s in it…not rum, or wine, but whatever it is it’s 225 calories worth – per bottle! And who’s going to drink one bottle? Not me! (yet again, not another revelation to those who know me).
So, I’ve had this dilemma for a while, but it hasn’t really been an issue until River Day. Ahhhh, River Day…that’s when the mermaids go and hang out and enjoy one of Mother Nature’s most beautiful gems, the Weeki Wachee river. I’m always so excited that they even invite me. I try to bring something yummy to offer the retired Goddesses of the Deep, to remain favorable in their eyes. They are my favorite sirens. Now, like every God fearing cult, there are rules. (ha ha) Na! But seriously, there’s ’No Glass’ at the river. This is a very good rule, for reasons that are very obvious once you arrive at their little private haven – you must respect the fins – no glass.
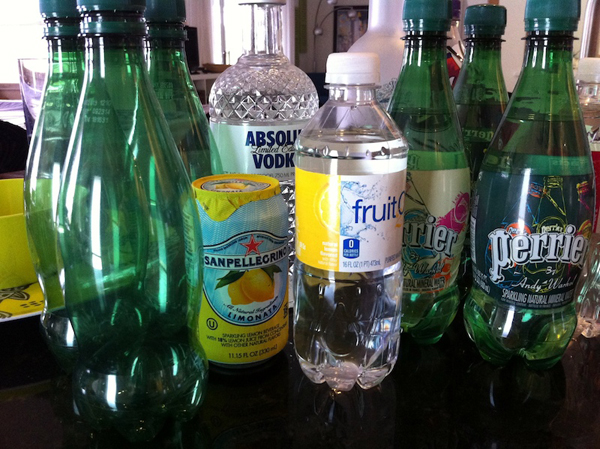
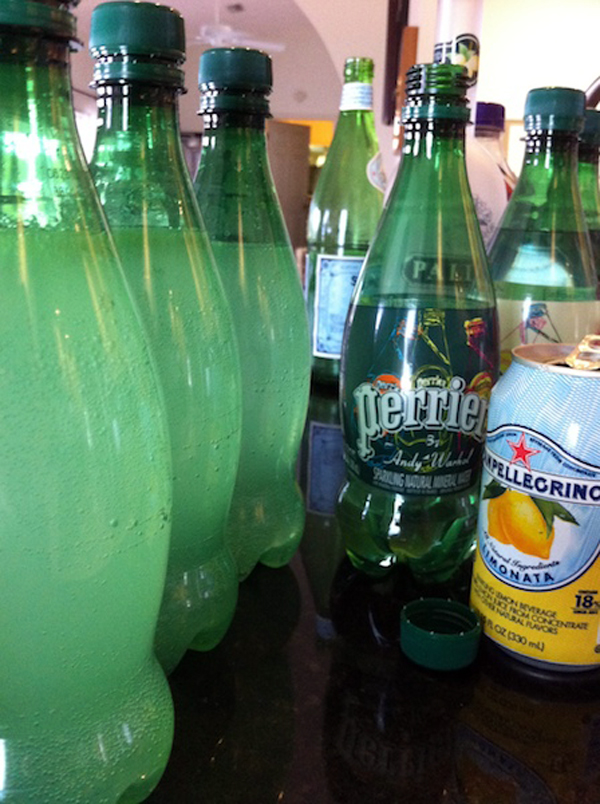
Here’s my solution to the high-calorie, fruity, malted beverage in a glass bottle problem. DIY! For a long time I’ve been mixing liquor of all sorts with club sodas, flavored mineral and filtered waters. Why can’t I just do that – ok, there’s that whole ‘Open-Container Law’ here in FL. But I’m hoping that if it’s in a cooler and in the trunk, it’s not really ‘open’ is it? (don’t answer that!) Not to say you have to carry it anywhere – maybe you want them at home, waiting patiently at the back of the fridge for when Friday just won’t get here fast enough. So, here’s what you do. Find a bottle for a carbonated soda to reuse. I like Perrier, because I’d drink the mineral water anyway, but mostly cause it had a neat shaped and remarkably heavy plastic bottle. I guess it needs to stand up to a lot of pressure being shipped all the way from France (really, from FRANCE?!) Remove the label and refill. Awesome! I like a mixture of Fruit2O lemon, a trickle of Limoncello, and a bit of vodka. (you can use your best judgement – don’t use mine, or you’ll be drunk!) Some bottles I topped with a bit of San Pellegrino Lemon soda. It’s so good, so lemony and actually has some lemon in it…not so much acid that you could charge your cell phone with it either! The Fruit 2O is a flavored water with a touch of carbonation and 0 calories. You could do this with a raspberry version or even a bit of orange peel with a hint of Cointeau. Hmm, I’m thinking a lo–cal DIY bottled mojito may make it’s way to River Day sometime….but keep it hiding in the cooler,…in the trunk – shhhh! It’s for a good cause – no glass – you must Respect The Fins.
 It has an outside pocket for my notebook plus two for water bottles that are lined just in case the bottles sweat.
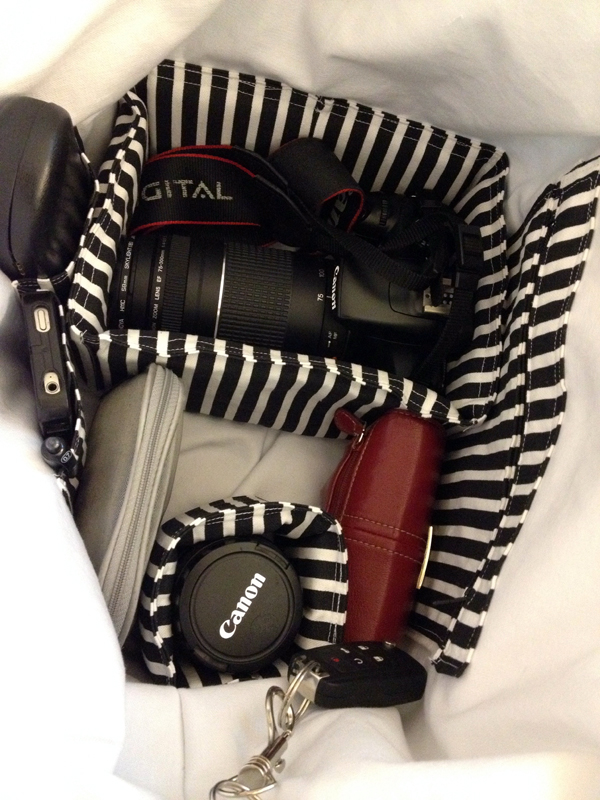 When I don’t have my camera, the compartment folds over to the side and there’s plenty of room for purchases.
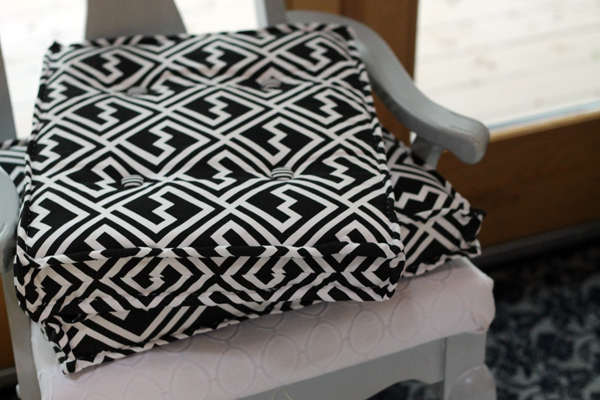

 All done and on my chairs, so pretty, so comfy!