DIY Handy Tote

I’m still on the mission to use up some of the fabric that I have stuffed away in my many storage containers.  I love this print.

DIY Handy Tote, Flamingo Fabric

I used it for a glider cushion years ago then decided to move the glider.  And you know that if I move it to a different room, there will be a different color scheme.  One that “retro pink flamingo” will just not work in.  But the flamingo fabric was still in good shape so I washed it and tucked it into a basket with intentions to make something.  Someday. Somewhere. Somehow.

So a few weeks ago I was getting ready to play golf.  I’m a very timely person, never late but rarely early.  My golf purse hangs right by the garage door and I grab it as I’m running to the car and stuff my wallet, glasses, iPhone, water and sun screen into it as Terry is getting ready to back out of the garage. The golf purse already has things like pencils, crackers, first aid kit, ball markers, and brush which stay in there permanently.  (One time I forgot my golf shoes–won’t live that down) And that’s when inspiration hit.  I needed a bigger tote.  Insulated so my bottle of water wouldn’t sweat.  With lots of pockets.  A place for everything and everything in it’s place. And a nice wide handle.  And my pink flamingo fabric would be perfect!
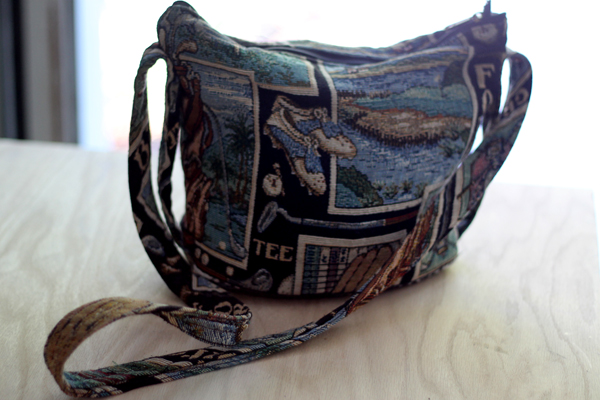
Golf Purse
My golf purse. No I didn’t actually buy this, it was a “gift” at a golf tournament. So I use it.
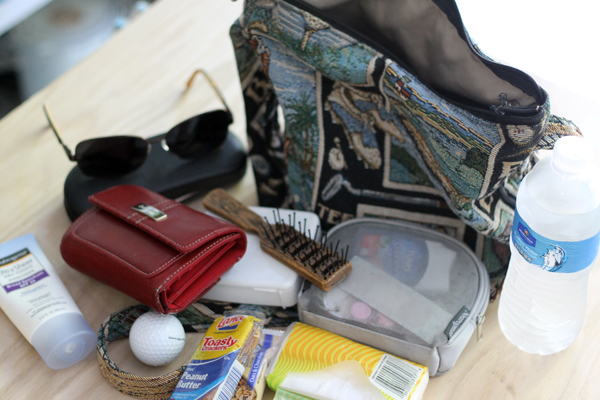
Golf Purse stuff
And these are the necessities that get crammed into that little bag.

So I designed a new tote!  I’m calling it my “handy tote” because it will come in handy for many occasions besides golf.
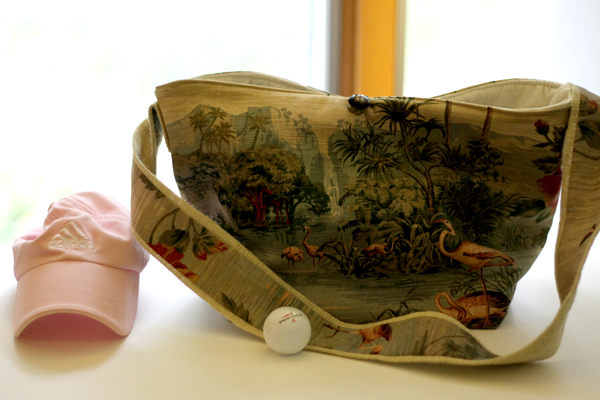
Handy golf tote, purse, bag, tote
How cute is this?
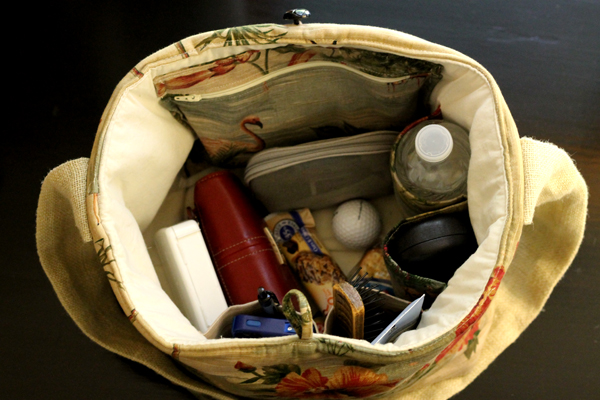
Handy Tote interior, purse, bag
And everything fits with room to spare!
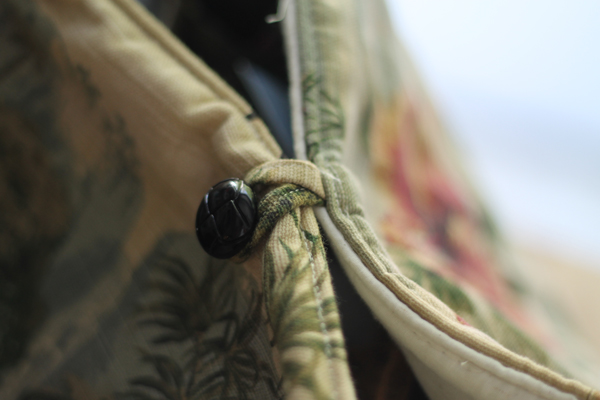
Toggle and Button
I even love the little toggle and button!

I used muslin for the lining and added three different pockets to the inside of the bag–the first is a zippered pocket that holds a bunch of small items, the second holds two water bottles, and the third is for my phone and sunglasses.  No pockets on the outside because I didn’t want to cover up any of the tropical theme.

I used fusible fleece on the outer fabric just to add stability.  On the lining I used Insul-Bright, a thermal lining.  I also used it in the lining for the water bottle holder.  I thought it might keep the water cold but after testing the tote for a week,  I don’t think it does any better than plain old fleece.  I also added a new bottom insert using Peltex which I sewed into both the lining and the outer bag–pretty pleased with how the insert turned out.  Because I used Peltex, the tote is sturdy and washable!

I’ve made some instructions and attached them in a PDF format.  I usually make my designs twice before I post them.  Once to record the instructions and then I follow my steps the second time to make sure I didn’t miss anything.  But I have new fabric and new projects that I want to start on.  Too excited about new things to make this tote again right now.  But I have gone over the instructions several times and think they are good!  If you have any questions, let me know!
PDF for DIY Handy Tote

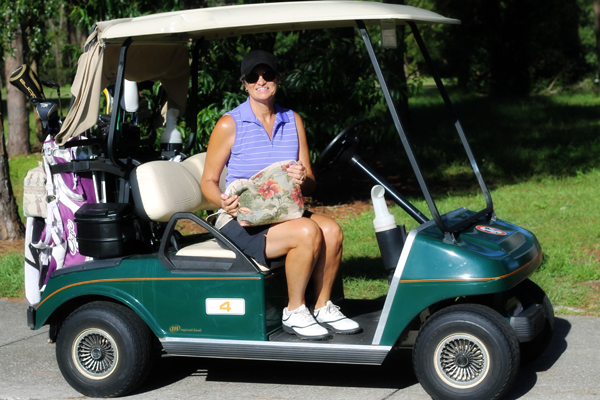
Handy tote on golf cart
And here I am on a golf cart with my new handy tote!


DIY Envelope Style Pillow (again)

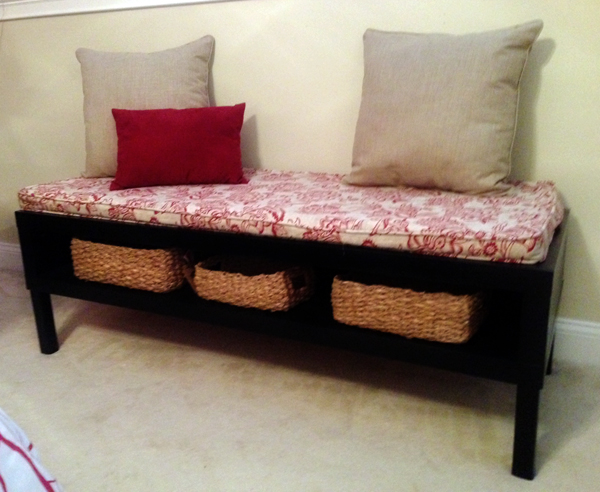
Several months ago Kathryn bought a town house on Davis Island in Tampa.  Since then Darin and her have been busy fixing it up.  Kathryn’s on a budget and pretty frugal so a lot of her purchases are at garage sales and flea markets and even a few dumpster dives. Darin rescued an Ikea coffee table that was missing a leg and had numerous dents and dings.  Terry replaced all the legs,  I filled in the dents, painted it and then made a cushion.   Now they have a bench in their bedroom.  I had some of that fabric left and I’m trying to use up the old stuff before I buy anything new. Time for the bench to get a matching pillow!

Former coffee table turned into bench with cushion.
Here’s the bench from back in May.
ikea hack coffee table to bench with boxed cushion.
And here’s the bench now!
DIY Envelope-style Pilllow
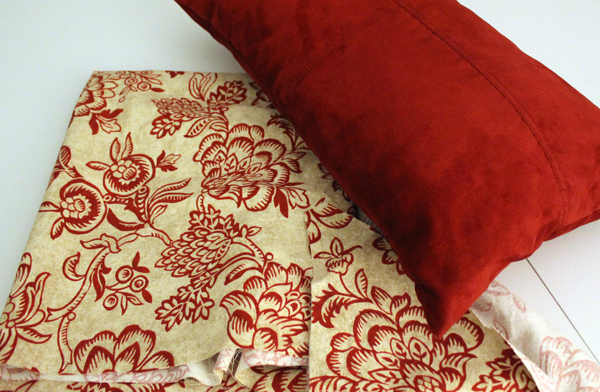
Left over fabric plus a pillow that Kathryn wanted recovered.

Envelope-style pillows are incredibly easy.  Especially if you don’t use piping.  I typically do but I wanted to give this to Kathryn ASAP.  If you can sew a straight seam, you can make a pillow cover!

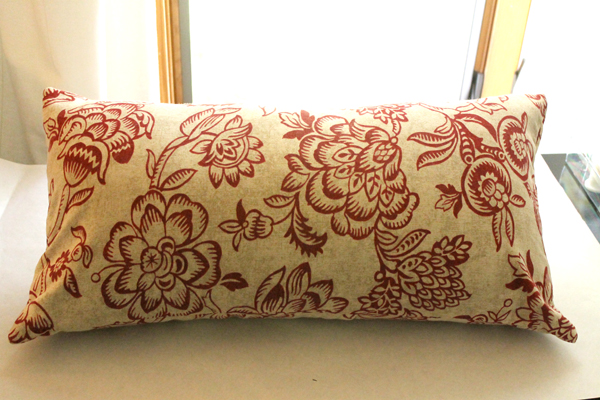
It turned out very nice, even sans piping.

DIY Envelope-style Pilllow

DIY Envelope-style Pilllow
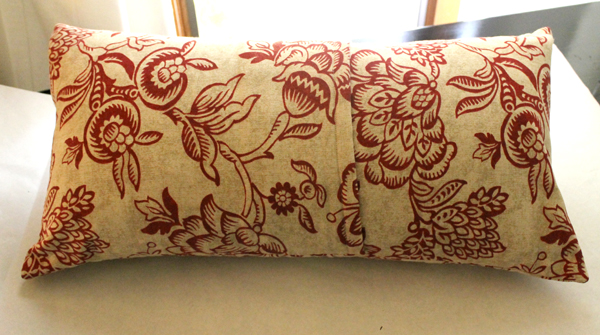
This is the back, the “envelope flap” keeps the pillow closed but no zipper nor hand sewing any seams.  I hate hand sewing.
DIY Envelope-style Pilllow
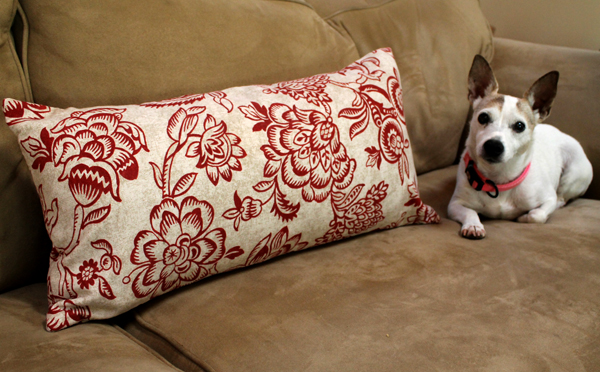
Maggie wanted to keep her new pillow. No, no Maggie.
DIY Envelope-style pillow,
And here’s the pillow at Kathryn and Darin’s place now that Maggie gave it up!


DIY Envelope-style Pilllow
And look how happy Darin and Kathryn are with their new pillow!

I’ve posted the instructions for the “envelope-style” pillow before, but just in case you don’t have it bookmarked, here’s a PDF:

Envelope-style pillow cover

DIY Expedit Box — Part II

If you don’t know what an Ikea Expedit shelf is, just go out to the web or pinterest and do a search.  Apartment Therapy even calls it the Worlds Most Popular Bookcase.  It’s quite popular in our house.  We have five plus the desk attachment.  Cheap, versatile, and worth the drive to Tampa to buy them.

I’ve purchased a few Expedit storage boxes and they are relatively cheap.  But there’s always the challenge of making my own that match the room’s décor.  So I made a few for the guest room but wasn’t really happy with them.  While the boxes matched the rest of the room, the Peltex Interfacing was expensive and the boxes were a bit floppy.  Okay since I only store sheets and the grandkids’ clothes in them.  But I wanted better.  I wanted to use plastic canvas which is sturdy and less expensive.

DIY Expedit Box Part 2
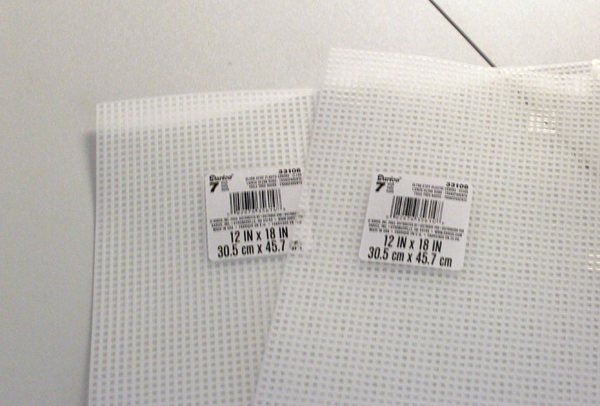
This is Plastic Canvas. I use this for the bottom of my totes. You can get this size at Jo-annes.

I also wanted to use up some extra fabric from the sunroom update.

DIY Expedit Box Part 2

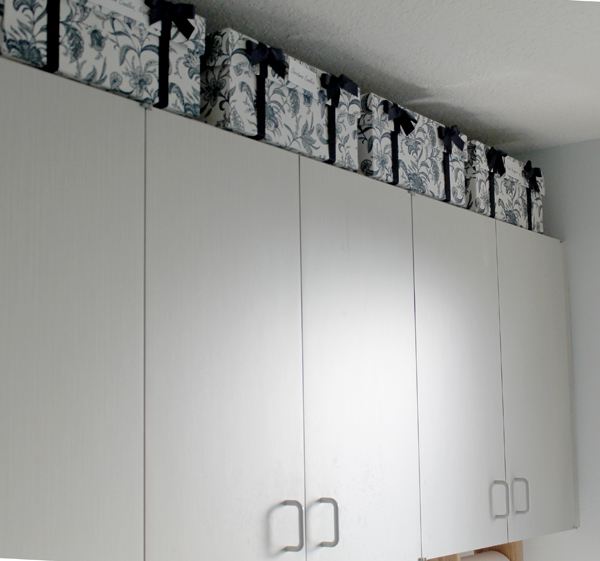
And I think the color combinations go really well with these storage containers that I purchased at Home Goods and are in my laundry room.

DIY Expedit Box-- Part 2
My laundry room is still a work-in-progress. I want to do something fun with these cabinets. Another DIY project!

And here they are:

DIY Expedit Box-- Part 2
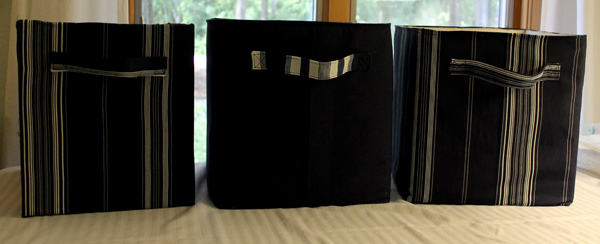
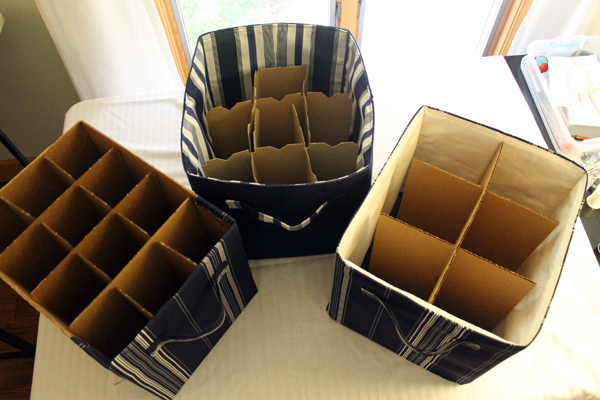
Three Boxes for the Expedit Shelf


DIY Expedit Box-- Part 2
Have to say that I stole the insert idea from Michelle! She showed up one day with a tote that I made her and she had put inserts into it so she could safely carry homemade strawberry jam. These will be great to store candles and other breakable items.I just reused inserts from liquor boxes.  Perhaps having so many liquor boxes around could be a sign of a problem?

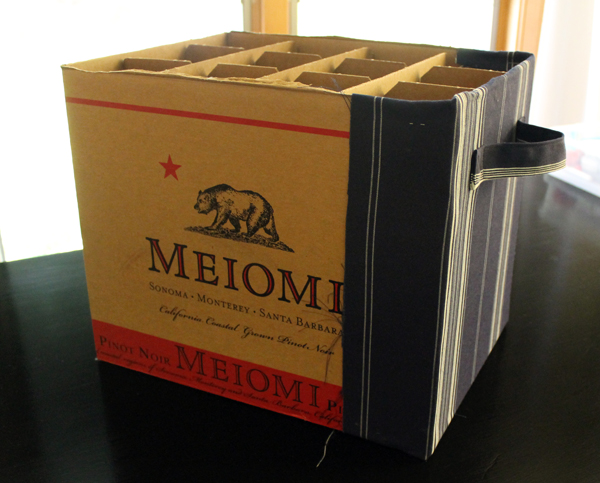
And I totally cheated on this storage box.  I had an almost perfect-sized liquor box and just enough fabric to cover the front.  I used modge podge to glue the fabric but I probably could have used spray adhesive.  I did sew the handle but that could just be a cut out for a hand-hold.

DIY Expedit Boxes - Part 2
No-sew version for Michelle!

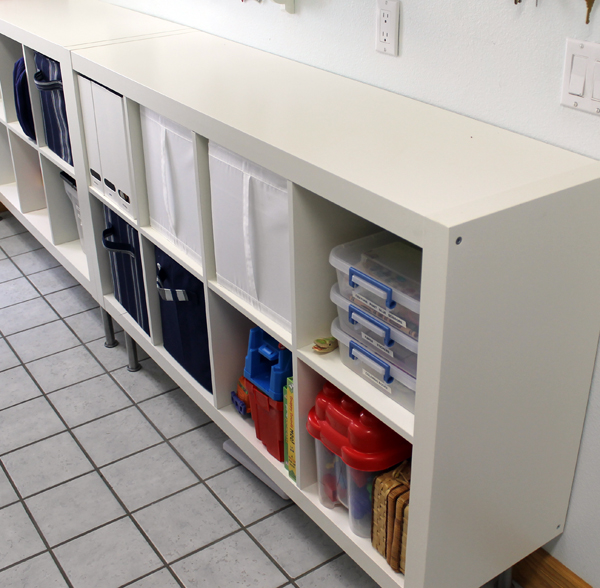
These are the two Expedit shelves in the laundry room.  They are on 6″legs which you can also get from Ikea.

DIY Expedit Box Part 2
Two Expedit Shelves on legs.  There are two white storage boxes from Ikea on there, too.
DIY Expedit Box Part 2
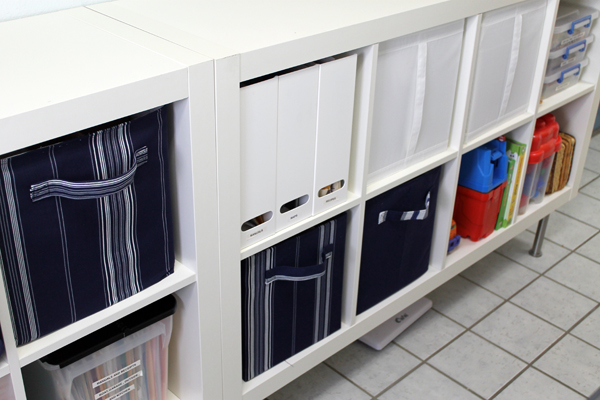
Just another view.  Magazine holders are from Ikea, too.  I should own stock!

Okay, I cheated on the one storage box, but for the other two I followed the instructions from the blog Make It & Love It.  This was just what I needed but the fabric storage boxes from the tutorial were too small.  Just 9.5″ tall by 11″ wide by 8.5″ deep.  Basically, she uses fusible interfacing to make the fabric stiff then makes pockets for the plastic canvas on all sides and boxes the bottom.  Very clever.

So I got my thinking cap on and figured out a formula to use her instructions and create Expedit-size boxes.  13″ tall by 12″ wide by 13″ deep.  I did not use seam binding on the top of the boxes, I just turned them under 1/2″.  The first box I used plastic canvas for the inserts but on the second I used cardboard that I cut out of liquor boxes.  I actually liked the cardboard better–and it’s free.  I also tried two different fusible interfacings–one that was midweight and the other was craft.  I probably liked the midweight better but the craft was cheaper.  So you know I’m going with the frugal version in the future.

This is not an easy DIY because making the boxed bottoms is confusing and sewing the top edge is awkward since the inserts are already in them.  If you are interested in making your own Expedit boxes, I’ve created a PDF which you can click on below.

BOX FOR EXPEDIT PART 2

Any questions, let me know!  I might be able to answer them!