Hi there,
I’ve been spending so much time in the kitchen I thought I’d do something completely different. Remember way back when, when I was redecorating the master bedroom, well I’m still not done. Mainly because I’m afraid I’ll run out of rooms to work on…there’s always the pool bath. I always forget about that one. That is until the neighbor boys come over to swim and use it. Then I think, “Ugh, I’ve not been in there for a month! Oh, well their backsides are dipped in chlorine anyway.” (I just hope they don’t tell their Mom’s)
Hey, wait where was I? Oh yeah, the bedroom. So, as I’m on a continual budget crunch, I’m always on the hunt for some unsuspecting thrift store victim. Lucky for me so are my Mom’s friends. They bring her frames and weird art stuff all the time. She’d been cleaning out her back room (OMG don’t get me started) and she had some pieces that she had no room for and I have “…all those big white walls,…”. I traded her a batch of Cranberry Conserve’ that she loves, for this beast. And by beast I mean what’s probably the ugliest print art ever. OK, maybe not like a Velvet Elvis, but it’s a moose …..with a peach and country blue matt. Straight from the Goodwill. I think I’m a little sick just remembering it. Yes, there’s the photo we can all be sick together – you’re welcome.
That’s Step 1: Find a frame.
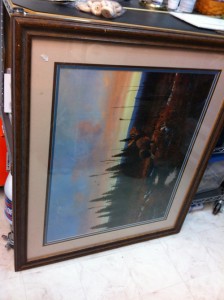
Still, this was a well spent $10.00! This has potential…but first that moose has got to go. Turns out it wasn’t even a print. It was a cheap poster, so tossing it was done without remorse. Another problem was the size 30 x 36, somewhat square. I can’t afford another matt and that one is making my stomach turn. And I stiff haven’t decided on the art to replace it. How about a ‘float’, at least that’s what we used to call back when Mom had ‘The Studio’ and all that framing equipment. That’s when you float a piece between two pieces of glass. This can be tricky, but beautiful. Since I’d painted the walls in the bedroom with a lovely faux finish, this would work. The tricky part is it’s size. I’ve never done one that big before. (disclaimer: I did break one sheet of glass in the process)
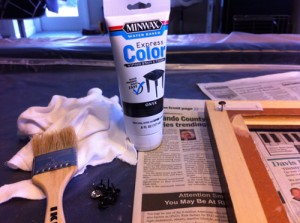
Step 2: Make the frame your own. Set the glass aside and clean up the wood. I decided to leave the velcro hangers on one side to help stabilize later. I decided to make it an espresso dark wood to go with the wood work in the adjoining bathroom. I picked up the Minwax Express Finish at Home Depot for a couple of bucks. Gell-Stain doesn’t come in black anymore or in small containers. This was a first attempt with this product. I like it a lot. Turns out to be a bit like thick gel-stain. You can still see some of the wood tone thru it. A black finish on a somewhat medium wood frame was perfect. I used gloves and the soft rag to apply (never needed the brush). See the tack in the corner? Yes, I use those to hold the frame off the newspaper while I work. Tip: stain the inside edge while you’re at it. If you forget to that’s ok, I did too.
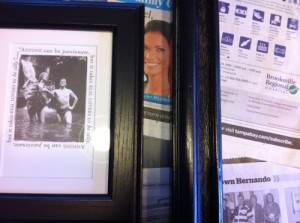
Step 3: I went over it twice then let it dry well. Afterward, sealed it with satin Minwax Polycrylic Clear Finish. There it is next to the Ikea brown-black frames bathroom. That’s a darn good match if I do say so myself.
Step 4: Somewhere in the middle you need to pick up a second piece of glass. I got mine off the rack at Home Depot for under $20. (that’s after I broke the one from the glass shop)
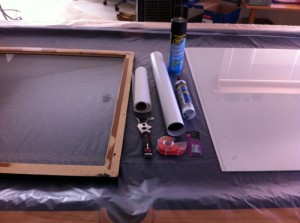
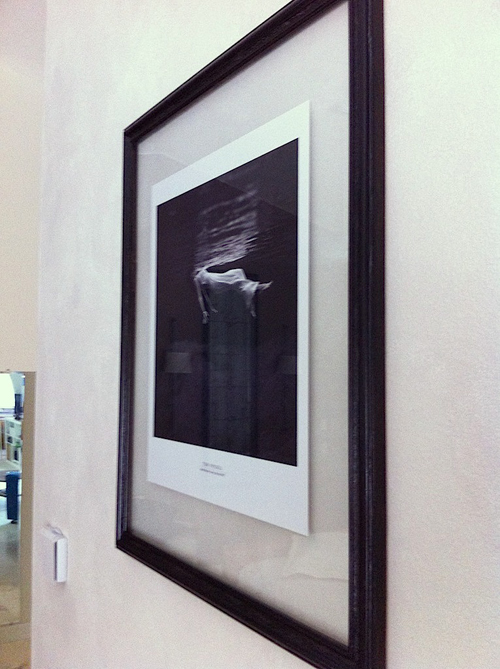
Now go find some art. I was in love with this 1940’s black and white of a woman floating in the Weeki Wachee river. Ethereal, soothing, a little erie – perfect. So, for $15 those nice folks at Amazon.com sent it to me in a tube. Turns out the paper was set up like a polaroid (yes, I’m dating myself …again!). It fit beautifully in the frame, after I trimmed the ‘fine print’ off the bottom. I also let it set overnight flattened under one of the pieces of glass.
Step 5: Fast forward. Install alligator hangers along the top edge. I used three due to the weight. Clean both pieces of glass…clean them again. Center the art in the glass and place a couple of pieces double stick tape on the art. Very slowly, with help, lower the second piece of glass down, sandwiching the art. Take a deep breath and look for any specks. Since the art is now glued in place, if you need to re-clean or whatever, lean the whole frame on the floor on edge and ease ONE piece of the glass forward. Glass is strongest on edge.
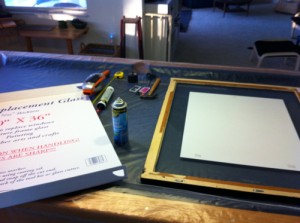
Step 6: This is where I’d forgotten about doing the edges. This only matters if it’ a extreme color change. See that blue tape? Run an edge around the whole piece, out about an 1/8″. Have your, oh-so-helpful-helper run a bead of black caulk (or whatever frame color) to hold the glass in evenly. After it’s dry, I ran around the edges with my Sharpie Magnum marker. Then pulled the tape.
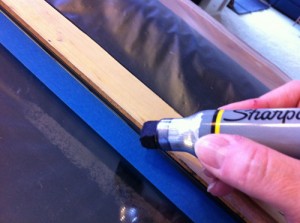
Step 7: In the corners I used glazer points (for windows). Before I installed them, I colored the face with my Sharpie. Then with a putty knife, I very gently installed them in the corners.
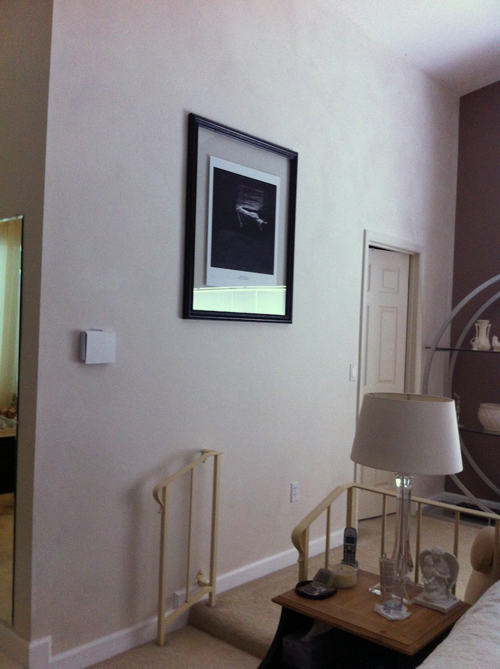
That’s it. Get some drywall anchors and hang it. Beautiful ! There she is floating on the bedroom wall. The shadow the art casts gives it a depth and the paint job looks like a perfectly matched matt. Could you do this with plexi – yes, but then it’s not glass. Just like Popov is not Grey Goose…and I’ve already been ‘cheap’ enough. (yes, I hate that iron hand rails too! That’s another blog.)
Michelle at www.badzoot.com
 Found these lovelies at the Anthropologie in Hyde Park in Tampa.
