Bedroom Redo – Step 3

This is Step 3 of Michelle’s redo on her Master Bedroom.  You can check out the first step refinishing the armoire, and the second step faux painting.


The Nightstands

So, here’s the next installment in my Master Bedroom redo. The nightstands….a small job. This project has the smallest budget ever, like non-existent. So, since we’re refinishing the armoire, we might as well tackle the nightstands. These are also pieces that have been around forever and it really won’t bother me if I trash them with a terrible paint job. And, remember, it’s only paint!
Bedroom Redo, Step 3
Nightstand Before
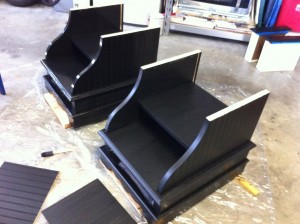
Step 1: Remove the tops, because they kind of match the bed – and I’m not ever painting that bed. I used some of that Ultra House paint in Poppyseed that I used as primer on the armoire. Works great again. Bluish color, streaked using a chip brush to get those pesky beaded accents (stripes cut in the wood) looks good.
Bedroom Redo - Step 3
Step 1
Step 2: Hit them with the black matte paint leftover from that armoire project. Take the drawer pulls off and spray paint them with the same Steel Grey Rustoleum from the armoire project too.
Bedroom Redo - Step 3
Step 2
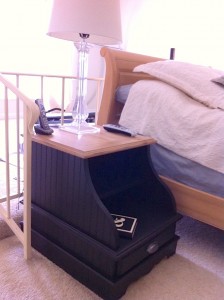
Finished: See, I said it was quick. They look like they go with the new look a bit better – and didn’t cost me a dime extra! Another piece to the puzzle done.
Bedroom Redo - Step 3
Finished!
Next up: The Leaded Glass Mirror (that was a fun one)

Bedroom Redo, Renew, Reno–Step 2

Michelle is sharing her bedroom update, continuing the post from October 30th, Montpelier Armoire DIY which I’m referring to as Step 1 so here begins Step 2…

Faux Painting

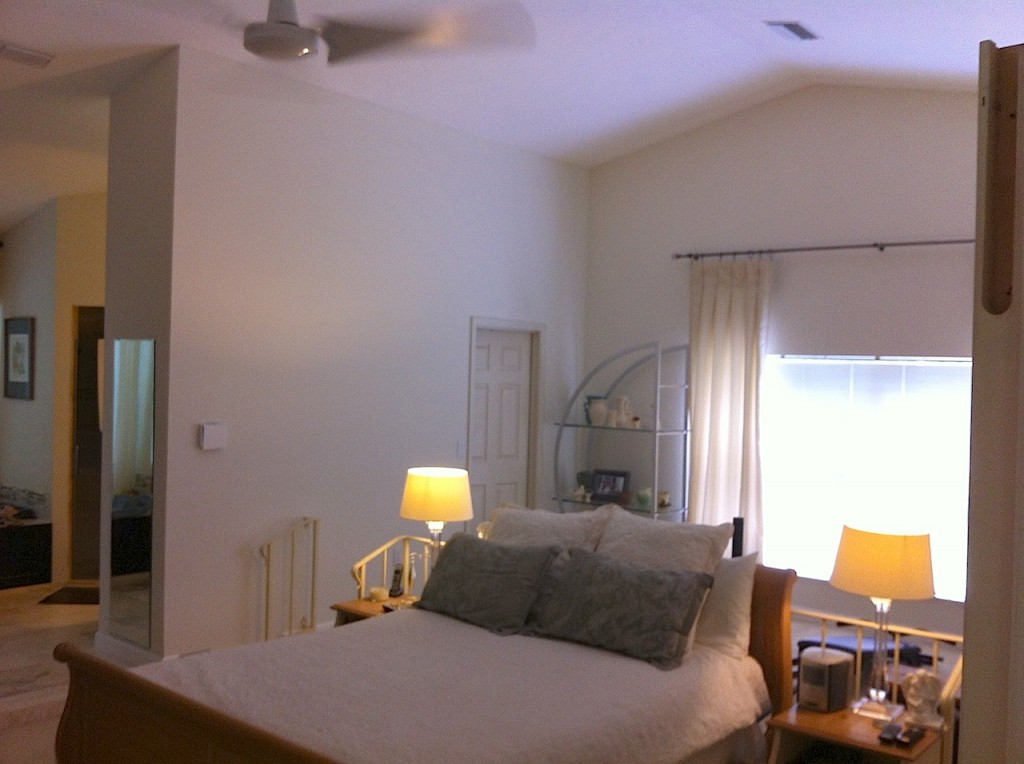
Several weeks ago I shared my project of refinishing my armoire. I’m still loving the piece and have continued with the re-decorating project. First, I have to describe to you the fact that the bedroom, which is the size of a small two car garage is split in two sections with an iron handrail cemented to the floor (yes, I tried to remove them for powder coating – Nay, Nay – I get to paint those bastards in place around my white carpet!) with a raised section that isn’t quite big enough to move the bed onto. This has become the ‘workout space’. Which is great and all but I’m tired of seeing the gym equipment and the hodgepodge of stuff shoved back there because it just hasn’t got a home of it’s own. And yes, 5 years later that tag is still on the mattress!
Bedroom Redo, Renew, Reno, Part 2
Bedroom Before

After the armoire, I repainted the walls. On the two far walls I used a Benjamin Moore color called ‘Weimaraner’ yes, like the dog. And that’s just about what it looks like. Crazy color – like chocolate milk, with gray tones, but in some light has a plum cast – perfect. The other two massive walls were different. I just didn’t have enough work so I complicated everything by wanting a faux finish! You know, like in all those Restoration Hardware Catalog shots – a Color Wash. OK, well I picked the fight so I have to finish it. I’m pretty good with a paint brush and I have the internet to instruct me. HA – It’s NOT like on YouTube! Although, I did find a good guide and away I went. It’s just paint – how bad could it be? My walls are 15′ high and the one is 23′ long! Faux finishes need to be done by one person, in one shot to insure consistency. So, here I am 15′ up on a ladder (no Terry, I didn’t rent a Baker for this – stupid, I know) and I discover that the paint is drying too fast. Ugh. That means the top work was with the bucket of paint clipped to the big ladder with me, gloved, holding a giant paint brush in one hand and the other clad in one of Jon’s old socks (because rags do not cooperate!). I get around the room and am surprised at the great results, then Jon stops in to take a photo now that I’m on the short ladder…and tells me something about poor color match (I’m thinking he’s color blind!) and laughs that now he has a photo of me whining. Ha-Ha.
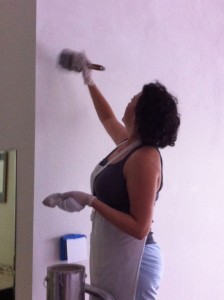
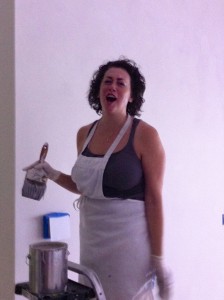
Bedroom Redo, Renew, Reno, Part 2

Bedroom Redo, Renew, Reno, Part 2

This project turned out way better than I thought. The room is already cozier. The faux finish walls are soft and have a look that matches the travertine flooring in the adjoining bathroom, and matches the darker walls too since I used it to tint the glaze. Those HGTV people are right – you can DIY it!
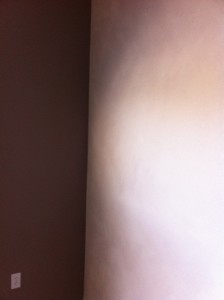
Bedroom Redo, Renew, Reno, Part 2
Completed Faux Paint

Tomorrow: The Two Nightstands (Step 3).
Adventures in the Kitchen with Michelle

Today was supposed to be rainy. I got everything done yesterday so I could stay inside today and play Cookie Monster Mama. Then it rained early and then it turned cool and the sun came out. Now that isn’t a bad thing, but I sure don’t want to be inside…how about just opening the doors. Ahhhh,….that’s better.


Lately, I’ve been going on and on about things having to do with Fall. Pumpkin, maple syrup, etc. What else? Apples. I love apples – all kinds! My old house in Brooksville used to smell like apples and cinnamon. I miss that. This one’s just too big for all that. I’d burn down the place with that many candles! And Bath & Body Works doesn’t sell their incense oils by the gallon. That said, nothing gives a house a warm homey smell on a cold day like firing up the oven and making cookies.


But I started this little story with an apple prompt. Apples & cookies?? Who does that? I do, that’s who!  Months ago I worked up an apple studded version of an oatmeal cookie. It didn’t turn out as great as I expected. The guys liked it, but it still had nearly a whole stick of buttah!! I put the recipe aside and figured I’d ‘fix it’ later. Man, if I had a dime for every time I said that I’d be rich!!! But this a perfect day for it…Let’s Play Cookie Monster Mama…
Michelle’s Apple Pie Cookies


Step 1: Preheat that oven to 350 deg. Gather the staff. This turned out to be one of my more lengthy recipes. But a little of this and little of that and you’re on your way to a hand-held apple treat that’s just chock full of Fall wonderment. And this one won’t leave your ass looking just as dimpled as the chunky surface of these cookies!
Adventures in the Kitchen with Michelle
Step 1
Dry:
3/4 Cup Whole Wheat Pastry Flour
1/4 Cup All Purpose Flour
1 Cup Oats (NOT quick cooking)
1/4 tsp Baking Soda
1/2 tsp Baking Powder
1/2 tsp Salt


Wet:
1/4 Cup Apple Sauce
3 Tbl Butter (very soft)
1 Egg
1/2 Cup Truvia Baking Blend
2 Tbl Brown Sugar
2 Tbl Apple Butter (my organic apple butter has serious apple punch!)
1 tsp Vanilla Extract
2 tsp Boiled Cider *
1/8 tsp Allspice
1/8 tsp Nutmeg
1/8 tsp Ground Ginger
1/4 tsp Cinnamon


1/2 Cup Golden Raisins
2 Tbl Butterscotch Chips
1/3 Cup Apple (about 1/2 an apple, chopped raisin size)


* Boiled Cider? WTF? Well, it’s a great little secret ingredient I get online at www.KingArthurFlour.com. It’s like concentrated apple flavor – get some and your pies and other apple yummies will never be the same. Boiled cider is to cider the way apple butter is to apple sauce. Hmmm, I’m thinking about an Apple Cidercar, or an Appletini. But that’s another blog. Omitting it from this will take out a bit of punch, but won’t ruin the cookie either.


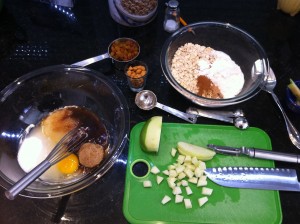
Step 2: OK, you know the drill – mix the dry – mix the wet. I add the extras to the dry. The flour, etc coats the apples and keep the raisins separated. But you can toss them all in last – whatever.
Adventures in the Kitchen with Michelle
Step 2
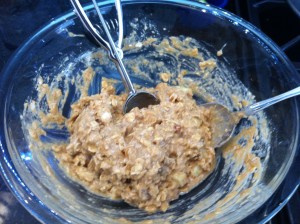
Step 3: Here’s the batter. Better get scooping. Bake these up for 13-14 min. or so. Should be about 32 cookies.
Adventures in the Kitchen with Michelle
Step 3
The sun’s going down and I’ll have to close the doors soon. I thought that clock fell back? Mmmmm, a little juice and mineral water spritzer while I type, and of course do a little quality control testing. We’re professionals here folks – I can’t just send out any old recipe.
Adventures in the Kitchen with Michelle
Did I mention these won’t stick to your hips! Wanna know why? Wait for it….. 59 calories!!! Whooooo Wheeeeee! I’m getting so good at this. I think I need to use my other Apple to make up a cookbook…yeah, and if I had a dime for every time I’ve said that…