DIY Bench Cushion

Here’s the inspiration for my latest project that I mentioned last week.  I pinned this pillow from West Elm several months ago.

Outdoor Piano Pillow, 20

I loved the fabric but it was only available in a pillow and I wanted it for the piano bench in my music room.  I searched several fabric sites and didn’t find anything remotely similar to the West Elm pillow. Bummer!  But I can’t be stopped!  I’ll just create my own–with a couple of different black and white stripe patterns from Fabric.com.

And this is how it turned out!
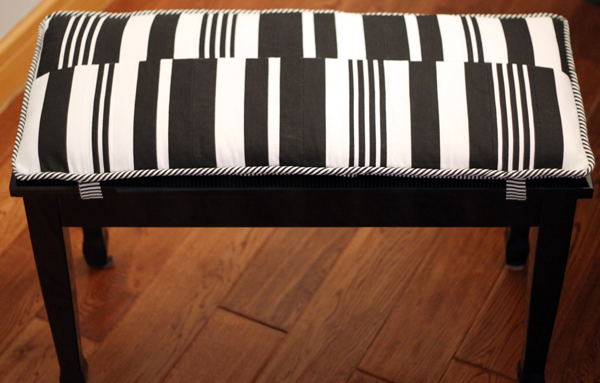
Piano Bench, DIY Bench Cushion, black and white striped fabric, music room

And this is how I did it!


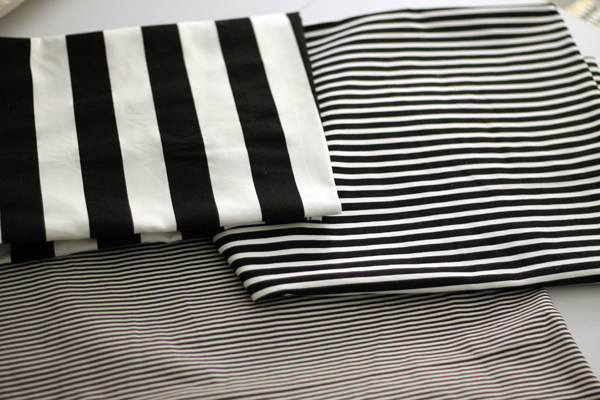
Striped Fabric for Piano Bench
I used all three striped fabrics but only the two wider ones for the top of the bench.

The top of the bench is 30″x14″ so, for a snug fit, I needed a piece of fabric for the top to measure 30 1/2″ x 15 1/2″.

I took the two larger striped fabrics and cut pieces 15 1/2″ long in varying widths then stitched them wrong sides together with 1/4″ seams until I had about a 32″ wide piece of fabric.
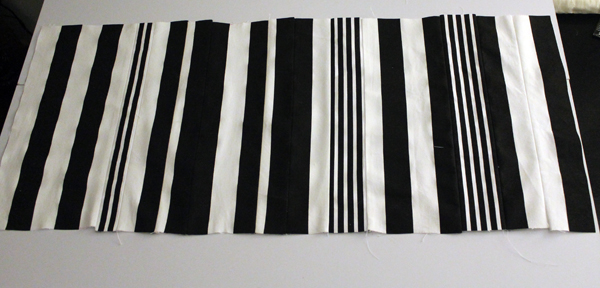
Fabric pieced, DIY Bench Cushion
This was a little like quilting.

Next I pressed all of those seams open, then made a line horizontally 7″ from the top and cut.  This gave me a 7″ piece and a 8 1/2″ piece.  If you check out the “inspiration pillow”, the top part is a bit narrower than the bottom part.
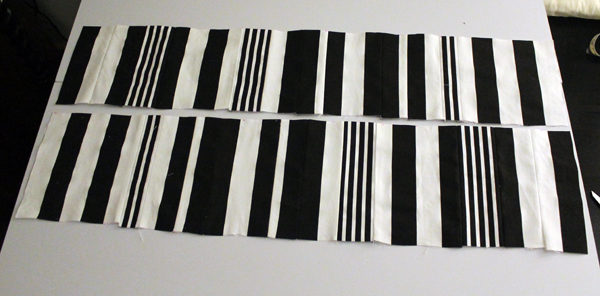
DIY Bench Cushion

Then I flipped the bottom piece upside down, lined it up in a way I liked and stitched the fabrics wrong sides together with a 1/4″ seam.  Pressed the seam open and trimmed it down to a 30 1/2″ width.
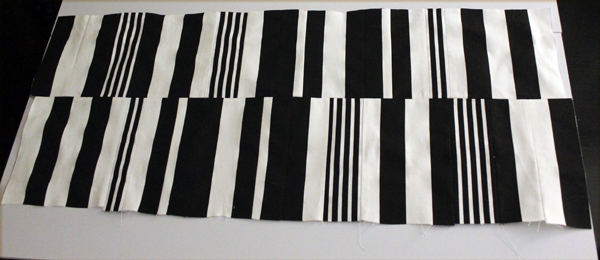
DIY Bench Cushion

Next I lined it with fleece cut to the same size and stitched along some of the seams between the strips.  Just like quilting but not really!

Then I added the piping–the same striped piping that I made last week!
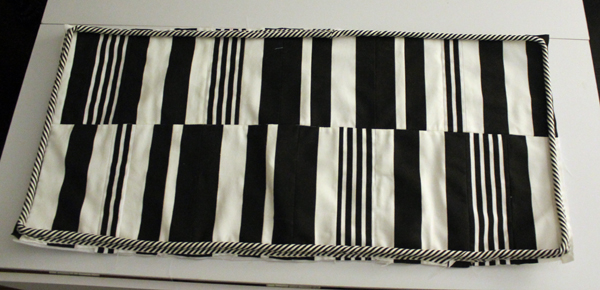
Piping, DIY Bench Cushion

Envelope-Style Cushion Cover

Now the rest of this is just creating an envelope-style cushion cover the same way I make the envelope-style pillow covers.  Since the foam I was using was only 1″ thick it was easy.  If I was using a 2″ foam or wider, I would have used a zipper.

I wanted to be able to remove the cover to launder.  My previous cushion was made pre-grandkids and not washable.  It was very cute with trim and tufted with buttons. So cute that those small sticky children wanted to toss it on the floor and stomp on it.  I don’t know what the reasoning was but each one did it as they toddled onto the scene.  The piano could not be played with that cushion on the bench.  So this one is not only launderable, it’s also attachable!

Like I already mentioned, the piano bench is 30″ x 14″ . Because I wrap the foam with batting which makes it bigger, I cut the foam a bit smaller—28″ x 12″.   I wrapped the batting around the foam and hand stitched the batting to fit around it.  Next I made a case with muslin and lined it with fleece and put it on the batting and hand stitched the open side.
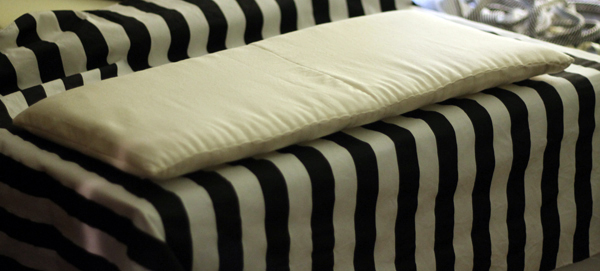
Inner cushion, DIY Bench Cushion
Not the best looking cushion but it will remain hidden.

For the back, I cut two pieces of fabric 14 1/2″ x 20″ out of the pinstripe fabric.  Lined them with fleece, trimmed.  On one of the shorter sides of each, I turned under 1/2″ then another 1″ and stitched.

For the straps I cut 4 3″ x 9.5″ pieces of the pinstripe fabric.  Folded wrong sides together, used 1/4″ seams, and stitched one short side and the long side.  Turned right side out, pressed.  Did the same for all four then put a 1″ piece of Velcro on the ends.

My piano bench has hinges 5″ in from each side.  So I placed the straps 4″ from the unfinished side of the back.DIY Bench Cushion
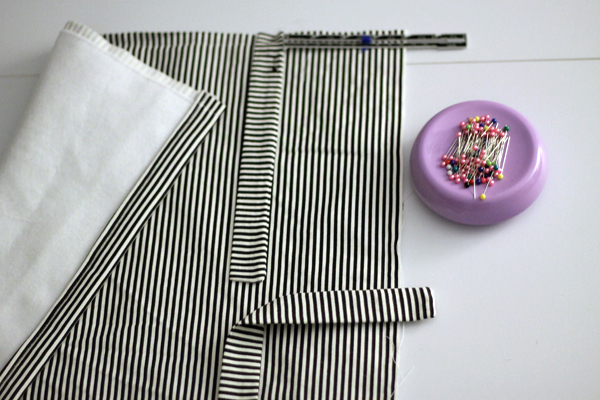
Had to change to the zipper foot to attach the backs to the front since there was piping involved.  With wrong sides together, I pinned one back section on–making sure to not catch the straps in the seams, and stitched with 1/2″ seams. (I am more cautious when I’m sewing with piping around corners so I basted, checked all the corners, then stitched)

DIY Bench Cushion
One Side On!

Pinned other back section on and stitched.DIY Bench Cushion

Turned right side out and pushed out the corners.

DIY Bench Cushion

Inserted cushion.

And attached to the bench!

DIY Bench Cushion, Piano Bench Cushion, Black and White striped, music room
Beautiful!

Now there’s no reason for this next picture.  I found it in my box of old photos and I thought it was too precious to not post.  That’s my very first piano which I started playing when I was about six.  And there’s Michelle, she showed up when I was about 13!
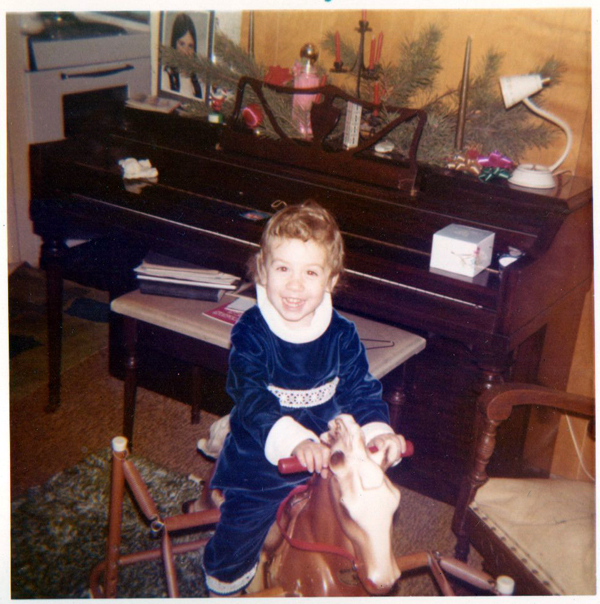
Michelle in front of piano
What a happy little girl!

I’m not finished with my music room project!  There will be more!

DIY Custom Piping

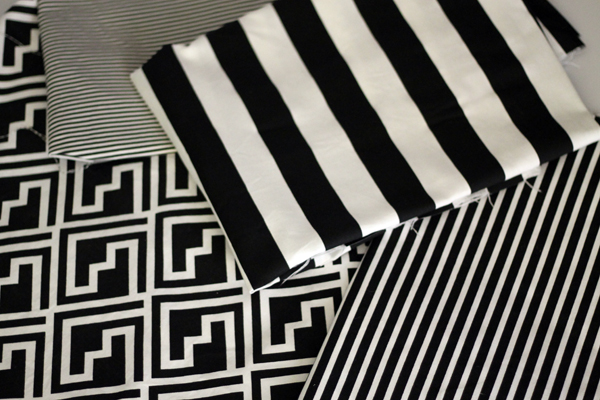
I’m ready to start a new project.  With new fabric. And this is a big project. I bought these lovelies from Premier Prints at fabric.com.  Of course, I waited for them to be on sale!

Fabric for projects

Black and white is not my typical color scheme, blue is my usual choice.  But I had some inspiration which I’ll share in a later post.

I’m making cushions and pillows and moving furniture, patching and touching up walls. Maybe some new art. Terry’s in the middle of it, too.  All fun updates but a little time-consuming.

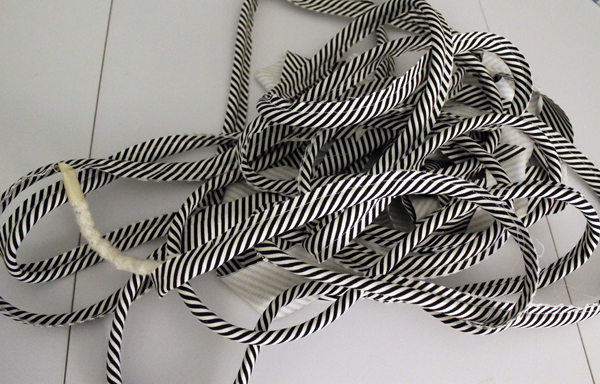
I needed some matching piping for my fancy schmancy new projects and thought I’d try a fancy schmancy new method.  And make you suffer through it with me.

Here’s the finished product:

DIY Custom Piping, Finished

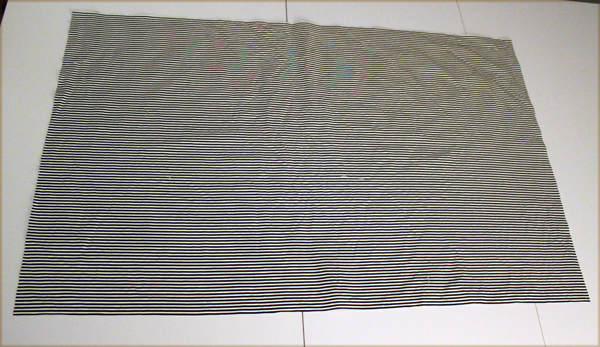
And here comes my disclaimer, I didn’t realize how bad some of the following photos were until I was all finished with the piping so I couldn’t recreate them.  The black and white pinstripe fabric I was using was kind of wacko. Even when I was cutting it out it made me a little dizzy.  So I apologize for the picture quality.  I normally wouldn’t use bad pics but I really wanted to share this piping method.  Next time I make piping, I’ll get better pictures and create a PDF.

First I cut a piece of fabric 37” x 24” but you can use any size you want. The bigger the rectangle, the more piping you can make.  But that little piece made something like 14 yards of piping.  How much more could you need?

Piping Step 1

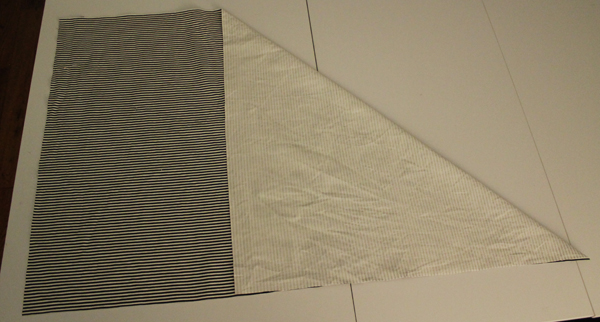
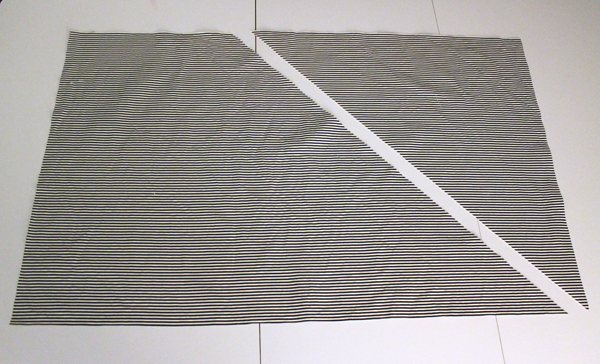
Fold down the top right corner to square off. I pressed this fold and then cut along the pressed fold.

DIY Custom Piping, Step 2

DIY Custom Piping, Step 3

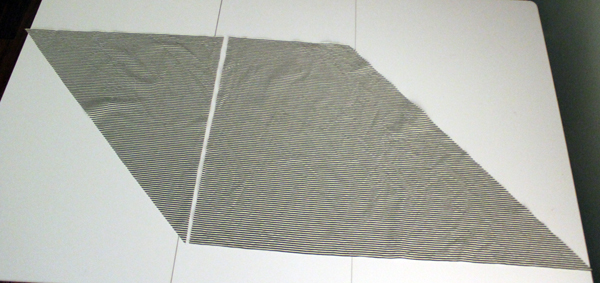
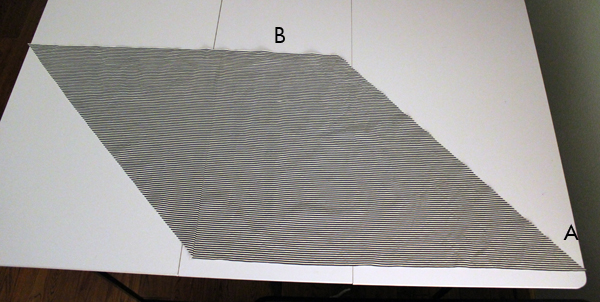
Take the triangle that was just cut off to the other side of the fabric, forming a parallelogram. (fancy schmancy word!) Sew with right sides together with ¼” seam. Press the seam open.

DIY Custom Piping, Parallelogram

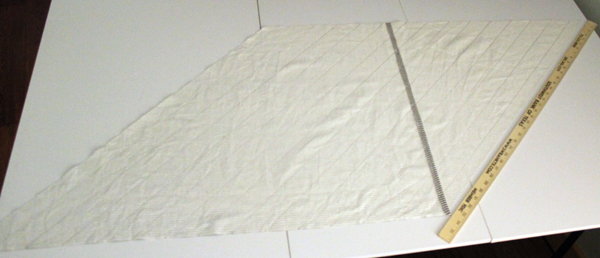
Decide how wide you want your strips to be. I used 2 1/2″ widths*. Starting at the top corner, mark the top of the fabric every 2 1/2″ section.  Then do the same with the bottom, starting at the bottom corner.

* Here’s a little update.  This width really isn’t wide enough.  When I was sewing the piping I realized that the strips were only 1 3/4″.  After pondering this for awhile I realized that diagonally the strips were 2 1/2″ but horizontally they were 1 1/2″.  I was really surprised at the difference.  I can still use the piping but the seam allowance is much smaller than I would like so I’ll have to be extra careful when I add the piping to the sewing projects.  The width would be better at 3 1/4″ to get a good seam allowance.

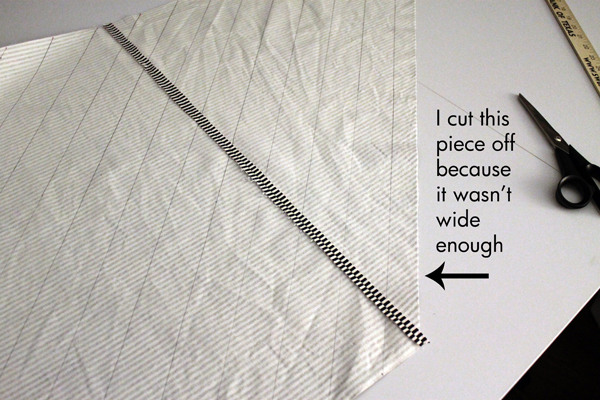
Draw lines from the top mark to the bottom mark. Connecting the first on the top with the first on the bottom.

DIY Custom Piping, Step 6

I had a piece on the end that was less than 2 1/2″ inches so I cut it off.

DIY Custom Piping, Step 7

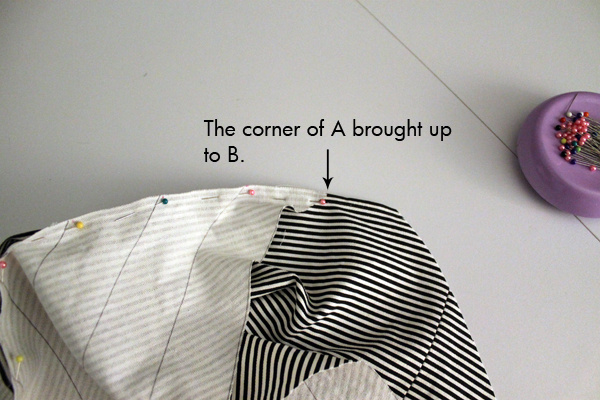
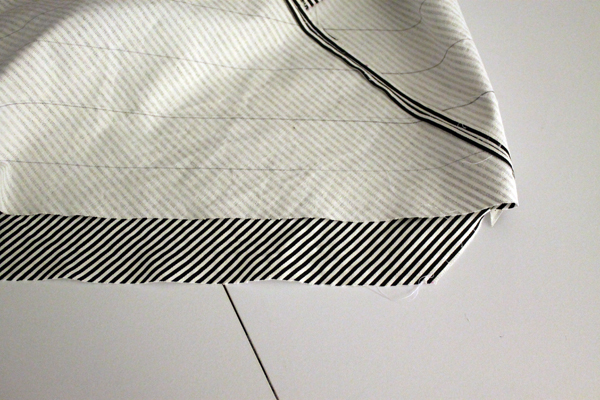
This is the confusing part. With the right sides together, pin the top and bottom, matching the corner on the bottom with the first mark on the top. Pin the entire edge together matching the marks.

DIY Custom Piping, Step 5
Bring the corner A up to the marking B. B should be 2 1/2″ from the edge.


DIY Custom Piping, Step 8

Sew the seam. This will create a wonky tube.  Press the seam open.

DIY Custom Piping, STep 9
This strip should be separate from the tube.

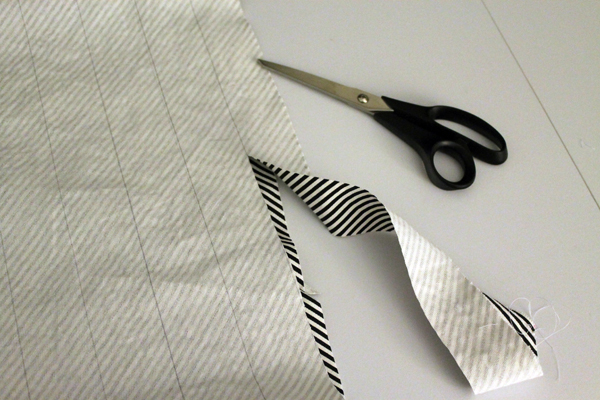
Start cutting–just follow the lines you marked earlier.

DIY Custom Piping, step 10

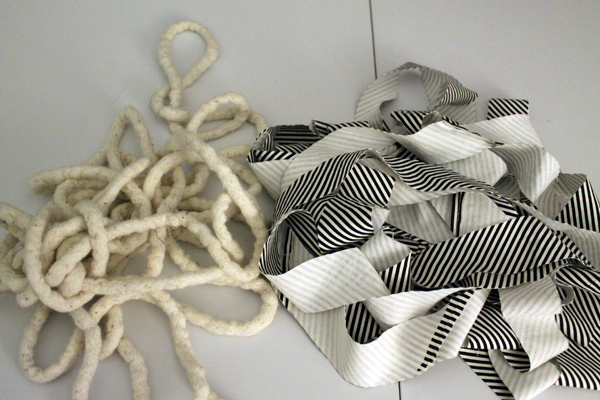
You’ll have one continuous strip of fabric.

DIY Custom Piping, STep 11

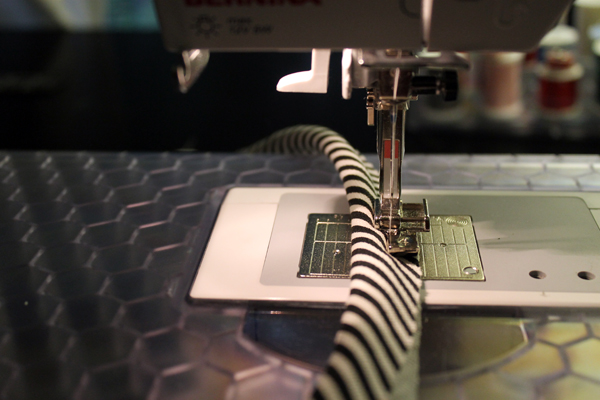
Fold the fabric around the piping. Use the zipper foot and sew as close to the piping as possible.

DIY Custom Piping, Step 12

And that’s it!

Next week I’ll show you the first project with the custom piping!

DIY Handy Tote

I’m still on the mission to use up some of the fabric that I have stuffed away in my many storage containers.  I love this print.

DIY Handy Tote, Flamingo Fabric

I used it for a glider cushion years ago then decided to move the glider.  And you know that if I move it to a different room, there will be a different color scheme.  One that “retro pink flamingo” will just not work in.  But the flamingo fabric was still in good shape so I washed it and tucked it into a basket with intentions to make something.  Someday. Somewhere. Somehow.

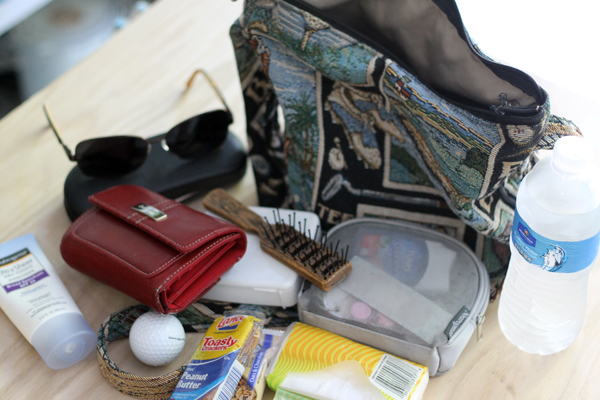
So a few weeks ago I was getting ready to play golf.  I’m a very timely person, never late but rarely early.  My golf purse hangs right by the garage door and I grab it as I’m running to the car and stuff my wallet, glasses, iPhone, water and sun screen into it as Terry is getting ready to back out of the garage. The golf purse already has things like pencils, crackers, first aid kit, ball markers, and brush which stay in there permanently.  (One time I forgot my golf shoes–won’t live that down) And that’s when inspiration hit.  I needed a bigger tote.  Insulated so my bottle of water wouldn’t sweat.  With lots of pockets.  A place for everything and everything in it’s place. And a nice wide handle.  And my pink flamingo fabric would be perfect!

Golf Purse
My golf purse. No I didn’t actually buy this, it was a “gift” at a golf tournament. So I use it.
Golf Purse stuff
And these are the necessities that get crammed into that little bag.

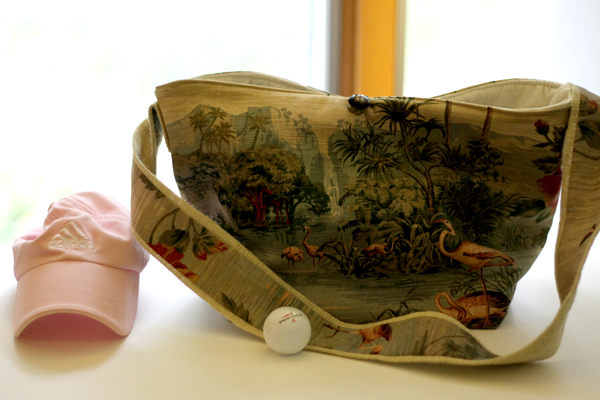
So I designed a new tote!  I’m calling it my “handy tote” because it will come in handy for many occasions besides golf.

Handy golf tote, purse, bag, tote
How cute is this?
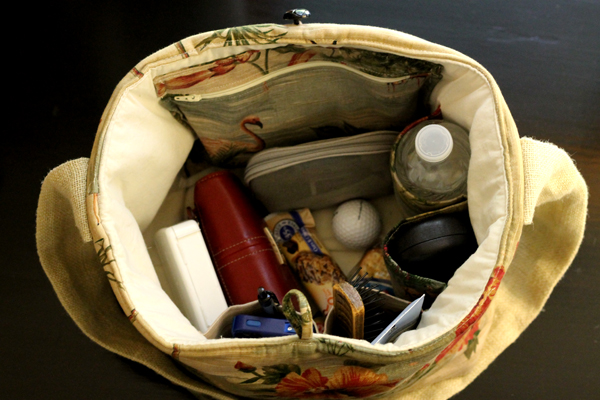
Handy Tote interior, purse, bag
And everything fits with room to spare!
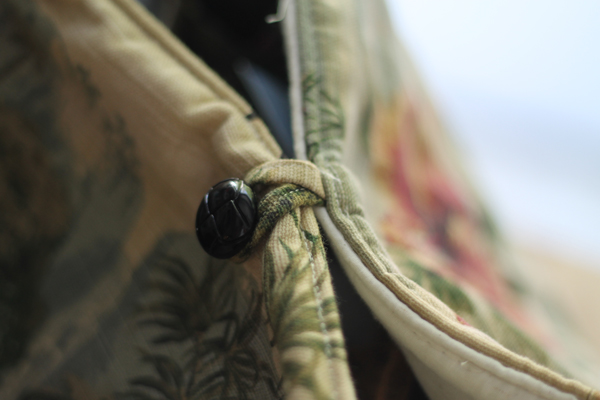
Toggle and Button
I even love the little toggle and button!

I used muslin for the lining and added three different pockets to the inside of the bag–the first is a zippered pocket that holds a bunch of small items, the second holds two water bottles, and the third is for my phone and sunglasses.  No pockets on the outside because I didn’t want to cover up any of the tropical theme.

I used fusible fleece on the outer fabric just to add stability.  On the lining I used Insul-Bright, a thermal lining.  I also used it in the lining for the water bottle holder.  I thought it might keep the water cold but after testing the tote for a week,  I don’t think it does any better than plain old fleece.  I also added a new bottom insert using Peltex which I sewed into both the lining and the outer bag–pretty pleased with how the insert turned out.  Because I used Peltex, the tote is sturdy and washable!

I’ve made some instructions and attached them in a PDF format.  I usually make my designs twice before I post them.  Once to record the instructions and then I follow my steps the second time to make sure I didn’t miss anything.  But I have new fabric and new projects that I want to start on.  Too excited about new things to make this tote again right now.  But I have gone over the instructions several times and think they are good!  If you have any questions, let me know!

PDF for DIY Handy Tote

Handy tote on golf cart
And here I am on a golf cart with my new handy tote!