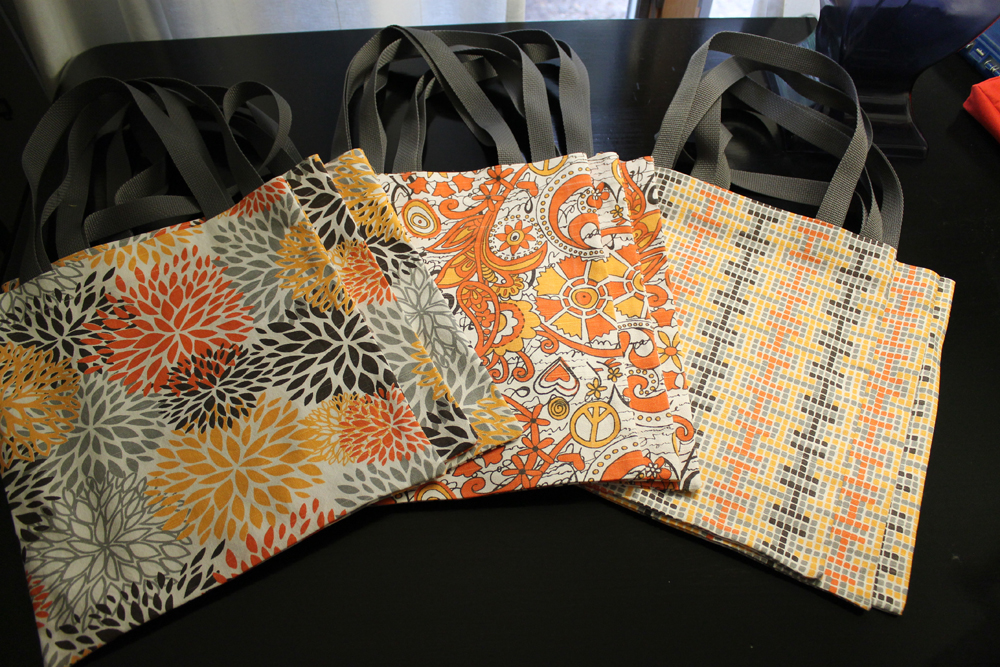
I’ve been obsessed with creating bags and totes lately. And I’m trying to make each one a little easier. I have a big order coming up so I’ll probably get over this obsession as soon as I get that completed.
We were invited to a party last weekend and grabbed a bottle of wine to take along. Then, I thought, I bet I could make a cool bag out of some of my scraps of fabric. So, I went out to pinterest and did a search and there were a couple thousand ideas. Love that pinterest!
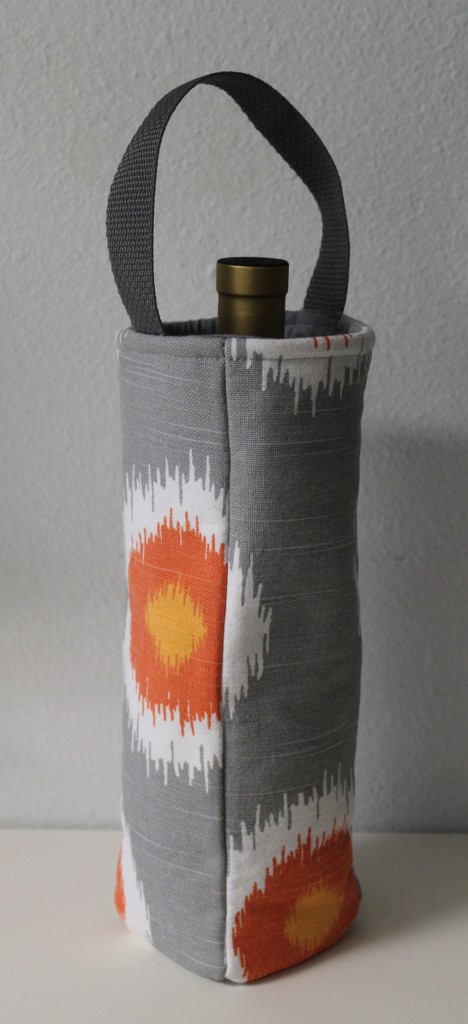
This is the one I liked best:

and the instructions are here: How To Make a Wine Bottle Gift Bag
But I also wanted to try a different method for putting a tote together, so combined that tutorial with this one: Tutorial: Fabric Scrap Basket
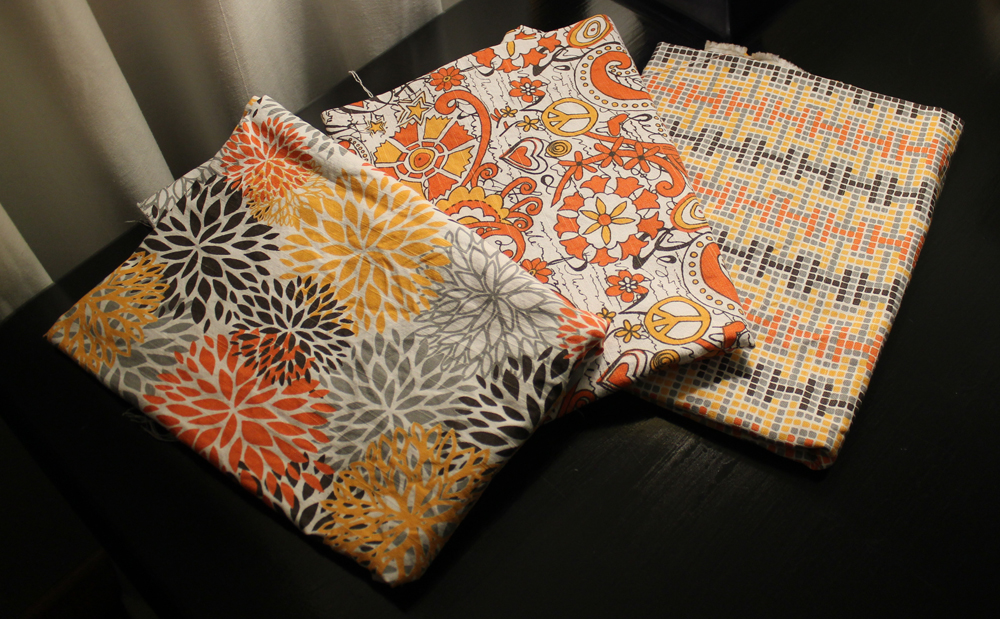
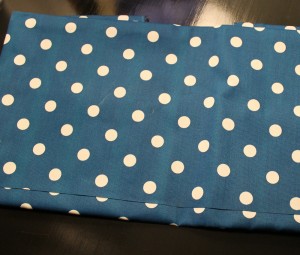
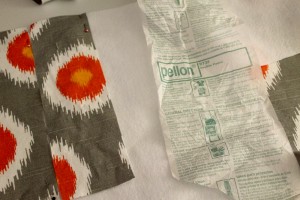
And I also wanted to use whatever I had on hand. So I pulled out a bunch of scraps and found I had just enough trendy fabric from the last tote I made and just enough 1″ belting for the strap. The original instructions call for very sturdy interfacing which I didn’t have so I used fleece.
Wine Bag Side: 11-3/4″ x 3-3/4″ (cut 4 fabric, 4 lining, 4 fleece)
Wine Bag Bottom: 3-3/4″ x 3-3/4″ (cut 1 fabric, 1 lining, 2 fleece)
Wine Bag Strap: 10-1/2″ of 1″ belting
Use 3/8″ seams throughout.
Let’s start with the lining.
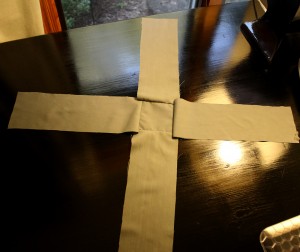
Attach the right side of the bottom of the bag to the right side of the four sides leaving the 3/8″ side seam open on the bottom. It will look like a big plus sign when you are finished. This is the lining fabric:
Next step was a little confusing for me.
Fold opposite corners of the plus-sign to each other (as pictured) and pin along outer edges. Right sides of fabric together. Stitch.
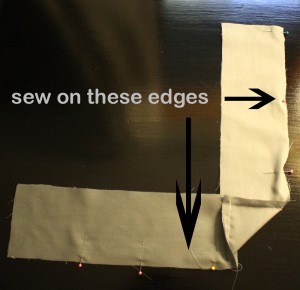
This is what it should look like after the above step.
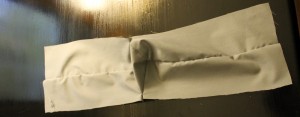
Just fold right sides together and stitch the remaining two edges. Leave about a 6″ opening on one of the seams for turning later. Yeah, it’s confusing.
Now for the outer bag.
I used fusible fleece. Iron the fleece onto the wrong sides of the outer fabric and follow the above steps. Except do not leave that one side seam open.
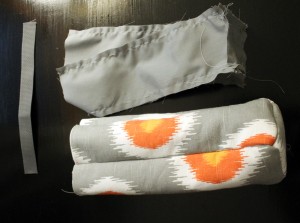
Next, center the strap on two opposite sides on the right side of the outer fabric. (Make sure it’s not twisted)
And stitch. I stitched a few times within the seam allowance plus did a zigzag stitch, just to make sure the handle was securely attached. But do this within the seam allowance so it doesn’t show when you are finished with the bag.
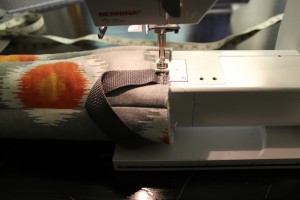
Now it’s time to sew the lining and the outer bag together. Your outer bag should be right-side out. Your lining should be wrong-side out.
Pin along the top, lining up the side seams. Sew along the top edge.
Pull the outer bag through the 6″ opening you left in the side seam of the lining. Pin the opening together and sew close to the edge.
Stuff the lining into the bag. Pin the lining in place and topstitch around the top of the bag.
Done. Easy Peasy. And so cute.
