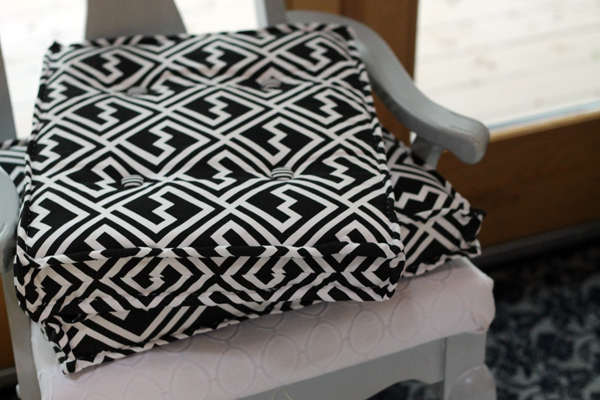
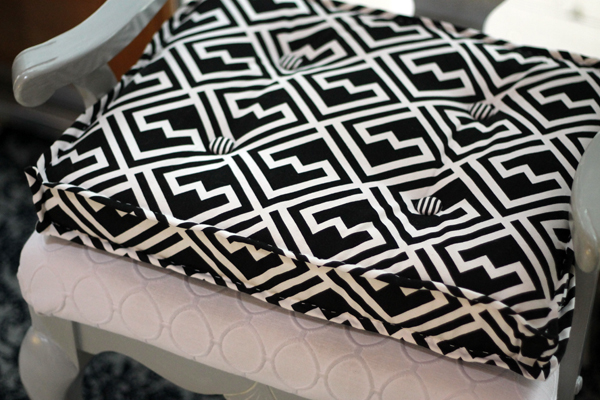
For seating in my office, I use dining room chairs that I bought at a used furniture place a few years ago. I painted them gray, replaced the foam, and upholstered them in some white fabric that I had used previously for drapes. But these chairs were incredibly uncomfortable and I sit on them a lot! So I usually put a pillow on top of the seat which is rather unattractive. Since I want both comfy and pretty, I pulled two 16 1/2″ x 15″ foam pads out of one of my storage trunks and created French cushions.

Before there was Pinterest, I had to actually read magazines, clip out articles, and store them in a paper file. What a waste of time! So glad I don’t have to do that anymore. (Now I just spend 3 times as much time scanning Pinterest whenever I want to start a new project.) But I have made French cushions a few times and always follow an article from a Better Homes and Gardens from way back in October 2000! While the article is for a bench cushion, you can use the directions to cut it down to any size. I’ve attached the tutorial here:
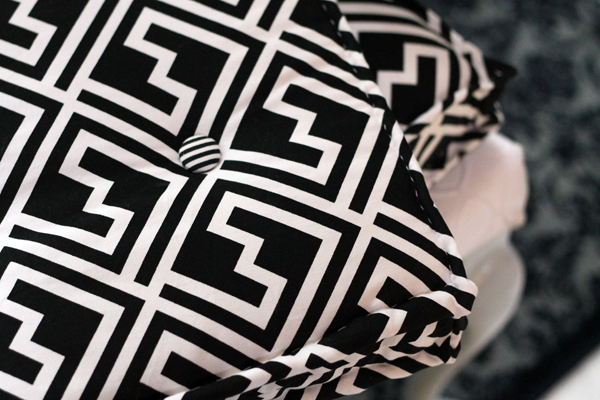
While the directions are easy-peasy, I did make a few changes to get the look I wanted. First, my idea of a French cushion has fat piping, big running hand stitches that show, and covered buttons. This tutorial calls for one layer of batting that is cut to the size of the cushion but I used two layers and made them about an inch bigger on all sides so I could push batting into the edges. I also waited until I was completely finished hand-stitching the piping before I closed the open end. When I did sew the opening shut, I used an invisible closing seam.

The tutorial calls for tufts but I made cover buttons with a contrasting fabric. Also easy, especially since Terry’s here and he’s strong enough to get the little pusher to snap the backs into place.
 All done and on my chairs, so pretty, so comfy!

Almost have all of this fabric used up. One more DIY project featuring the black and white Premier Prints for next week!
