DIY French Cushions

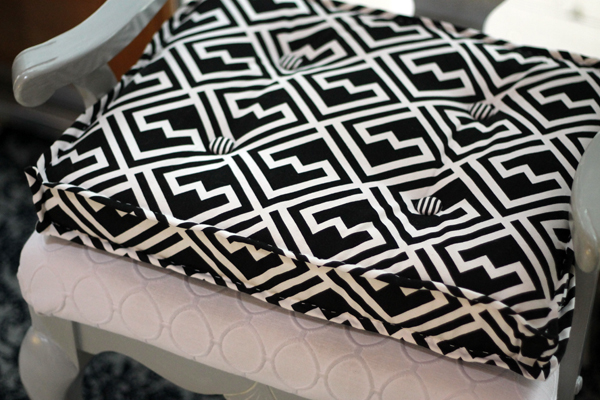
For seating in my office, I use dining room chairs that I bought at a used furniture place a few years ago.  I painted them gray, replaced the foam, and upholstered them in some white fabric that I had used previously for drapes. But these chairs were incredibly uncomfortable and I sit on them a lot!  So I usually put a pillow on top of the seat which is rather unattractive.  Since I want both comfy and pretty, I pulled two 16 1/2″ x 15″ foam pads out of one of my storage trunks and created French cushions.
DIY French Cushions, cushions

Before there was Pinterest, I had to actually read magazines, clip out articles, and store them in a paper file.  What a waste of time!  So glad I don’t have to do that anymore.  (Now I just spend 3 times as much time scanning Pinterest whenever I want to start a new project.)  But I have made French cushions a few times and always follow an article from a Better Homes and Gardens from way back in October 2000!  While the article is for a bench cushion, you can use the directions to cut it down to any size.  I’ve attached the tutorial here:

End-of-the-Bench Cushion

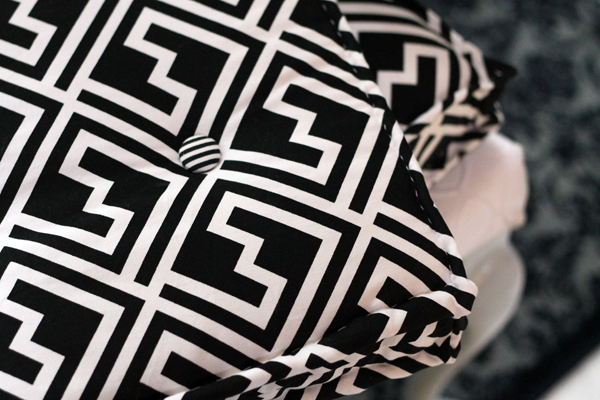
While the directions are easy-peasy, I did make a few changes to get the look I wanted.  First, my idea of a French cushion has fat piping, big running hand stitches that show, and covered buttons.  This tutorial calls for one layer of batting that is cut to the size of the cushion but I used two layers and made them about an inch bigger on all sides so I could push batting into the edges.  I also waited until I was completely finished hand-stitching the piping before I closed the open end.  When I did sew the opening shut, I used an invisible closing seam.
DIY French Cushions, cushions

The tutorial calls for tufts but I made cover buttons with a contrasting fabric.  Also easy, especially since Terry’s here and he’s strong enough to get the little pusher to snap the backs into place.

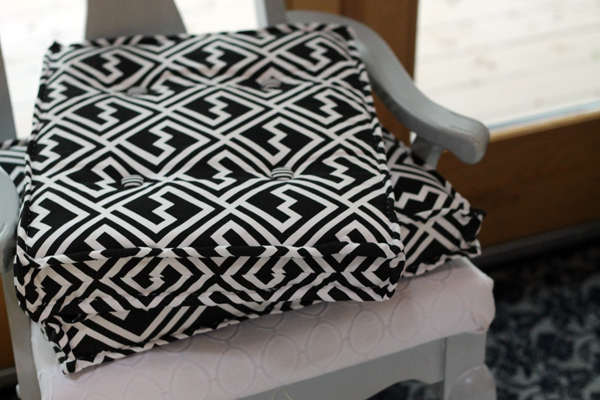
DIY French Cushions, buttonsAll done and on my chairs, so pretty, so comfy!
DIY French Cushions

Almost have all of this fabric used up.  One more DIY project featuring the black and white Premier Prints for next week!

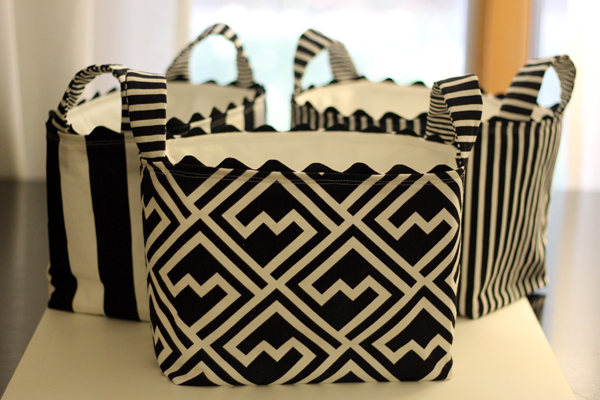
DIY Fabric Baskets

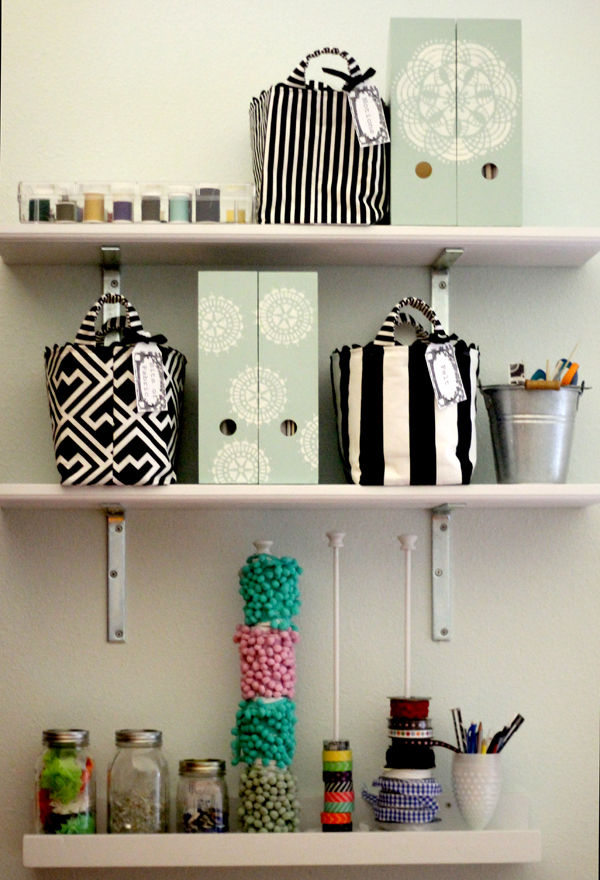
Continuing in my efforts to have a pretty and organized work area, I finished the shelves in my sewing corner with these cute DIY fabric baskets and Ikea magazine holders.

DIY Fabric Boxes, Ikea boxes, organization

I painted the holders the same color that I used in the “hutch of pretty things” and finished them up with Martha Stewart stencils.  Now they are the home to sewing patterns that I’ve collected over the years.

Ikea Boxes

I started figuring out the dimensions I would need to make storage baskets but then came across a tutorial on Sew4Home for these little lovelies.  So much easier to follow someone else’s instructions than create my own!

DIY Fabric Boxes, Pretty organization

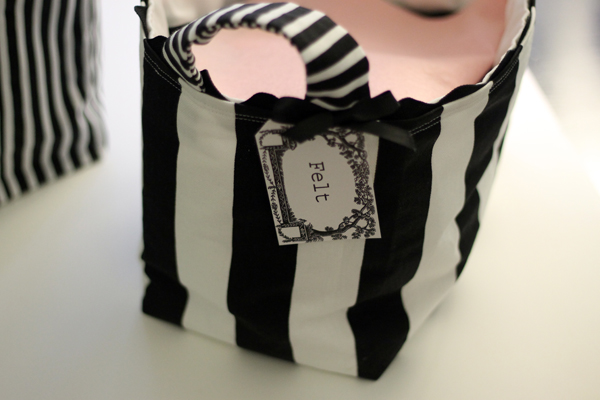
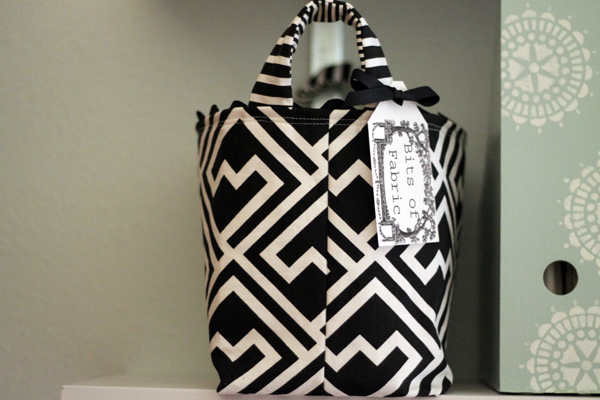
Grabbed a graphic from The Graphic Fairy and made these tags.

DIY Fabric Boxes, Tags


DIY Fabric Boxes, Ikea boxes, tags

One corner done, three to go!  My cutting table slides right under the shelves and now I have a pretty and organized sewing corner.

Organized Sewing Corner, DIY Fabric Basket

Although it usually looks like this!

Sewing Corner, DIY Fabric Boxes

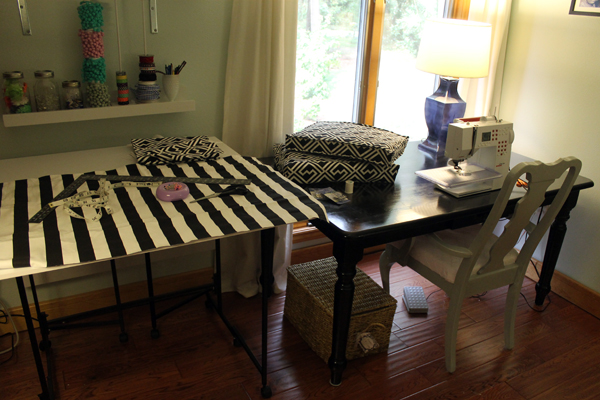
Next week I’ll tell you about those cushions sitting on my sewing table!

Adventures with Michelle, Frugal Fragrance

Downy Meltables, Adventures with Michelle, Frugal Fragrance

Here’s a sweet smelling post for my frugal friends. This is an easy one, so I’ll make this short. I love it when my house smells nice…not like oatmeal cookie-nice (that’s just makes me hungry!). No, I mean, like clothes out of the dryer ’nice’,…like my ’non-existent-cleaning-lady’s-been-here’ nice. Newsflash – I am not the worlds best housekeeper! My place is always in a varying state of the lived-in look. Sometimes it’s lived thru a quiet weekend of the guys out fishing,…sometimes it’s lived (or survived) a weekend of the kids in da ‘hood. The carpets always need a steam cleaning, but that means I’d have to vacuum first – ugh. Well, sometimes, I have to just take the place a section at a time and what doesn’t get done will just have to wait. In the meantime, I can at least make sure the clothes are folded, there’s no discernible ‘floor-food’ (you know what I mean), and just make the place smell c-l-e-a-n.

Making the house smell clean usually means lighting a candle (room sprays are for the bathrooms only here). I love my candles. I buy them, I even make them. They smell so nice. Although, there are some that are just too much…too much money and too strong smelling. I mean, I love dryer sheets, but not hung around my neck like a flea collar!

That said, I’ve discovered something that I need to share. One of my dear Pinners posted this little trick, and after the ‘water marble’ hoax, I now test everything. Today, I tested this little gem. OK, who buys those ’scent additives’ for the laundry? Yes, I do too…not that the smell of Gain doesn’t already make your eyes water, but I like some of the new scents to mix. I also confess to loving Mrs. Myers Lemon Verbena (but not in a dish soap – cause there’s nothing foodie smelling about it). Alright, moving on – I know I said I’d be short. So, clean out that oil warmer you’ve got (yes, you may use the engine degreaser from the garage – I do)…no, well go get one – they’re cheap. Warning: Make sure the candle area is very open, not the glass jar type. Why? Well, I had one from that fancy soap store and it had the cutest little glass saucer on top. One day, I put a tea light candle in the bottom of the glass and not long after I lit it the little frosted glass jar was ENGULFED IN FLAMES! Oh, yeah. Turns out that there’s a candle residue that builds up in the glass jar and eventually it’s a enough to be it’s own mini fire pit. Somehow the oil in the saucer never caught. Be careful my friends.

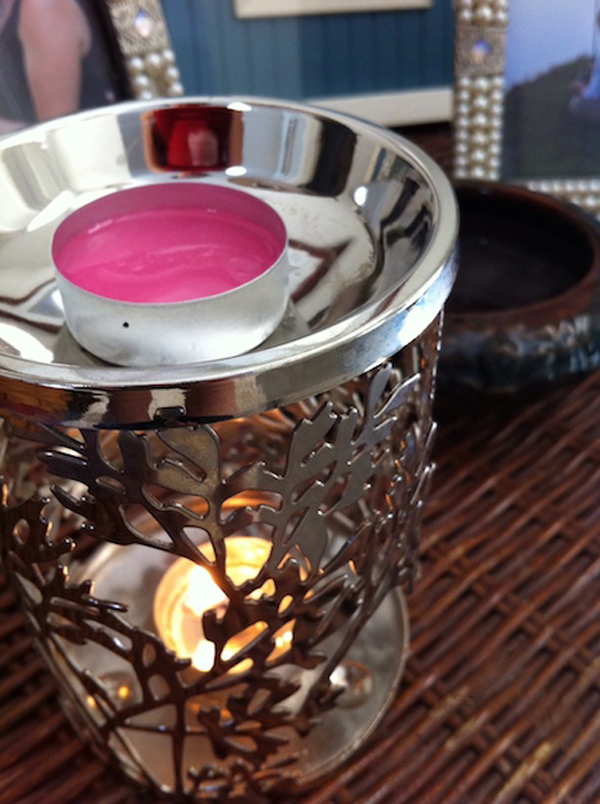
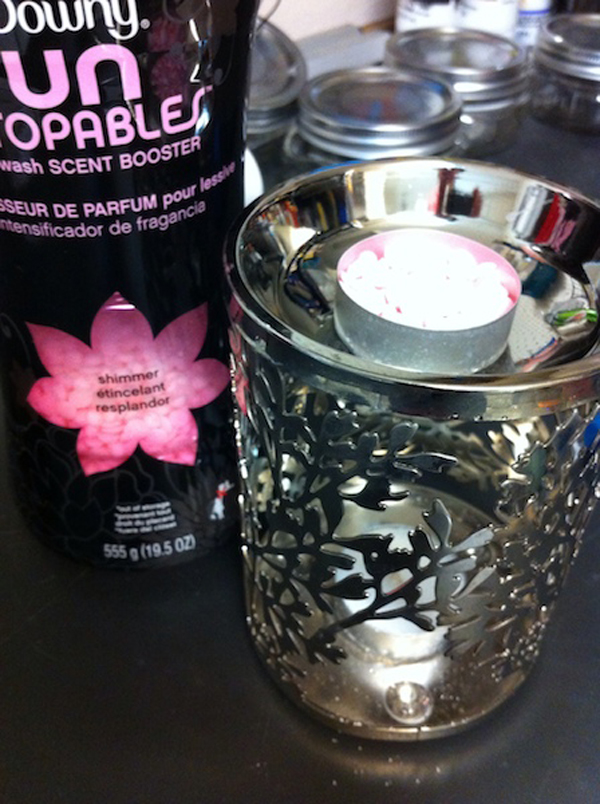
Since this is an experiment, and I’m a lazy housekeeper that doesn’t live to chisel a new chemical concoction from her little metal dish, I opted to reuse the old tea light case and fill it with my favorite laundry smelly bead goodies, Downy Unstoppables. Mmmmm, I can smell it from here. A little, but not too much – I know, I thought there’d be a smell-o-vision app by now.

Downy Meltables, Adventures with Michelle, Frugal Fragrance

Did I mention soooo cheap! When it’s done, and cooled, I’ll toss the little tea light case and not have to look for the engine degreaser again – or have to explain my reasons for needing it. Because I’m sure there’s a lot of guessing going on when 1. The house smells nice. 2. The engine degreaser has been moved 3. The vacuum hose hasn’t been moved.

Michelle Beal