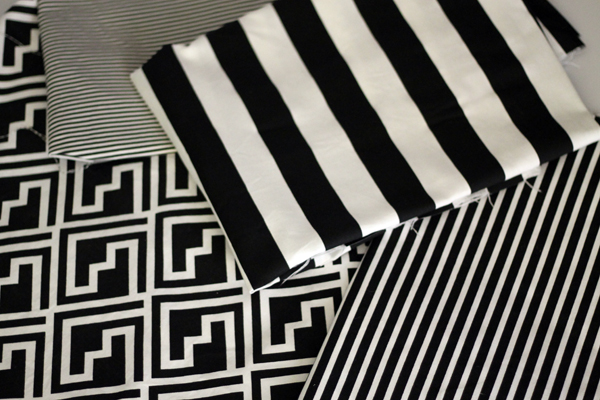
Here’s the inspiration for my latest project that I mentioned last week. I pinned this pillow from West Elm several months ago.

I loved the fabric but it was only available in a pillow and I wanted it for the piano bench in my music room. I searched several fabric sites and didn’t find anything remotely similar to the West Elm pillow. Bummer! But I can’t be stopped! I’ll just create my own–with a couple of different black and white stripe patterns from Fabric.com.
And this is how it turned out!
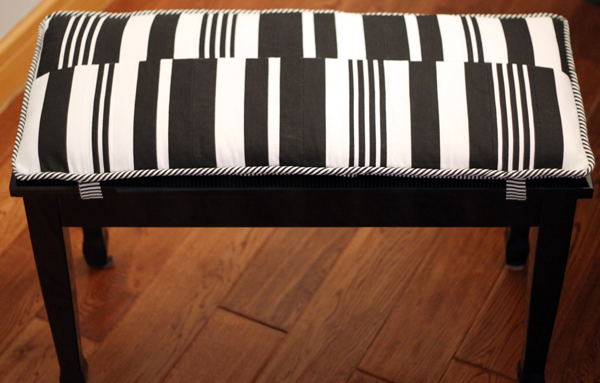
And this is how I did it!
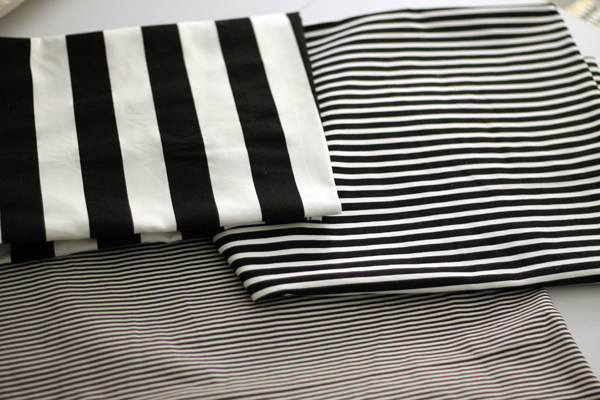
The top of the bench is 30″x14″ so, for a snug fit, I needed a piece of fabric for the top to measure 30 1/2″ x 15 1/2″.
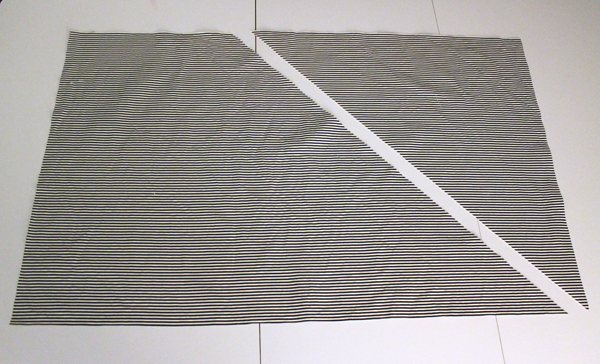
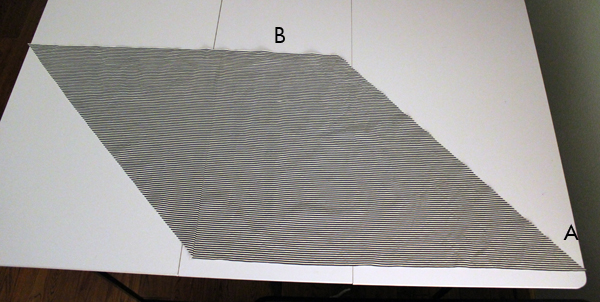
I took the two larger striped fabrics and cut pieces 15 1/2″ long in varying widths then stitched them wrong sides together with 1/4″ seams until I had about a 32″ wide piece of fabric.
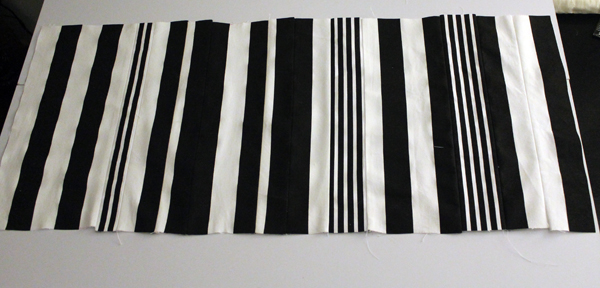
Next I pressed all of those seams open, then made a line horizontally 7″ from the top and cut. This gave me a 7″ piece and a 8 1/2″ piece. If you check out the “inspiration pillow”, the top part is a bit narrower than the bottom part.
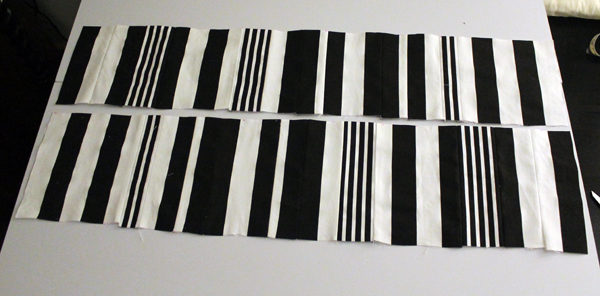
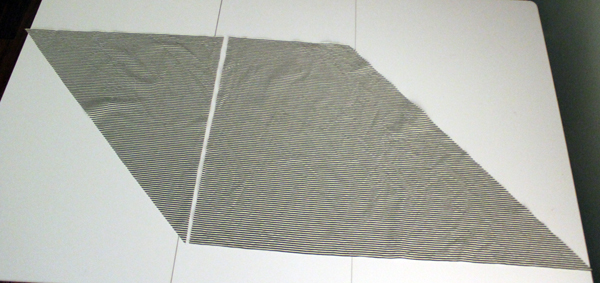
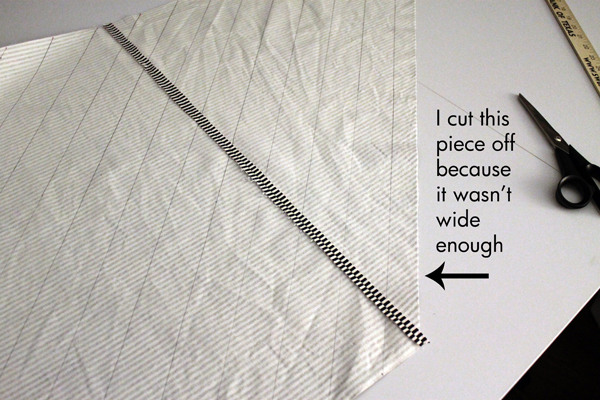
Then I flipped the bottom piece upside down, lined it up in a way I liked and stitched the fabrics wrong sides together with a 1/4″ seam. Pressed the seam open and trimmed it down to a 30 1/2″ width.
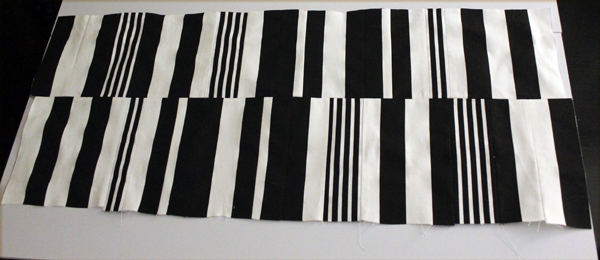
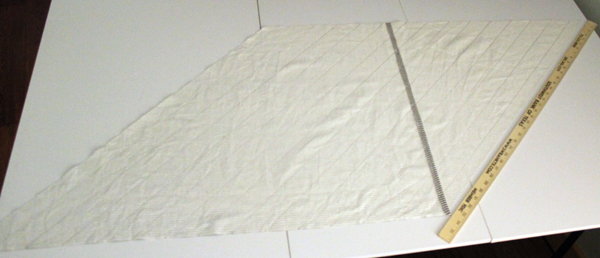
Next I lined it with fleece cut to the same size and stitched along some of the seams between the strips. Just like quilting but not really!
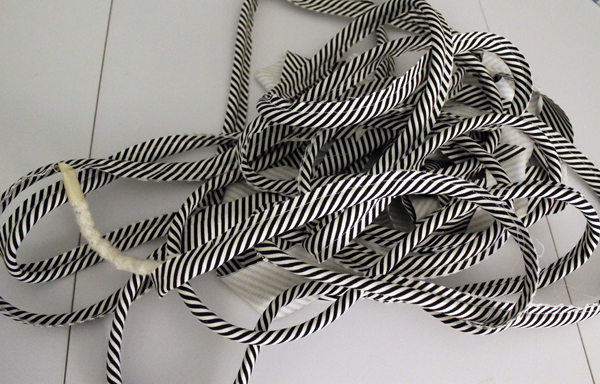
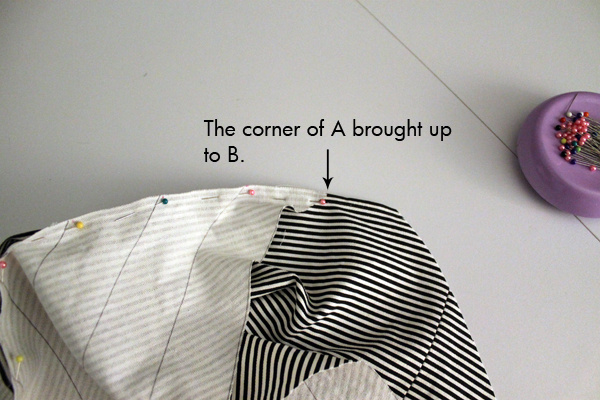
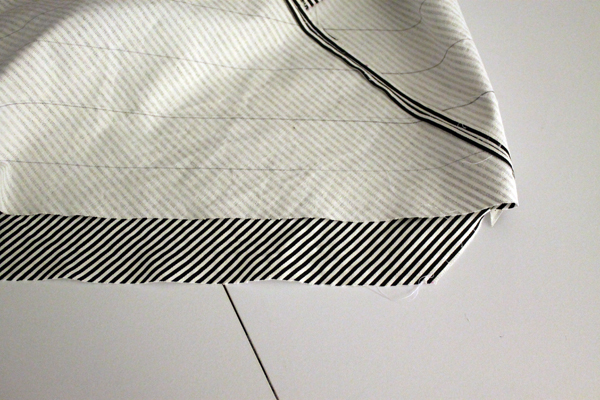
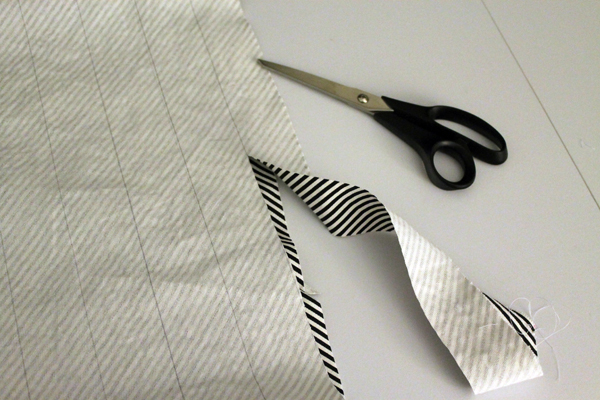
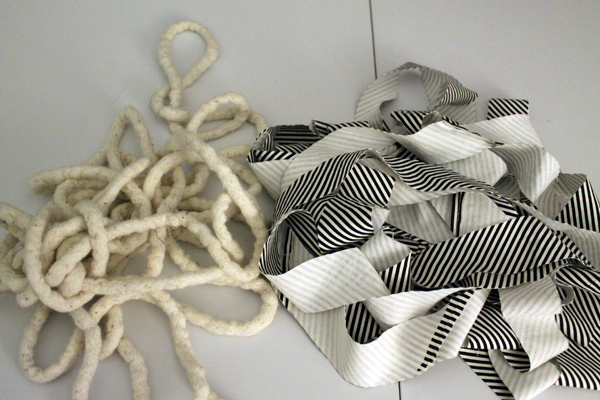
Then I added the piping–the same striped piping that I made last week!
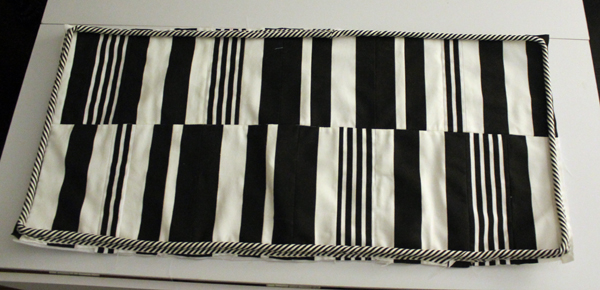
Envelope-Style Cushion Cover
Now the rest of this is just creating an envelope-style cushion cover the same way I make the envelope-style pillow covers. Since the foam I was using was only 1″ thick it was easy. If I was using a 2″ foam or wider, I would have used a zipper.
I wanted to be able to remove the cover to launder. My previous cushion was made pre-grandkids and not washable. It was very cute with trim and tufted with buttons. So cute that those small sticky children wanted to toss it on the floor and stomp on it. I don’t know what the reasoning was but each one did it as they toddled onto the scene. The piano could not be played with that cushion on the bench. So this one is not only launderable, it’s also attachable!
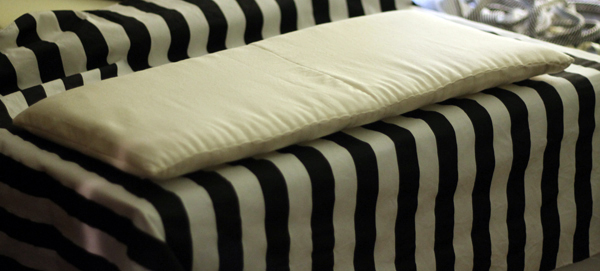
Like I already mentioned, the piano bench is 30″ x 14″ . Because I wrap the foam with batting which makes it bigger, I cut the foam a bit smaller—28″ x 12″. I wrapped the batting around the foam and hand stitched the batting to fit around it. Next I made a case with muslin and lined it with fleece and put it on the batting and hand stitched the open side.
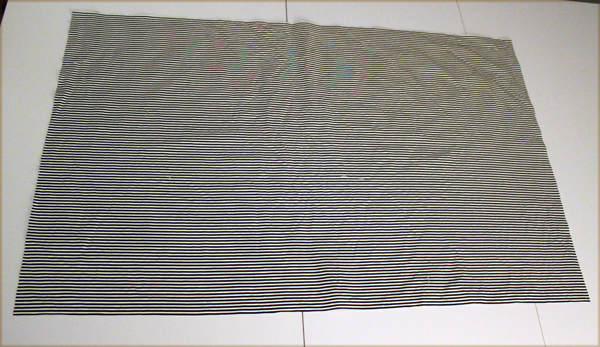
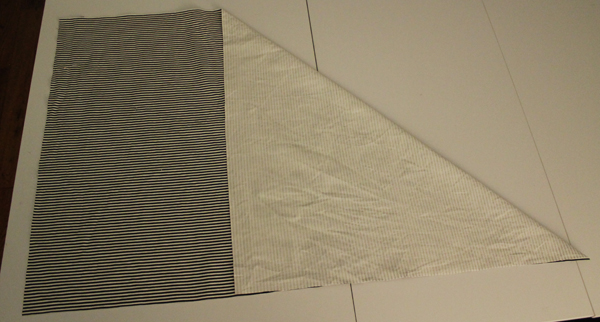
For the back, I cut two pieces of fabric 14 1/2″ x 20″ out of the pinstripe fabric. Lined them with fleece, trimmed. On one of the shorter sides of each, I turned under 1/2″ then another 1″ and stitched.
For the straps I cut 4 3″ x 9.5″ pieces of the pinstripe fabric. Folded wrong sides together, used 1/4″ seams, and stitched one short side and the long side. Turned right side out, pressed. Did the same for all four then put a 1″ piece of Velcro on the ends.
My piano bench has hinges 5″ in from each side. So I placed the straps 4″ from the unfinished side of the back.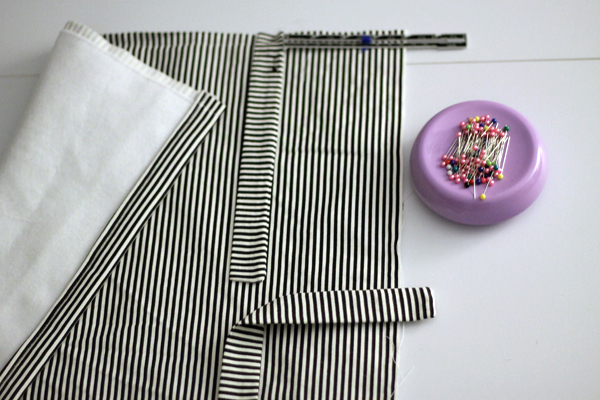
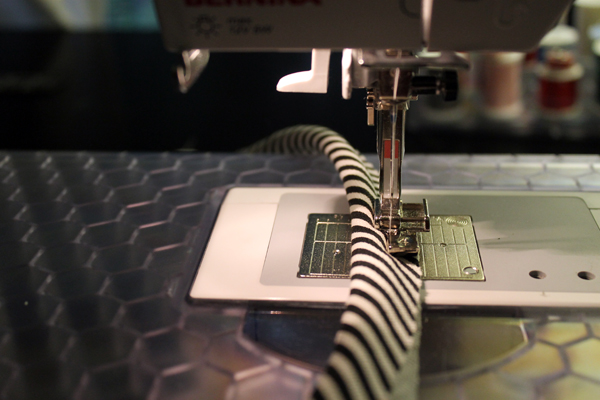
Had to change to the zipper foot to attach the backs to the front since there was piping involved. With wrong sides together, I pinned one back section on–making sure to not catch the straps in the seams, and stitched with 1/2″ seams. (I am more cautious when I’m sewing with piping around corners so I basted, checked all the corners, then stitched)

Pinned other back section on and stitched.
Turned right side out and pushed out the corners.

Inserted cushion.
And attached to the bench!

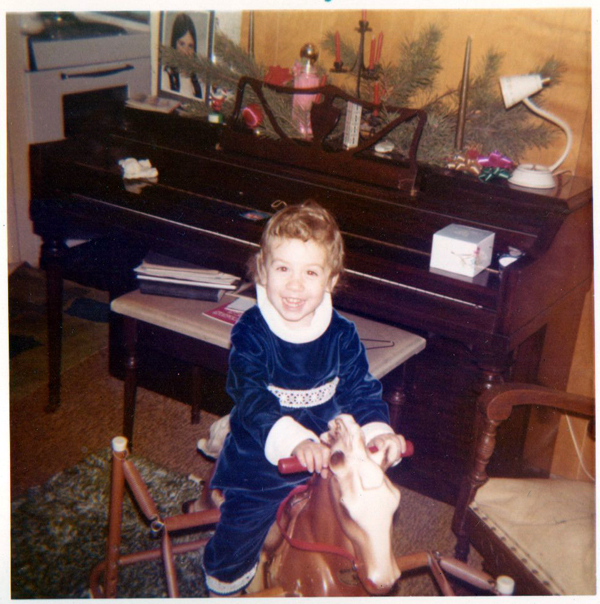
Now there’s no reason for this next picture. I found it in my box of old photos and I thought it was too precious to not post. That’s my very first piano which I started playing when I was about six. And there’s Michelle, she showed up when I was about 13!
I’m not finished with my music room project! There will be more!

