DIY Totes, Part 2

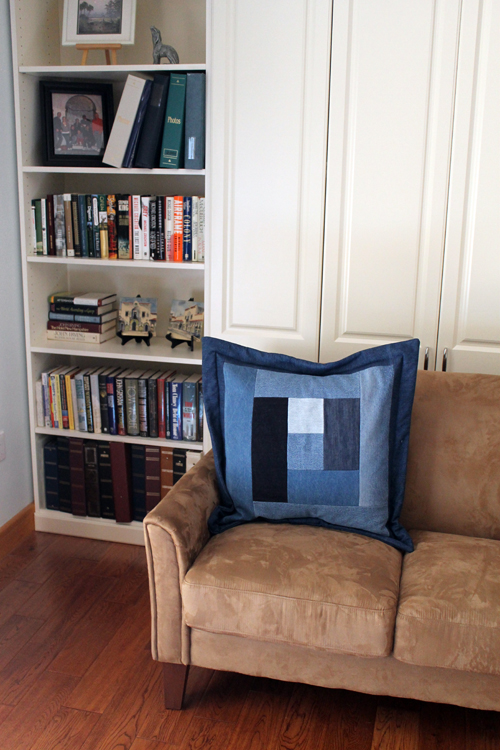
I recently made 48 bags for our daughter’s wedding.  The first 29 were all unique, with different embellishments, handles, and facing.  But when I hit a time crunch, the remaining 19 bags were made quick and easy.

You might remember my post from making 20-minute totes for Lauri’s wedding. They turned out really nice but I didn’t like the unfinished edges.  It was just a matter of time before those babies unravel.  So I now have a new method to make totes and all the edges are finished.  This takes longer than the “20-minute tote” but I think the clean finish is worth it.

Because all of the totes were denim and there was no special one-way print on them, I was able to get rid of that bottom seam.

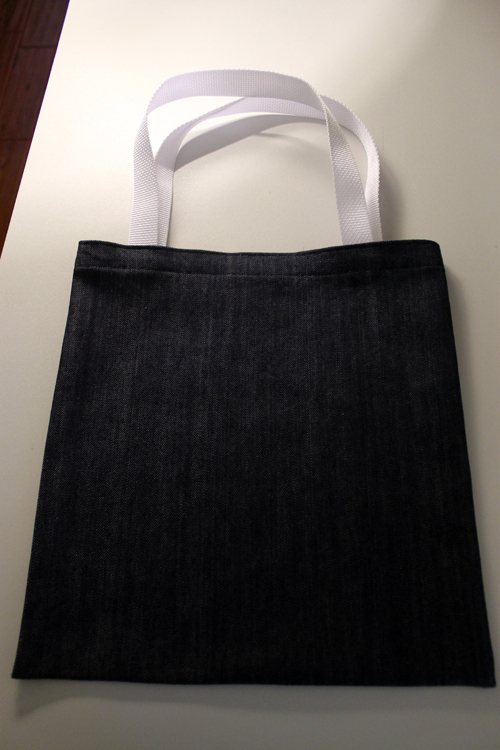
Small Tote,  12″  x 13.5″ bag

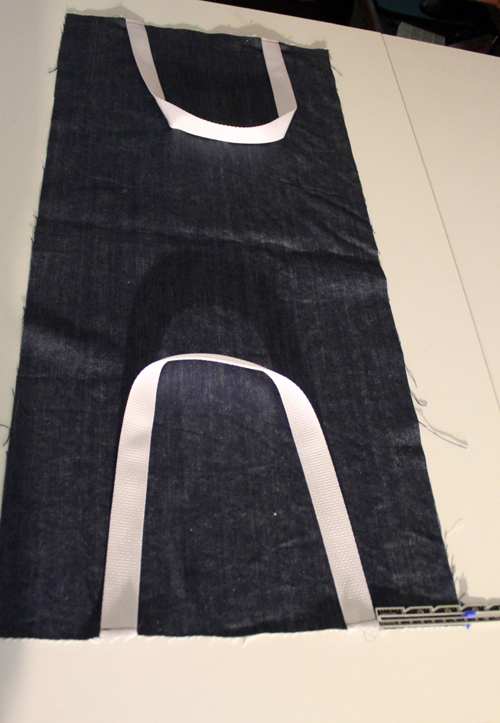
Cut a piece of 14” x 30” denim

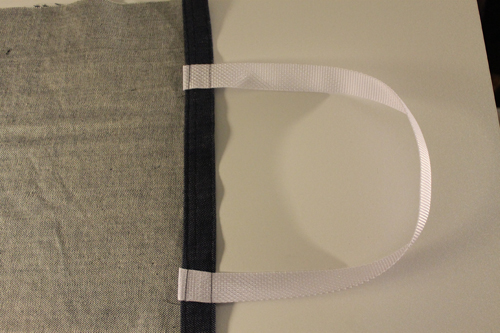
Cut 2 22” pieces of webbing for handles

Attach handles 3 inches from each side

DIY Totes, Part 2

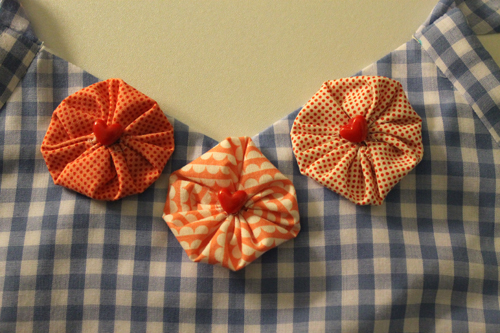
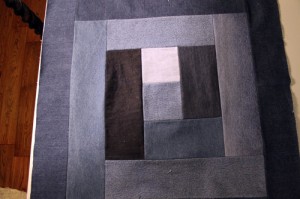
This is when you should put any embellishments like pockets, appliques, or yo-yos on.

Turn under ½ “, stitch 3/8” from edge

DIY Totes, Part 2

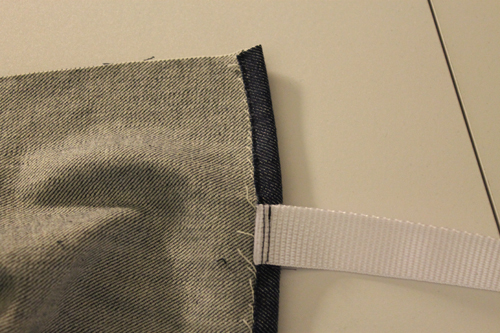
Turn under 1”, stitch 7/8” from edge , Make sure the handles are pushed up when you stitch them.
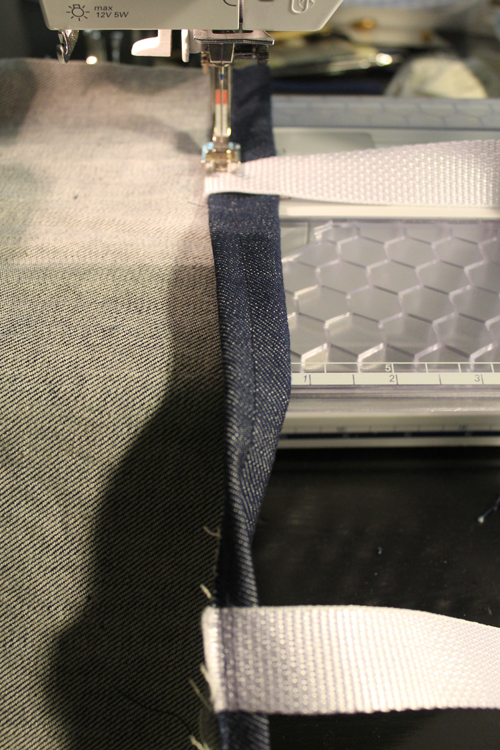
DIY Totes, Part 2

Top stitch.

DIY Totes, Part 2

Put WRONG sides together

DIY Totes, Part 2

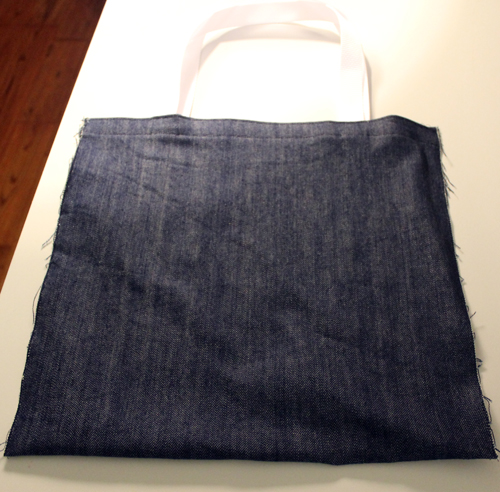
Stitch ¼” from each side.

Turn wrong sides out, press.

Stitch ½” from edge on both sides

DIY Totes, Part 2

Turn right side out, press.
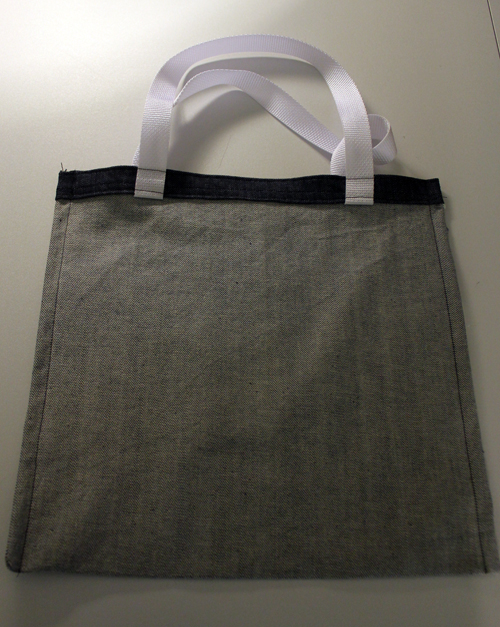
Done

DIY Totes, Part 1

Easy Peasy!

DIY Apron

I’ve come across several adorable aprons over the past year.  Are cutesy retro aprons coming back in style?  But would I dare get food on these?

This one is from the Heritage House in the Heritage Village in Crystal River.

DIY ApronFound these lovelies at the Anthropologie in Hyde Park in Tampa.

DIY Apron

I’ve also seen several versions at craft shows.  And if they are being sold at craft shows, why am I not busy making them???

But I usually have to have a reason to make something–so I decided that I needed an apron for a special photo shoot.

Picked up this pattern and some gingham at Jo-anne’s.  They didn’t have the shade of blue that I wanted but I didn’t have time to order the fabric online so just went with it.  The pattern was really easy.

DIY Apron

I wanted to embellish this apron with yo-yos.  (If you don’t know how to make yo-yos, click here for directions.)  I love Moda fabrics and had picked up a charm pack of 5″ quilt squares at our local quilt shop, Tomorrow’s Treasures, sometime last year.  I picked out some coordinating squares from the charm pack to use for the yo-yos.

DIY Apron

DIY Apron

Ready for the photo shoot!

DIY Apron
That’s my banjo! And Andrew’s got the grandkid’s guitar!

DIY Apron

This was what we originally envisioned the photos for.

DIY Apron
That’s a pic of “Mattie the Cattie that thinks she’s a dog” on the big porta potti!  She couldn’t make it since she doesn’t like to travel, and because she’s a cat.

But we liked the pictures so much and I took about 100–we turned several of the photos into the guest book!

DIY Apron
We’re so clever!

And, last but not least, it’s actually an apron–not just a photo shoot prop!

2013_04_21cleanup2

Log Cabin Pillow Cover

I pinned this from Marthastewart.com months and months ago:

Log Cabin Pillow Case

And I had it repined 404 times. My most popular repin as Pinterest likes to tell me in those emails it sends me so I feel special.

I’ve been saving old denim jeans and bits and pieces of denim for years.  And I had a big project that I did recently involving denim.  So I had lots of small slices of denim.  Also have a pillow form just waiting to be used.

So here’s what I made:

Log Cabin Pillow

I’m not a quilter but this is really easy.

I went out to Martha Stewart Living for guidance, you can click here for instructions.  After reading them, I decided I could do it easier.

My pillow form was 24” square.  Since I wanted the pillowcase to be a little tight, I made the case 23” square with a 2” flange.

I decided to make  4” logs.  So my first piece was a 4 ½” square. 

I used ¼” seam allowances. 

Cut

2          4 ½” x 4 ½”

2          8 ½ ” x 4 ½”

2          12 ½”  x 4 ½”

2          16 ½”  x 4 ½”

1          20 ½”  x 4 ½”

I finished it with a 3 1/2” border

2           20 ½’  x 4”

2           27 ½’  x 4”

Then just pieced it together.

Log Cabin Pillow

I quilted it “in the ditch” on to a piece of fleece.

Log Cabin Pillow Case

Then used denim for the back.

         28″ x 17” pieces of fabric

Made a slipcover style pillowcase following my instructions here.

Sew 2” from all sides to create the flange.

Insert pillow.

Log Cabin Pillow
This pillow is really big! I plan to make another that’s a bit smaller.