iPad Case

I’m headed out on a trip this weekend!  Terry and Maggie will be fending for themselves–probably eating pizza while watching a golf tournament.  I finally get to use the overnight bag that I made several weeks ago.  You can check it out here.

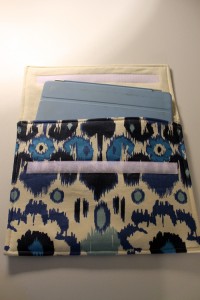
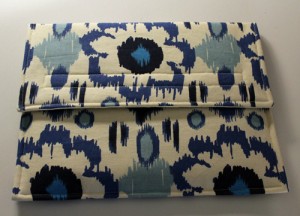
So I decided I needed to make an iPad case to match my overnight bag.  Won’t that impress my fellow passengers? Didn’t take long since I have everything I need and had already made it before.  What took long was documenting the steps just in case somebody else would like to make one.  Writing clear instructions is much more difficult than sewing! (Not saying that these are clear instructions.)

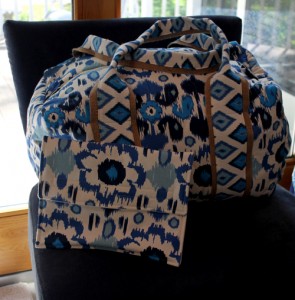
So, for those whose eyes roll up into their heads when they see my sewing directions,  here’s a pretty picture of my new lovely iPad case and matching overnight bag.  So pretty.

iPad Case

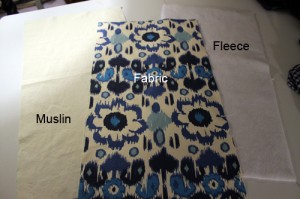
First you’ll need 2 different fabrics–one for the outer and another for lining.  I used an upholstery weight fabric that would be suitable for pillows from Premier Prints for the outer fabric. The last time I made the case I used denim for the lining but my heavy duty sewing machine could barely get through all the layers, so this time I used muslin for the lining. You will also need fleece and Velcro.

Cut the outer fabric, lining, and fleece 12 1/2 “ wide by 24” long. 

iPad Case

Baste wrong side of outer fabric to fleece, ½” from all edges.  Trim fleece.

With right sides together, stitch lining to outer fabric, leaving about 4” for turning.

Trim corners .

Turn fabric right side out.

Press.

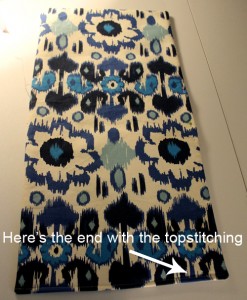
Topstitch ¼” from edge on one of the narrow ends, this will be the top of the interior pocket.

iPad Case

Cut 9 ½” of Velcro

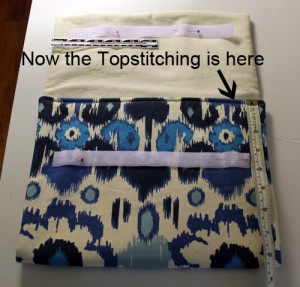
Stitch one side of Velcro,  1” from all edges, on the lining side, opposite end that you just top stitched.

Stitch the other side of the Velcro on the right side of the outer fabric, 3” from the edge that you top stitched.

Turn the topstitch side up 8 ½” for the interior pocket.

iPad Case

Topstitch ½” from all edges, make sure that you catch in the section you left open for turning.

iPad Case

Easy Peasy.

While this gives my iPad a little bit of protection, it’s mostly for pretty.  I wouldn’t drop it and expect the iPad to survive!  That’s just my little disclaimer!

iPad Case


DIY Chalkboard Table and Chairs

Years ago we purchased an unfinished table from Ikea to serve as a coffee table in our TV room.  Three houses later, that little table moved out to the screen room and I added two kid-sized chairs.  Voila–instant child-size table set!

But many years went by and the set was looking pretty sad.  While the screened room is a covered area, rain still comes in when we have one of our typical Florida summer afternoon storms.  Another problem was that the table really wasn’t high enough for the chairs.  As the grandkids get bigger, they all had the same complaint–their legs didn’t  fit under the table.

DIY Chalkboard Table and Chairs
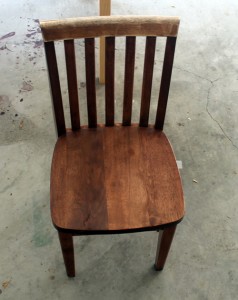
This chair had seen better days!

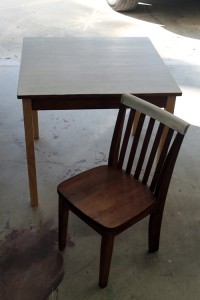
So I went to my wizard and told him about the short legs.  Terry bought a cheap piece of pine 2×2 at Home Depot and cut it up to make new longer legs and replaced the short ones.  He liked the contrast of the natural legs with the darker table so we decided to go with it.  I’d been planning on painting a checkerboard on top of the table but then a lightbulb went off in my head!  (Hey, I didn’t even look at Pinterest to get this idea but I’m sure that it’s out there.) Finish the top with chalkboard paint!  The kids can draw or make their own checkerboard table!  Even better, I had plenty of paint left from the chalkboard I made for my kitchen!  DIY Chalkboard Table and Chairs

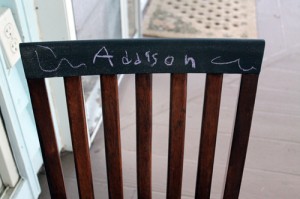
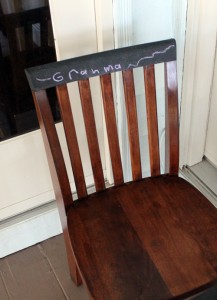
I just followed the directions to paint the top of the table and the top section of the chairs with the chalkboard paint.  Also refreshed the dark stain on the chairs and table sides with Minwax gelstain.  Put some golden oak stain that I had left over on the legs and followed up all the stained areas with a couple coats of Minwax Polyacrylic.

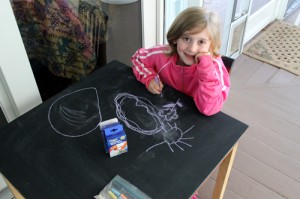
Addison was visiting during the refreshed table debut.  It was a hit!

DIY Chalkboard Table and Chairs

DIY Chalkboard Table and Chairs

DIY Chalkboard Table and Chairs

The table is so tall now, even Grandma can use it!

Treasures from Renninger’s Antique Extravaganza!

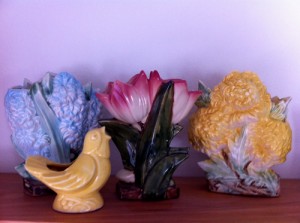
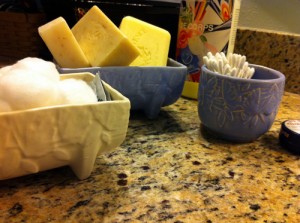
Michelle picked up these lovelies from our Renninger’s treasure hunt and has already put them into use.

Treasures from Renningers
Michelle added to her McCoy collection with the Yellow Chrysanthamum Vase on the right.
Treasures from Renningers
The little blue bowl is another new McCoy treasure.
Treasures from Renningers
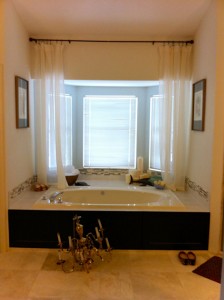
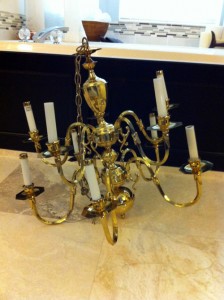
The chandelier will fit just fine in the spot over the tub, back by the window.
Treasures from Renningers
Looking forward to how Michelle makes this even better!